Logitech MX Air Battery Replacement
ID: 191087
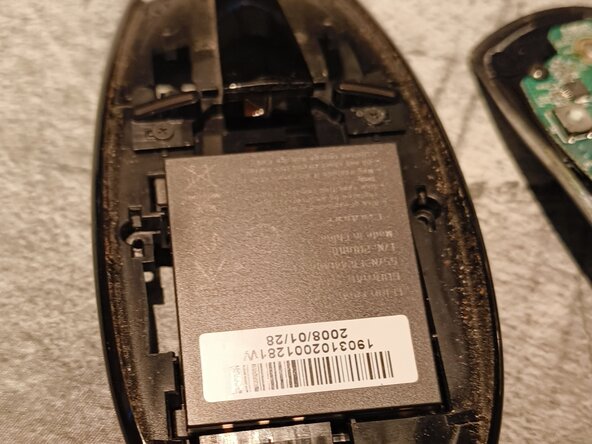
Description: This guide will help you replace the battery on...
Steps:
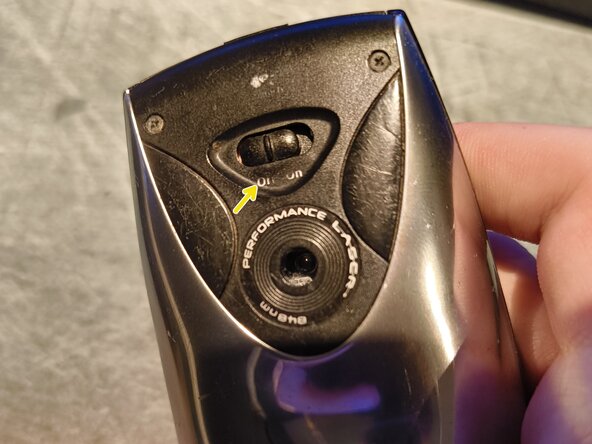
- Make sure the mouse is off before disassembly by turning the power switch to Off.
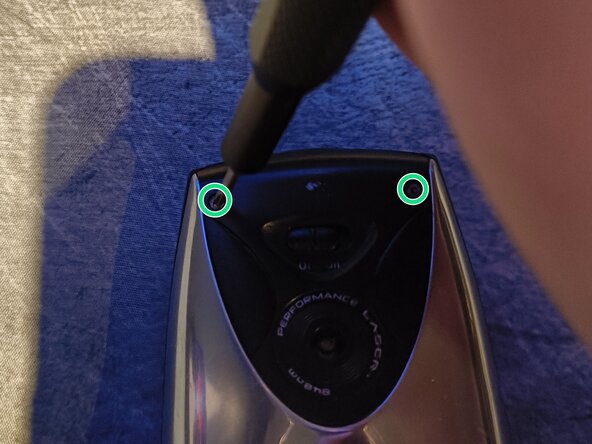
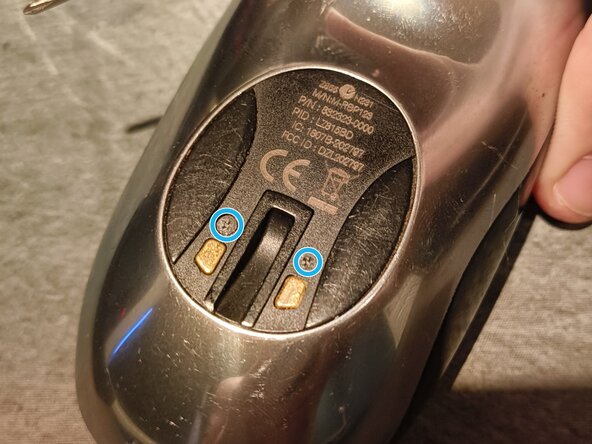
- There are four Phillips #00 screws on the back you need to unscrew.
- Two on the top, two on the bottom.
- While they are the same screw type, they are of different lengths. The bottom part has longer screws than the top part, so you should keep them separate to avoid mixing them up during reassembly
- The bottom screws will stick a little bit out of the case, so you don't need to continue unscrewing when that happens. Just pull them out.
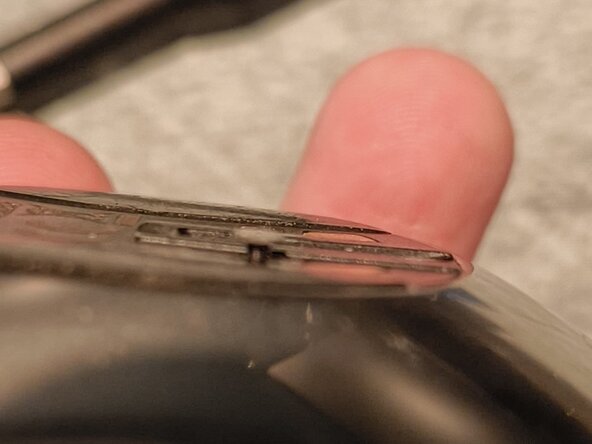
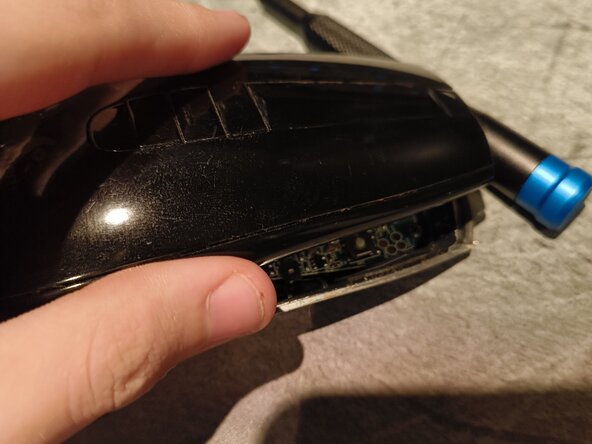
- When the first four screws have been removed, you can slowly lift the top off.
- Please be careful when splitting the two halves and do not pull them apart entirely, as there are two cables connecting them together.
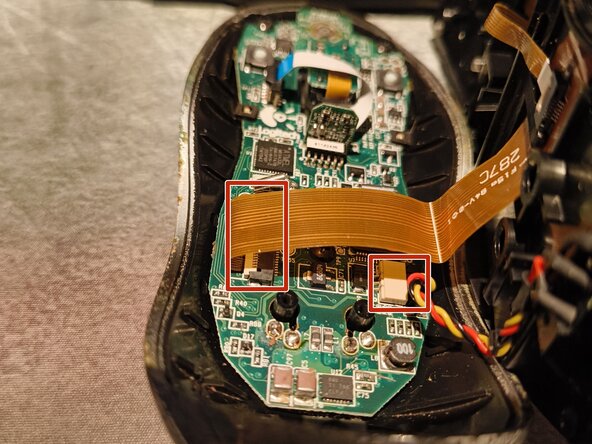
- As stated previously, there are two cables you'll have to disconnect: one ribbon cable and another which connects to a sliding connector.
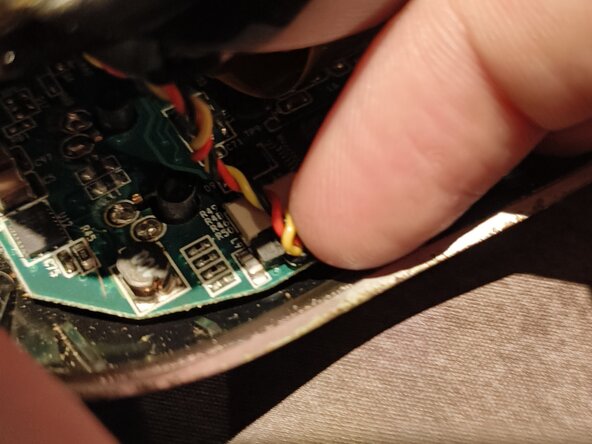
- First, disconnect the JST connector first by slowly pulling on the cable or using the tip of a spudger to push the black connector away from the white receptacle.
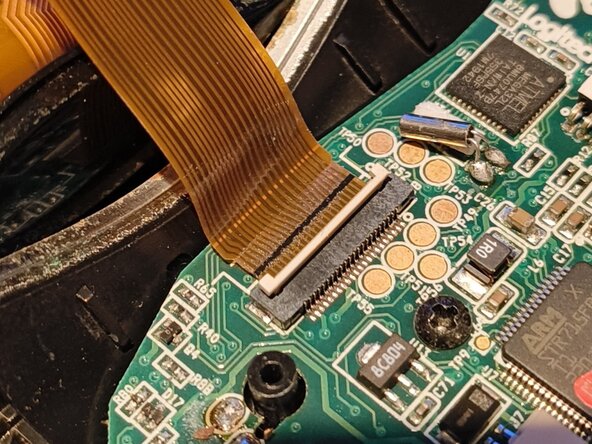
- Then disconnect the flex cable from its connector by carefully lifting up the white latch and pulling the flex cable away.
- If you need help with disconnecting these connectors, you may refer to iFixit's Recognizing & Disconnecting Cable Connectors Guide.
- During reassembly, make sure the flex cable is inserted all the way in the socket before pushing down on the latch, otherwise you may dislodge or break the latch or the connector may not make proper contact. You should only feel moderate resistance when pushing down.
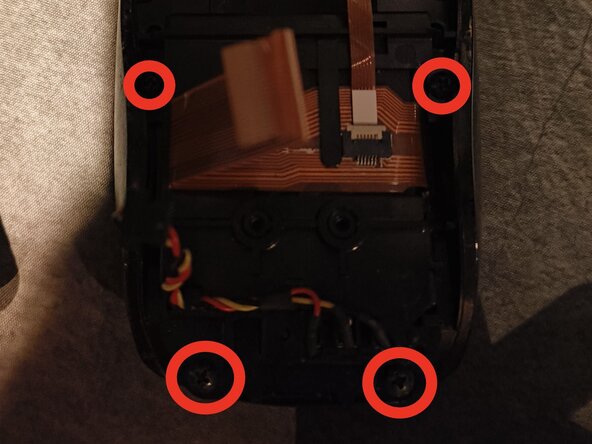
- There are four Phillips #0 screws you need to unscrew on the back here. They are marked on the picture with red rings. There are two in the top left and right, then two in the bottom left and right.
- They are all of the same size and length, so you can store them in the same location.
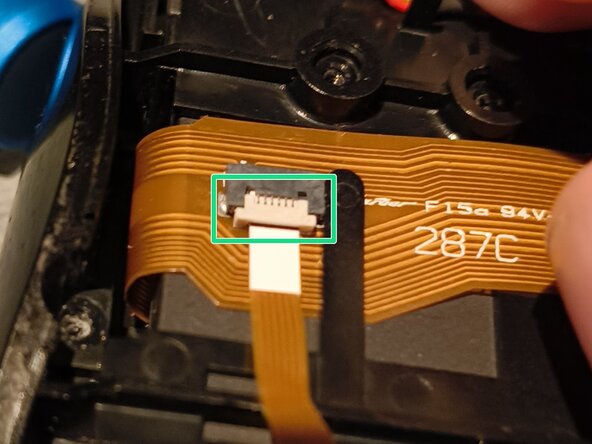
- Disconnect the small flex cable on top of the large flex cable. Just lift the beige-coloured locking tab up and pull the cable out.
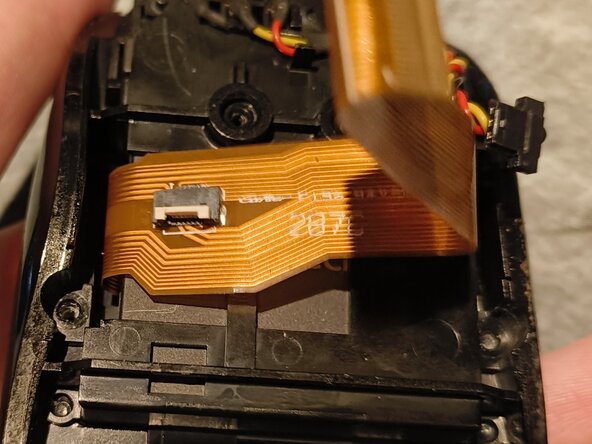
- Lastly, lift the orange ribbon cable up from the plastic clip holding it by gently sliding it out of its position.
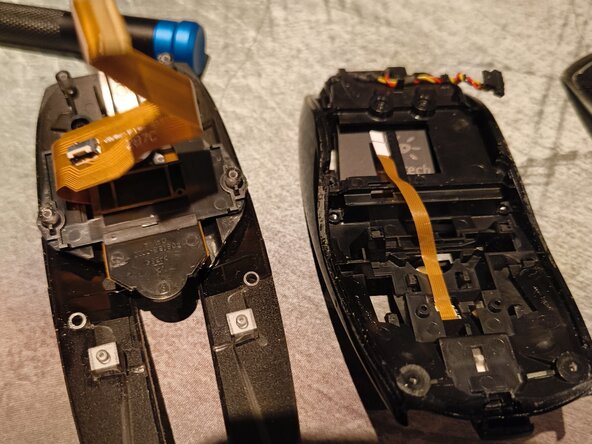
- Separate the button layer from the rest of the assembly by sliding it backwards.
- When the layers have been separated, flip the layer containing the battery and take it out of its shell.