Les Paul Wireless Guitar Strummer Replacement
ID: 19138
Description: This guide will demonstrate how to replace the...
Steps:
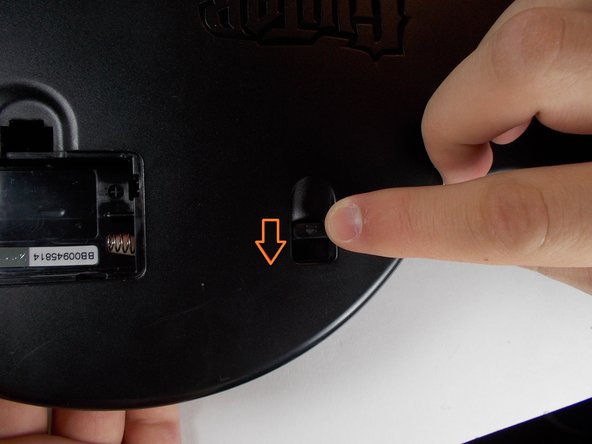
- Remove batteries
- Remove void warranty sticker
- The sticker is covering a torx screw
- Unscrew the 11 screws securing the back of the body using a T10 Torx screwdriver. Each screw is 1 cm long.
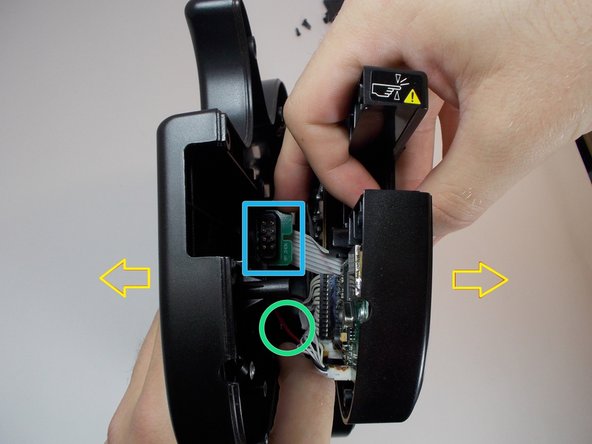
- Push level, this will detach the back of the guitar from the front.
- Carefully remove the back of the body
- The battery pack cord is attached to both sides of the guitar, be careful not to tear it apart.
- The neck connector may be stuck to the back so be sure to detach it before fully pulling
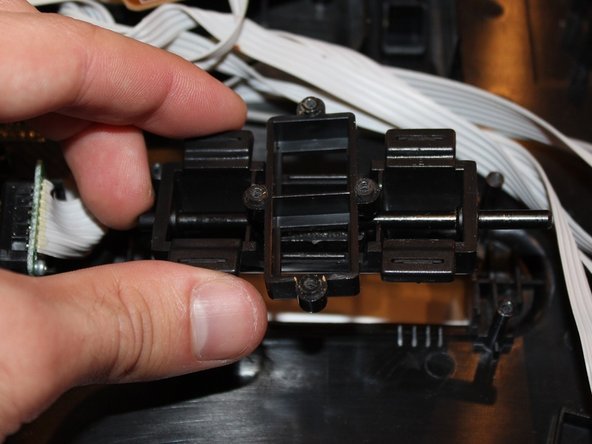
- Remove the 4 screws from the back of the strum chip using a Phillips PH1 screwdriver. each of these screws are 1.2 cm each.
- Remove the 4 inner screws, each are 0.8 cm.
- Make sure that when putting back together, the 4 inner screws line up with the small plastic piece underneath.
- Remove the two plastic holders on the underside of the chip.
- Pull out the the plastic piece on each side of the strummer.
- Lift the strummer out of it's location
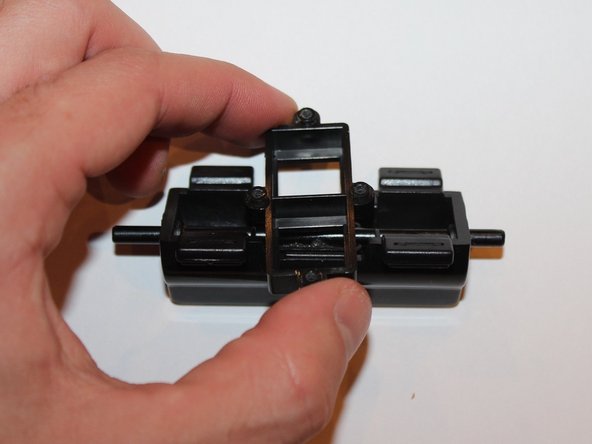
- Take the top black cover off the strummer.
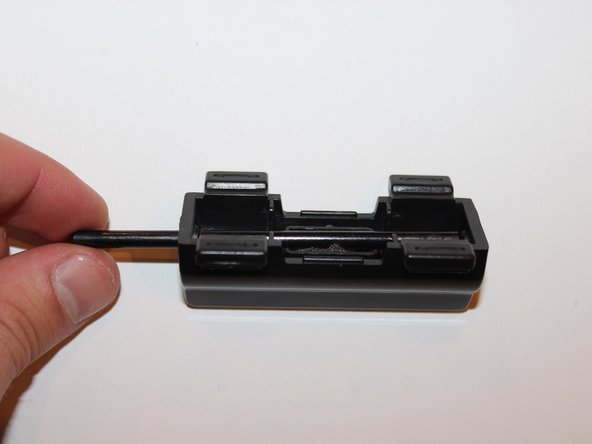
- Slide the black rod out of the side.
- Clean if needed.