Shoulder Buttons, Side Bumpers, and Power Switch Removal
ID: 191725
Description: This guide shows how to remove the shoulder...
Steps:
- Before working on your Game Boy, turn the power switch to the OFF position and unplug any cables.
- If you have a game cartridge installed, remove it.
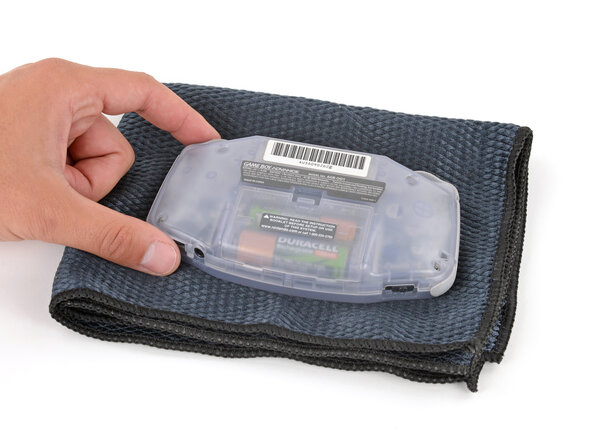
- Since your Game Boy will be laying screen‑side down for most of your repair, consider placing it on a clean cloth for protection.
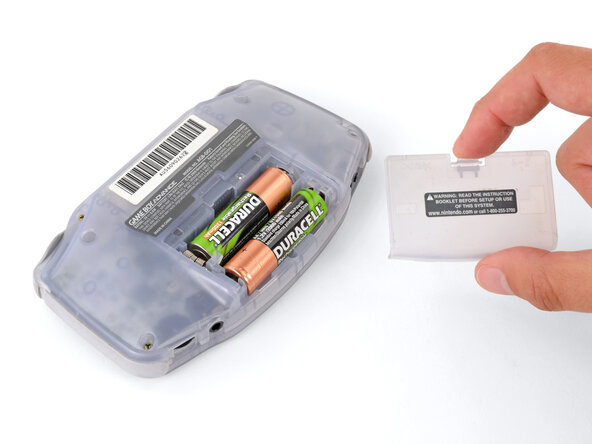
- Release the battery cover tab with your finger and swing the cover away from your Game Boy to remove it.
- During reassembly, insert the tabs on the bottom edge of the cover into their cutouts and press the cover into place.
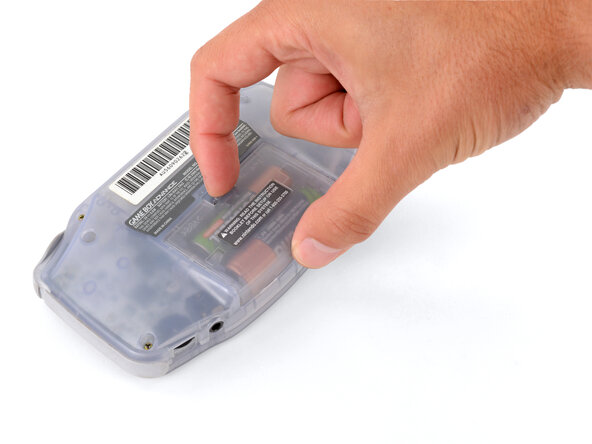
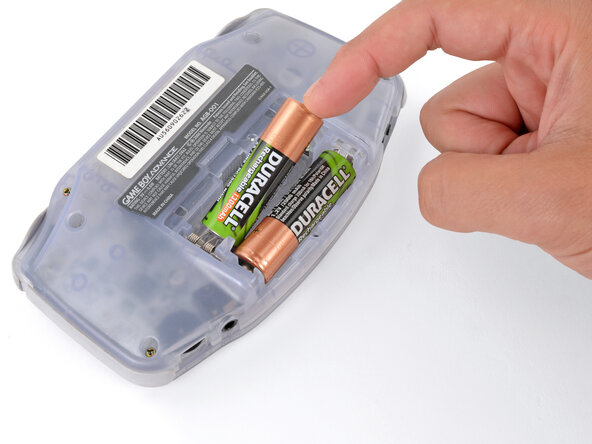
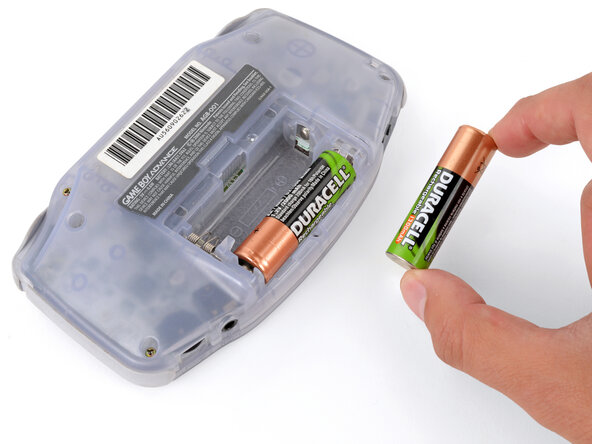
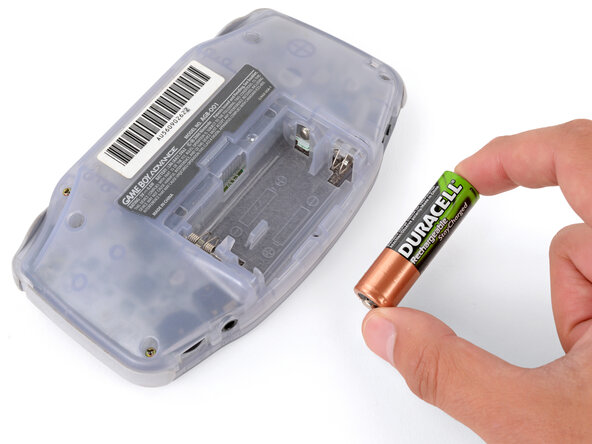
- Remove the two AA batteries.
- If the metal terminals are corroded, follow this guide to clean them.
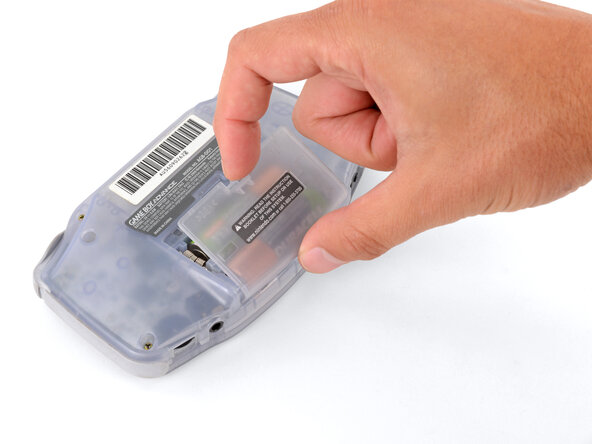
- When installing batteries, use the diagram in the battery well to properly orient them.
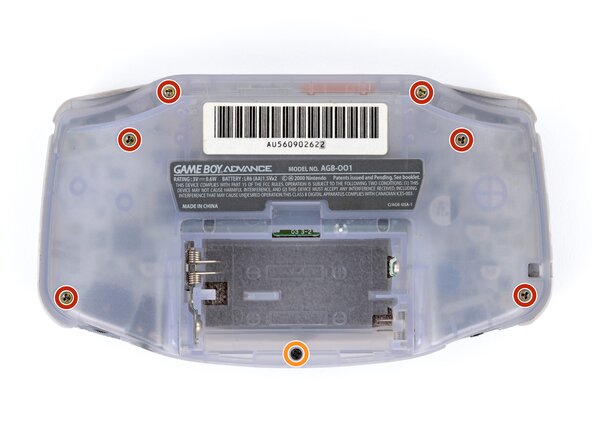
- Remove the seven screws securing the back shell:
- Six 9.4 mm‑long tri‑point Y0 screws
- One 8.5 mm‑long JIS 1 screw
- You can try to use a non-iFixit Phillips driver in a pinch, but you risk damaging or stripping screws. Push down firmly on the driver and twist slowly.
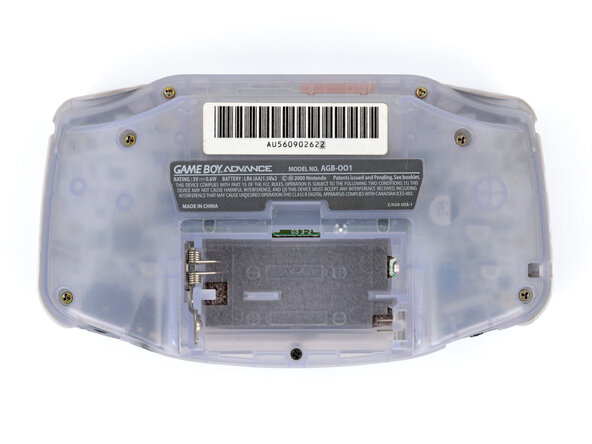
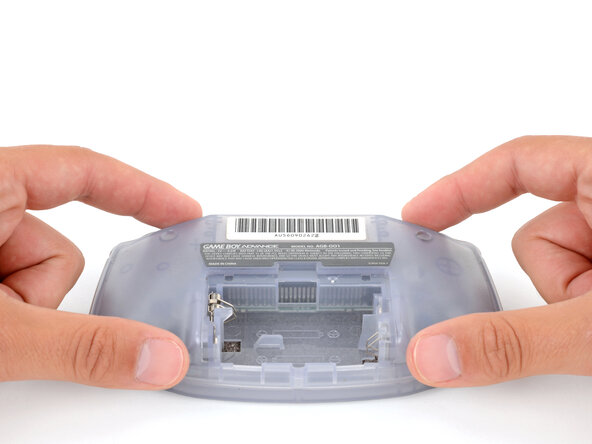
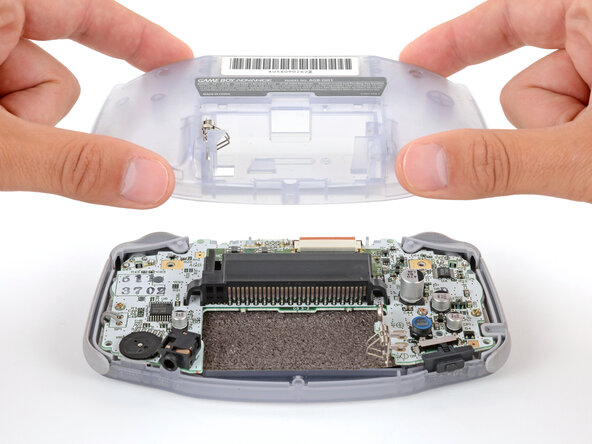
- Lift the back shell straight up and remove it.
- During reassembly, squeeze the shell firmly around the edges and ensure the shoulder buttons and bumpers are properly seated with no large gaps. Gently test the buttons to make sure everything feels correct.
- Lift the shoulder buttons (aka L and R buttons) straight up to remove them.
- During reassembly:
- Since your Game Boy is laying upside down, the L button will go on your right‑hand side, and the R button will go on your left‑hand side.
- Slide the buttons into place, making sure the peg on the button goes into its circular cutout and the button itself is over the actual button mechanism.
- The shoulder buttons will sit on the inside edge of the side bumpers.
- Gently test the buttons to make sure they feel correct. If they don't, reposition them and make sure the metal arms aren't stuck in a weird position under the board.
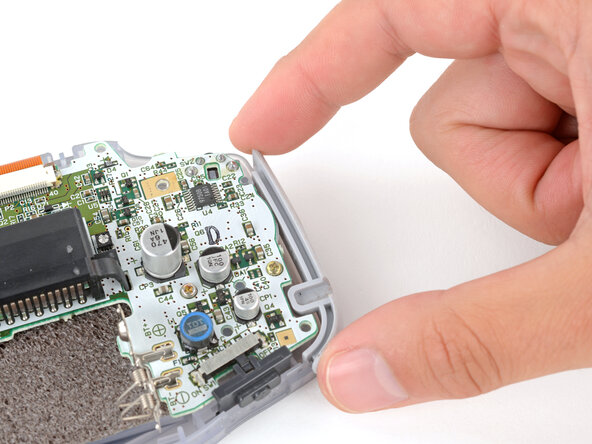
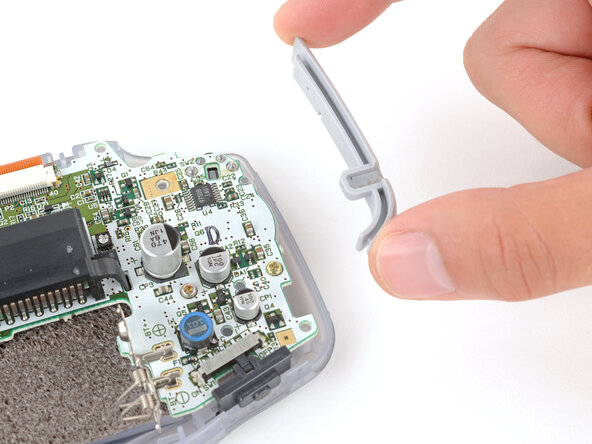
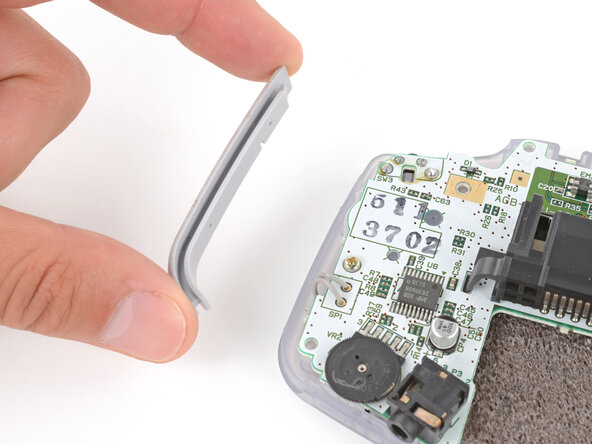
- Remove the side bumpers.
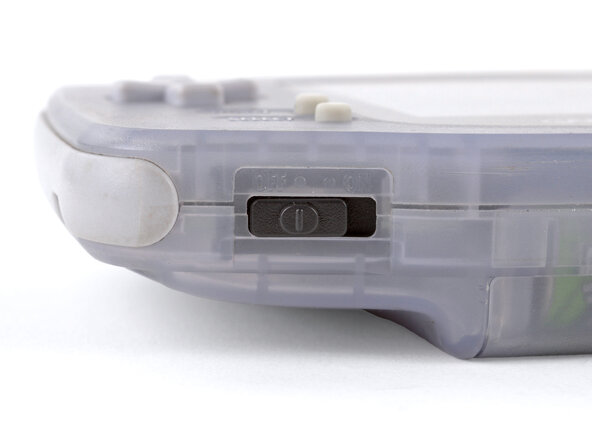
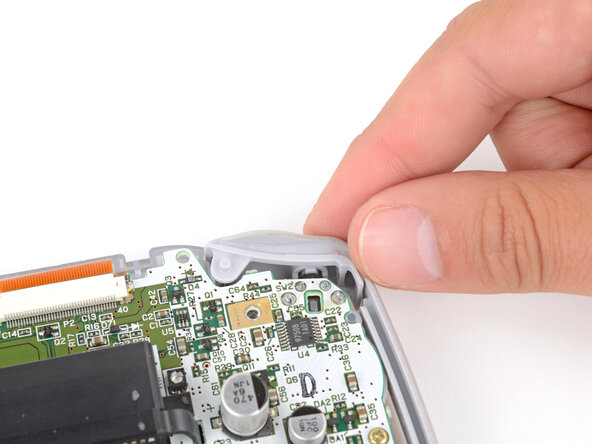
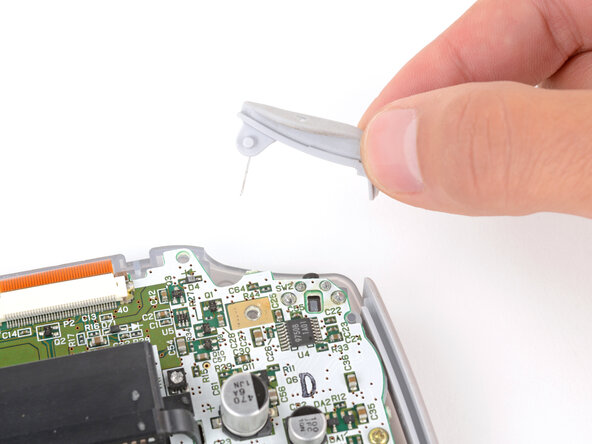
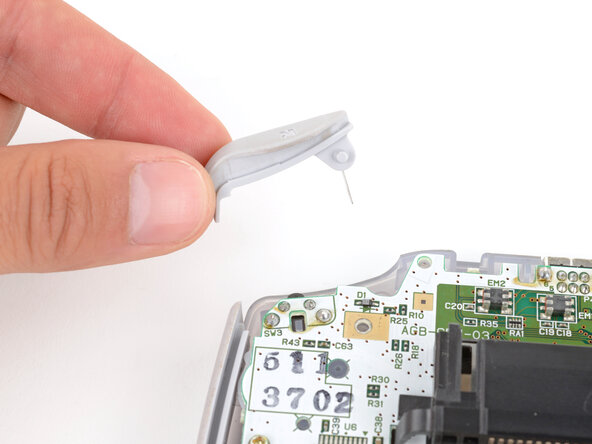
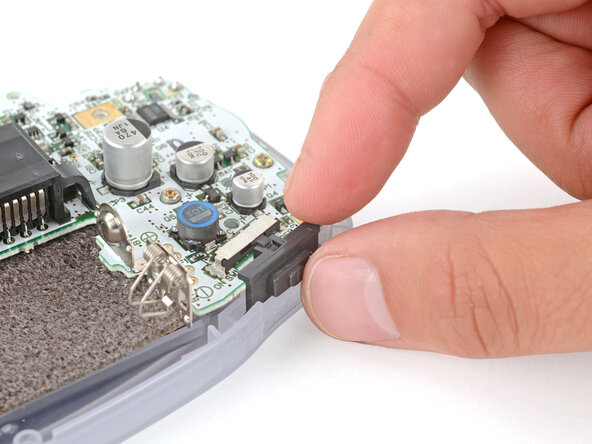
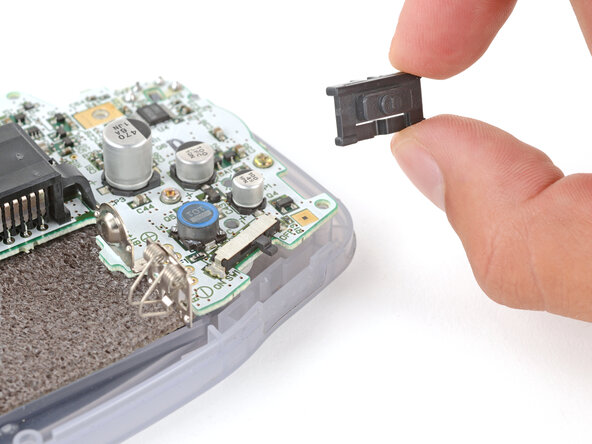
- Remove the power switch cover.
- During reassembly, make sure the switch cover is properly slotted around the arm on the switch mechanism.