Logitech MX Keys for Business Battery Replacement
ID: 192589
Description: Follow this guide to replace a worn-out or dead...
Steps:
- Slide the keyboard's power switch into the OFF position.
- A red indicator should be visible beneath the switch.
- Unplug all cables from your keyboard.
- Lay your keyboard down with the feet facing up on a clean work surface.
- If your work surface may scratch the keyboard, place a soft towel under it.
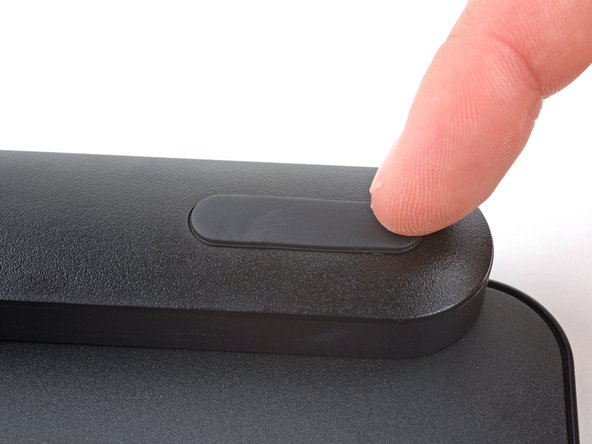
- Heat an iOpener and lay it on the top left foot for one minute.
- Alternatively, you can use a hair dryer on the Low heat setting to soften the adhesive.
- If you're using a hair dryer, only heat the feet a few seconds at a time or you may warp the plastic.
- The foot should come up without much force. If it feels stuck, apply more heat and try again.
- Insert the point of a spudger under an end of the foot.
- Push the spudger underneath the foot and lift until you can grip it with your fingers.
- Peel the foot up and remove it.
- Repeat the process to remove the remaining feet.
- If you're replacing the battery, you only need to remove the feet along the top edge.
- To install the feet during reassembly:
- Use a pair of angled tweezers to peel up and remove all the plastic film from the foot recesses.
- If you're installing new feet, remove them from their backing and firmly press them into place.
- If you're reusing the feet, use a strip of double-sided tape to secure them in their recesses.
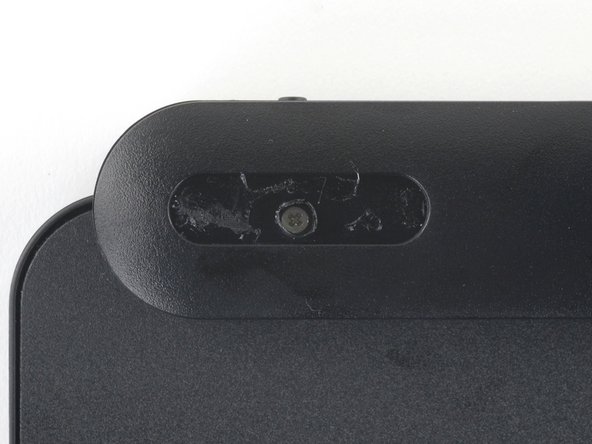
- Plastic film may be covering the screws in the top edge foot recesses.
- Use the pointed end of a spudger to poke through each film so you can access the screw underneath.
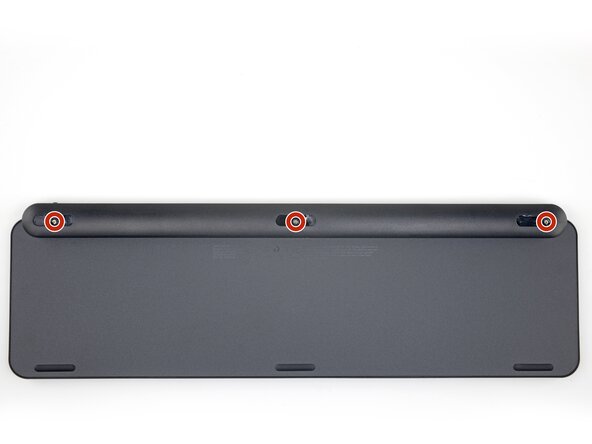
- Use a Phillips screwdriver to remove the three 7.6 mm‑long screws securing the battery cover.
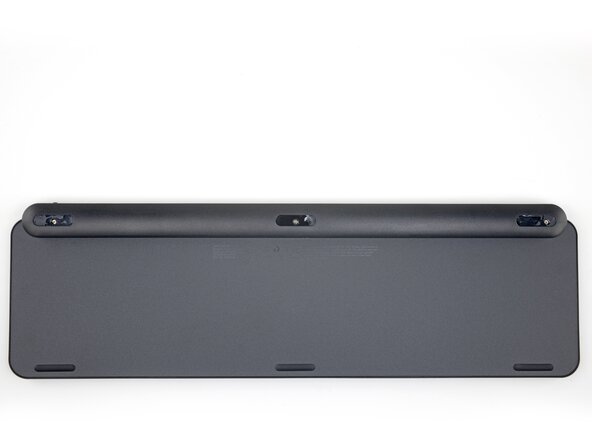
- Plastic clips secure the battery cover.
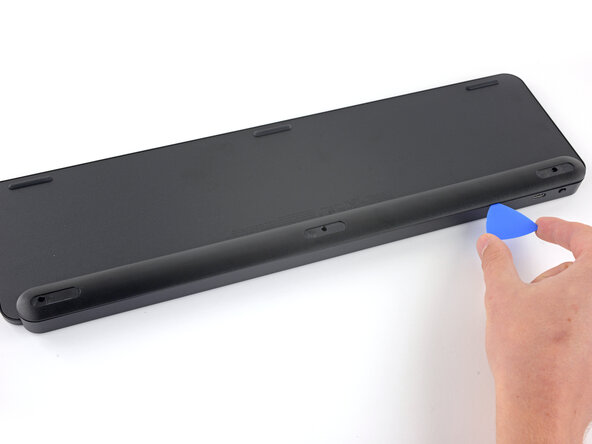
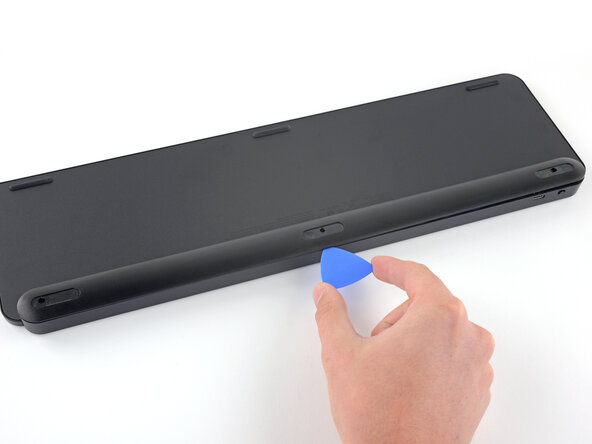
- Insert an opening pick between the top edge of the battery cover and keyboard.
- Slide the pick along the top edge to release the clips.
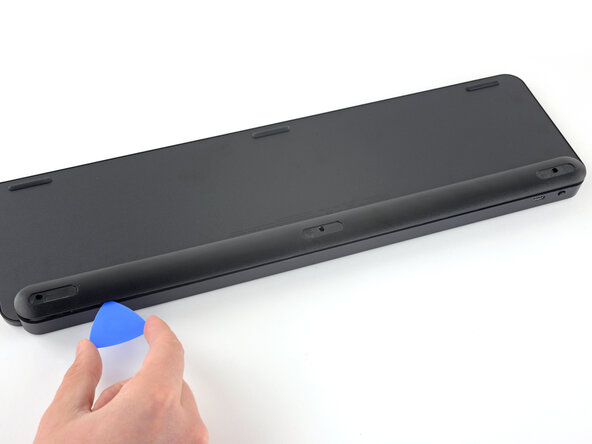
- Insert an opening pick between the bottom edge of battery cover and keyboard.
- Slide the pick along the bottom edge to release the remaining clips.
- Remove the battery cover.
- During reassembly:
- Place the battery cover onto the keyboard assembly so the screw holes line up with their posts.
- Press down firmly along the battery cover to engage its clips.
- You should feel and hear distinct "clicks" as the clips engage.
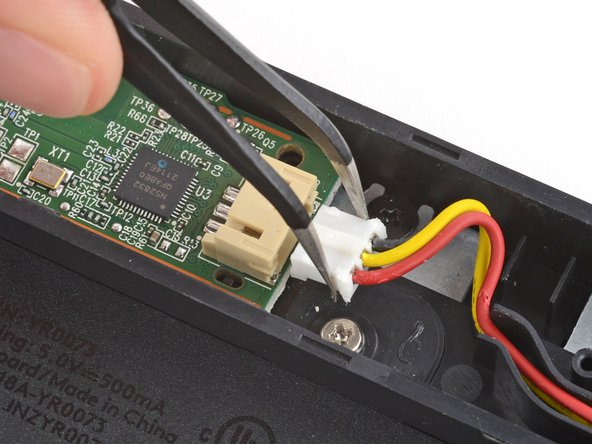
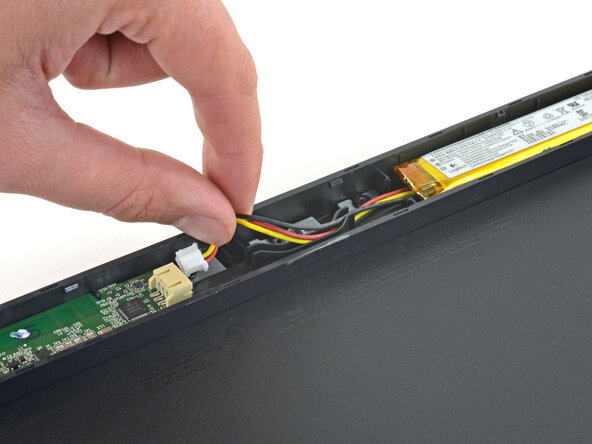
- Use a pair of angled tweezers to firmly grip the battery connector and slide it straight out of its socket.
- If you're having trouble, gently rock the connector side-to-side to help loosen it.
- During reassembly:
- Insert the connector into its socket so the side with raised plastic in the center is facing up.
- Push on the edges of the connector with the flat end of a spudger until it's fully seated in the socket.
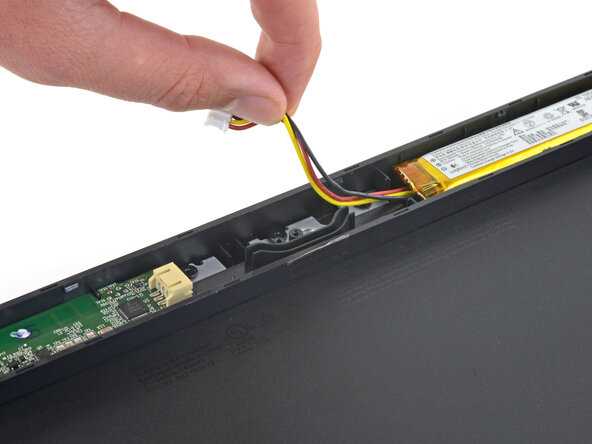
- Pull the three battery cables out of their channel in the keyboard.
- During reassembly, route all three cables through their channel so they're on top of each other.
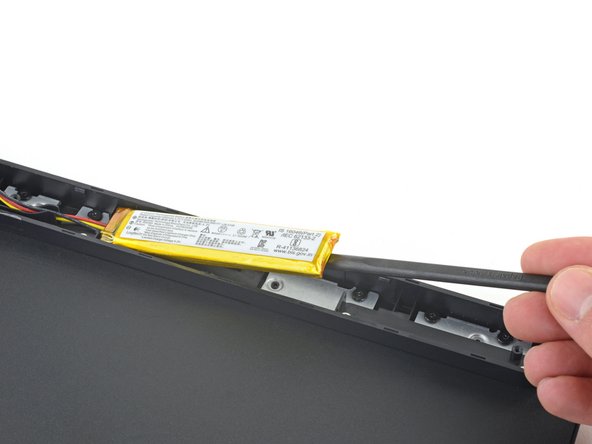
- Insert the flat end of a spudger underneath the right edge of the battery, opposite the cables.
- Slide the spudger underneath the battery and gently lift to separate the adhesive securing it to the keyboard.
- Make sure you push the spudger underneath the battery and not into it. Don't bend or deform the battery.
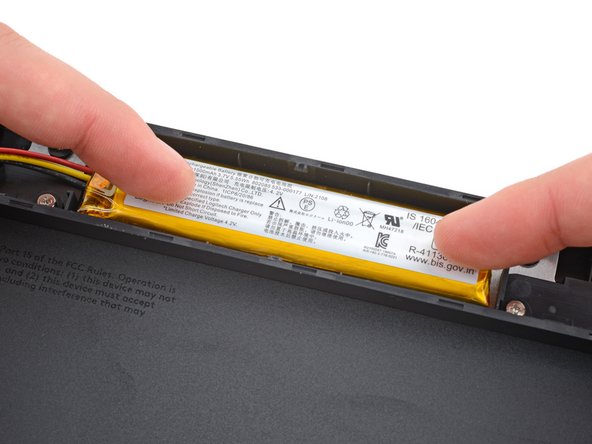
- If the battery isn't separating, apply a few drops of isopropyl alcohol (>90%) to its edge and slightly tilt the keyboard. Wait one minute for the alcohol to soften the adhesive and try again.
- Remove the battery.
- To install a replacement battery:
- Remove any bits of the old adhesive from the battery recess.
- If your replacement battery doesn't come with tape pre-installed, apply double-sided tape to the battery recess (not directly to the battery).
- If your replacement battery has adhesive pre-installed, remove the plastic liner.