Motherboard Reposition
ID: 192726
Description: This guide shows how to reposition the...
Steps:
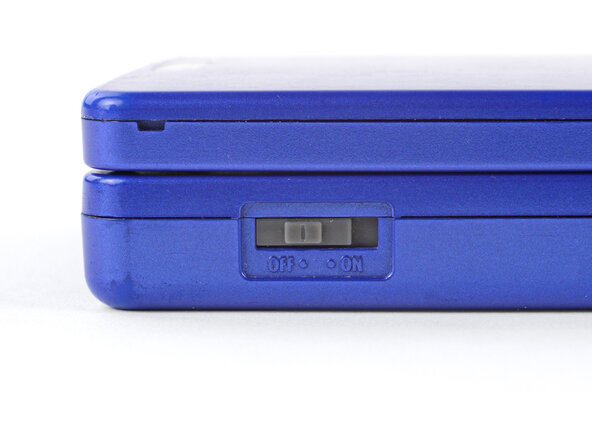
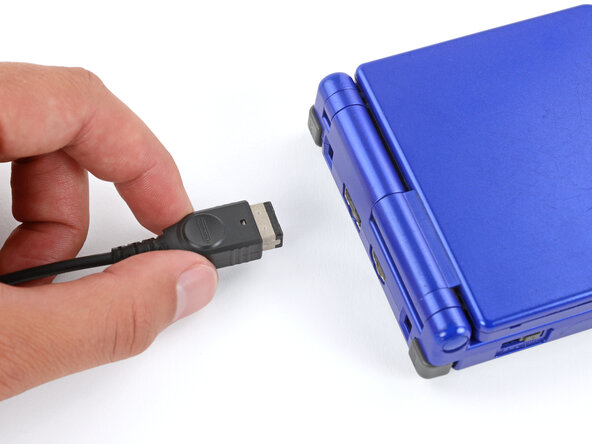
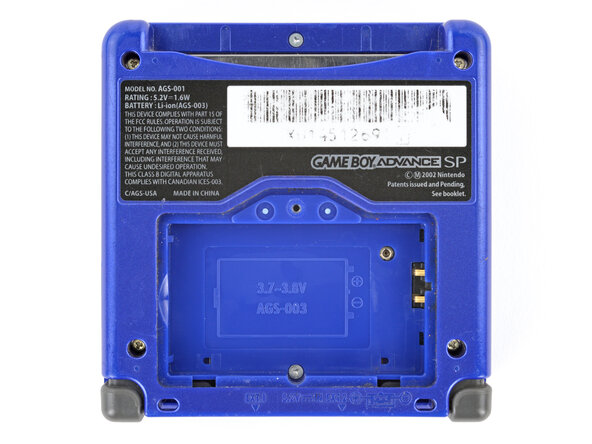
- Slide the power switch to the OFF position and unplug any cables.
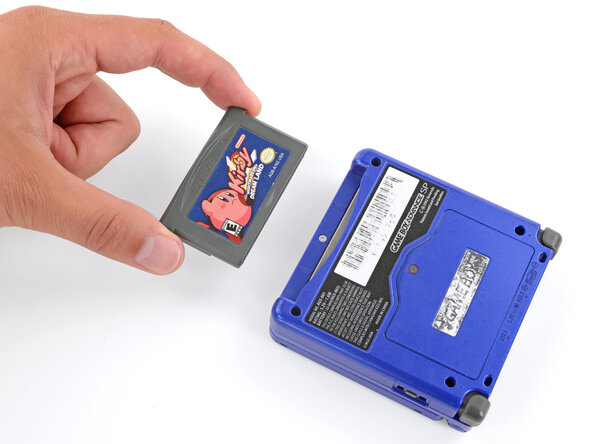
- If you have a game cartridge in, remove it.
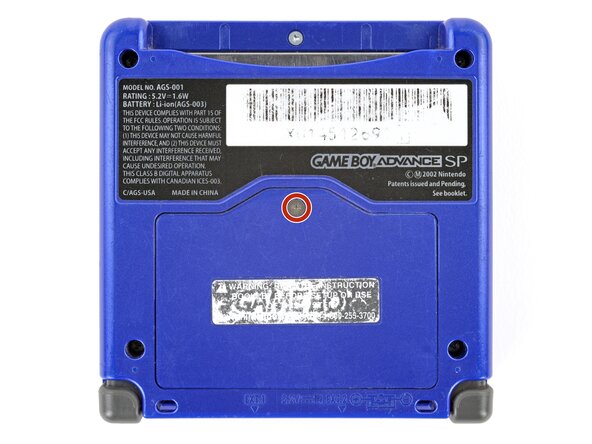
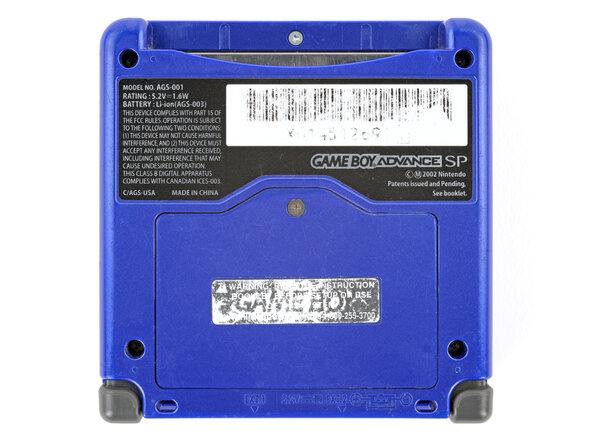
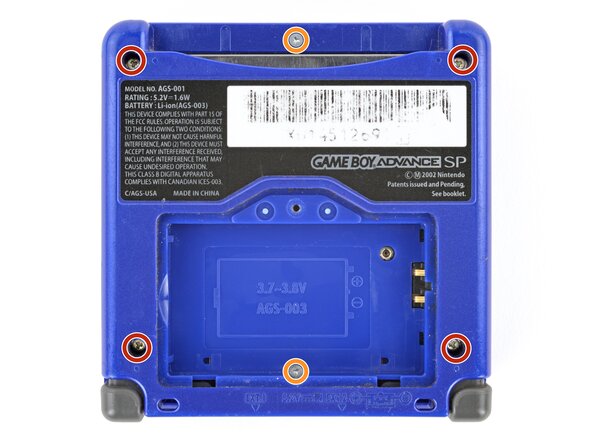
- Use a JIS 00 screwdriver to loosen the captive screw securing the battery cover.
- You can try to use a non-iFixit Phillips driver in a pinch, but you risk damaging or stripping the screw. Push down firmly on the driver and twist slowly.
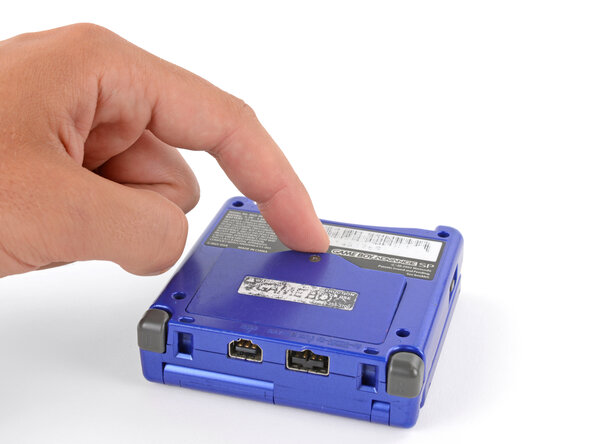
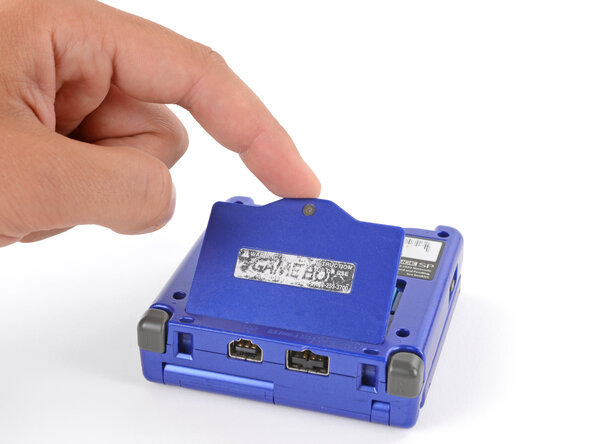
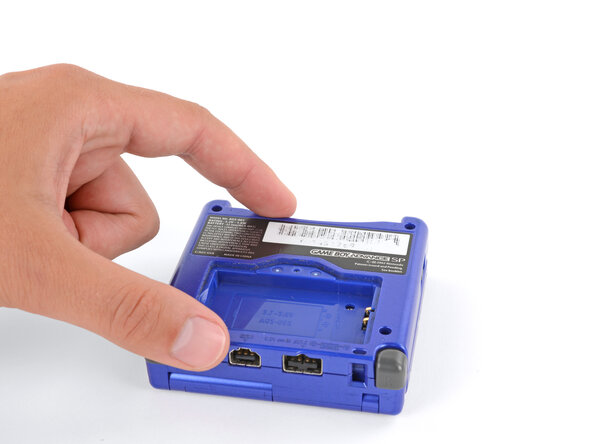
- Lift the edge of the cover near the screw and remove the cover.
- During reassembly, hook the tabs on the bottom edge of the cover into their slots and lay the cover into place.
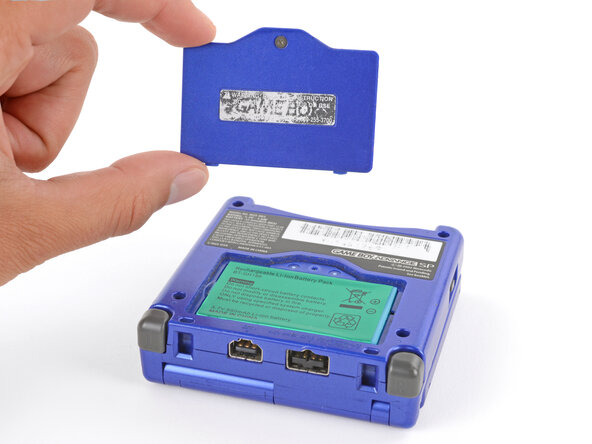
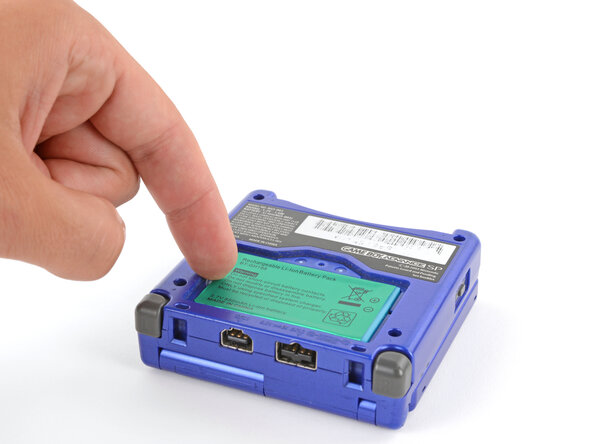
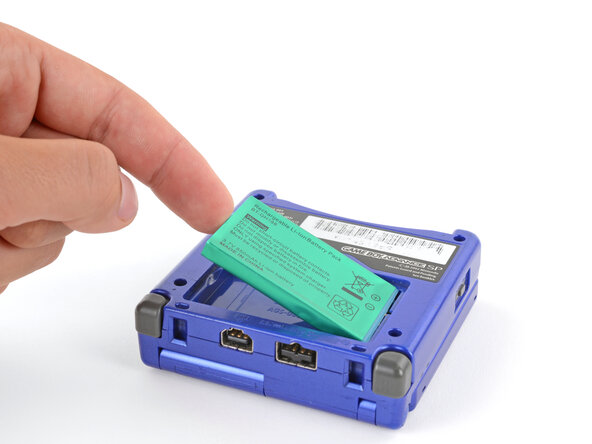
- Use your finger to lift the battery by the tab on its left edge, then remove it.
- During reassembly:
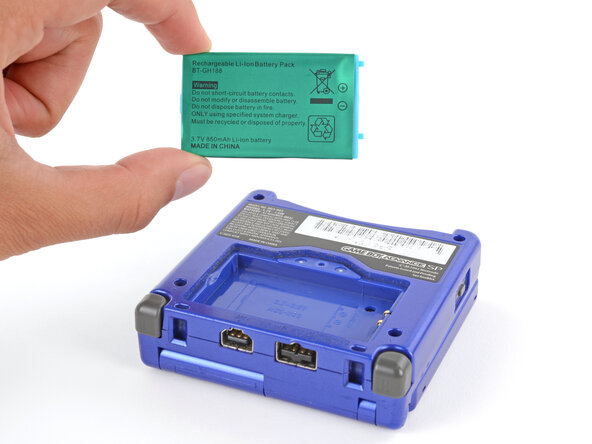
- Never reuse a deformed or damaged battery—it's a fire hazard. Replace it with a new battery.
- Your replacement battery may come with a plastic enclosure that slides over the battery.
- Insert the edge of the battery with contacts at a slight downward angle—aligning the contacts with their prongs in the recess—and press the battery into place.
- Use a tri‑point Y0 screwdriver to remove the six screws securing the bottom shell:
- Four 6.3 mm‑long recessed screws
- Two 4.6 mm‑long screws
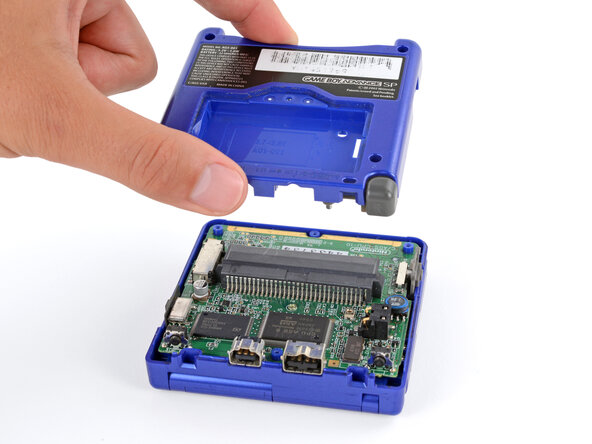
- Lift the bottom shell straight up and remove it.
- Use your fingers to lift and remove the power switch cover.
- During reassembly:
- Use your fingers to put the power switch cover (notched side up) into place so the cutout goes around the actual switch.
- Gently slide the cover back and forth to make sure it's positioned properly and moving the switch.
- If the switch isn't properly in its cutout, you won't be able to power on your Game Boy.
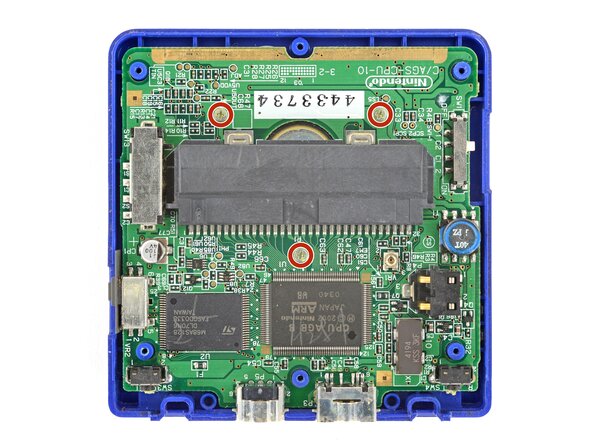
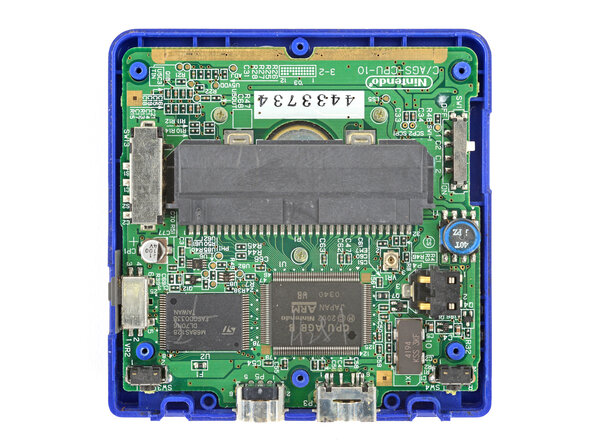
- Use a JIS 00 screwdriver to remove the three 4.1 mm‑long screws securing the motherboard.
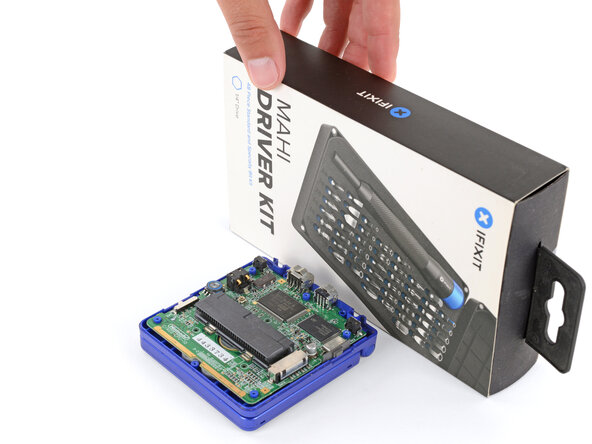
- Place a sturdy object such as a stack of books or tool case along the edge of your Game Boy with the hinges.
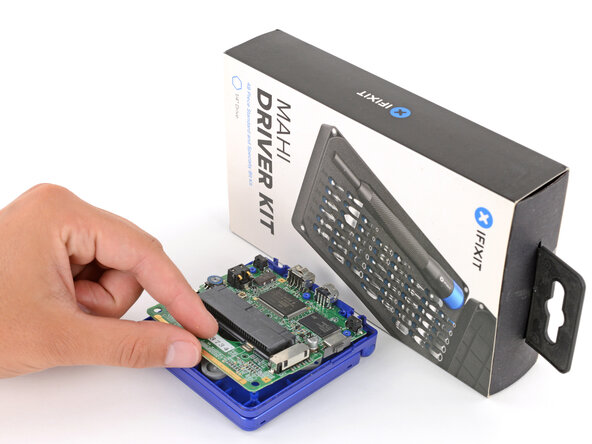
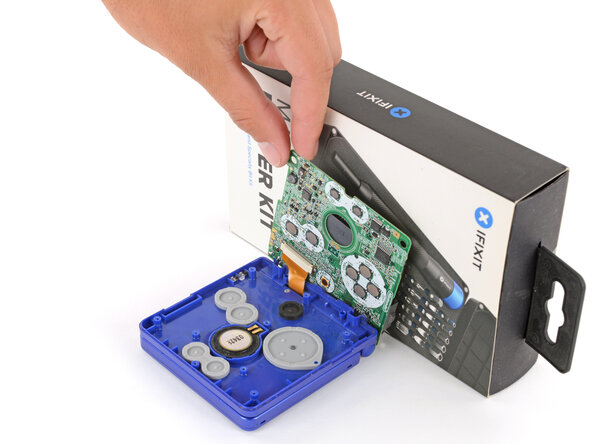
- Use your fingers to gently flip the motherboard over the hinges and prop it up.