Hinges Removal
ID: 192798
Description: This guide shows how to remove the hinges in...
Steps:
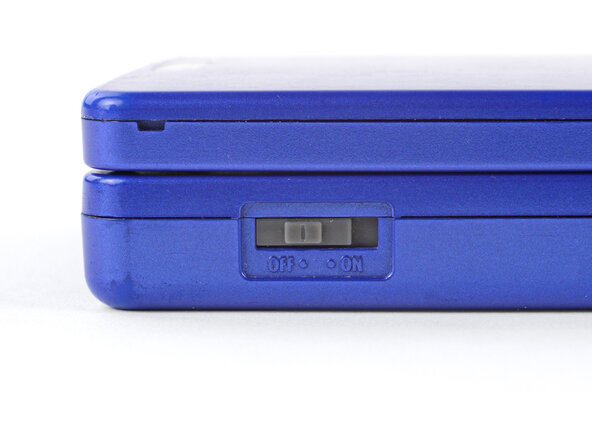
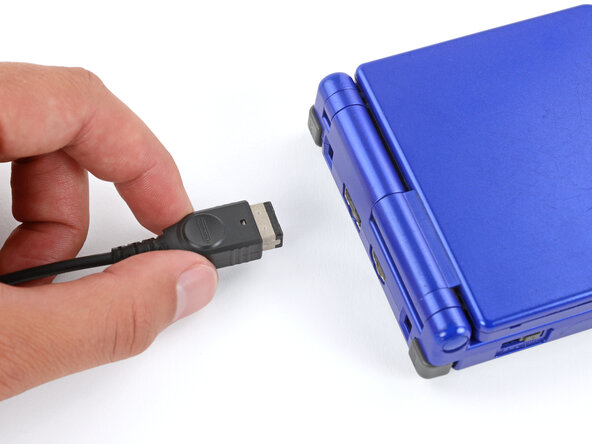
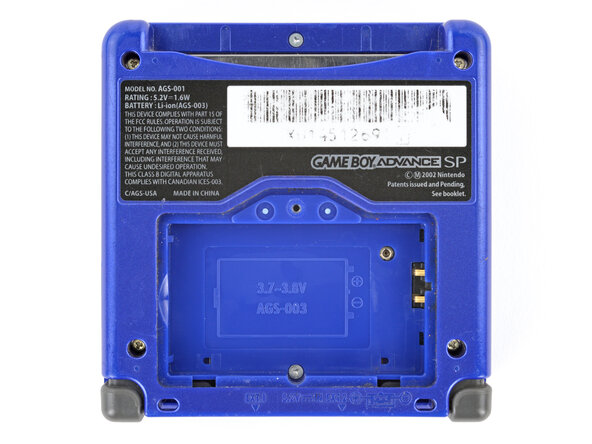
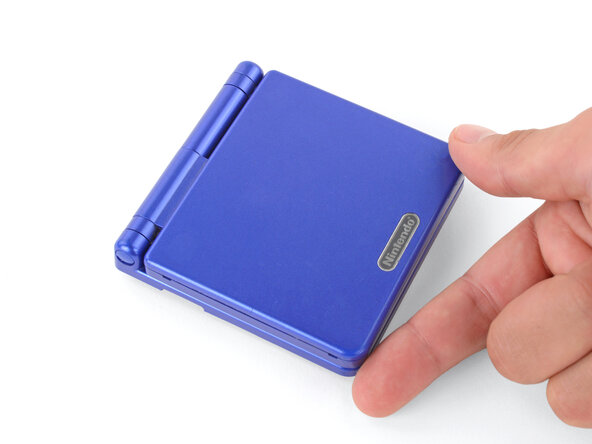
- Slide the power switch to the OFF position and unplug any cables.
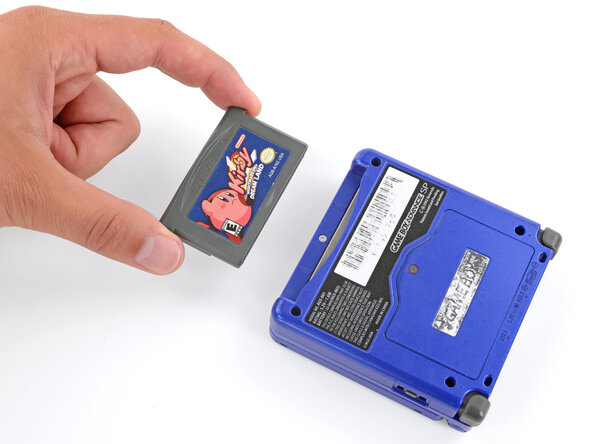
- If you have a game cartridge in, remove it.
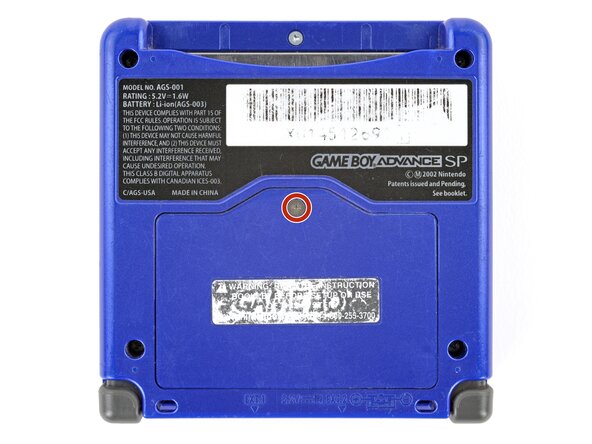
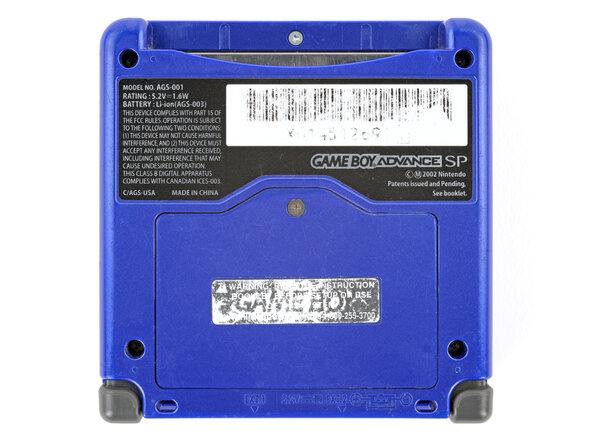
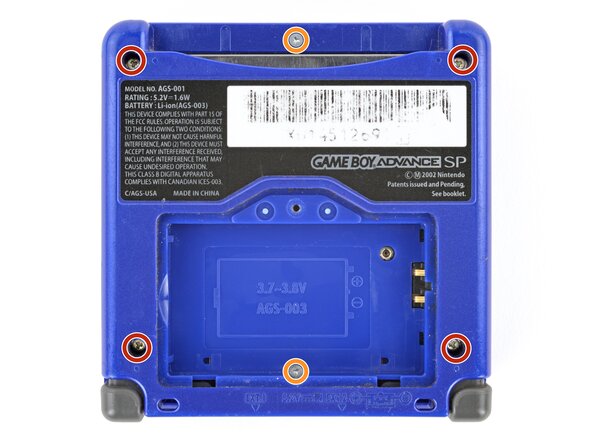
- Use a JIS 00 screwdriver to loosen the captive screw securing the battery cover.
- You can try to use a non-iFixit Phillips driver in a pinch, but you risk damaging or stripping the screw. Push down firmly on the driver and twist slowly.
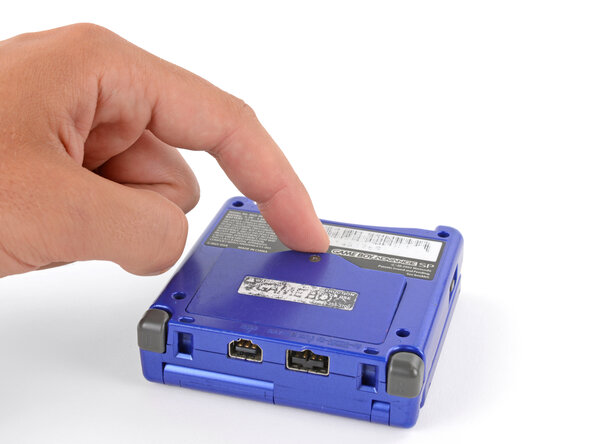
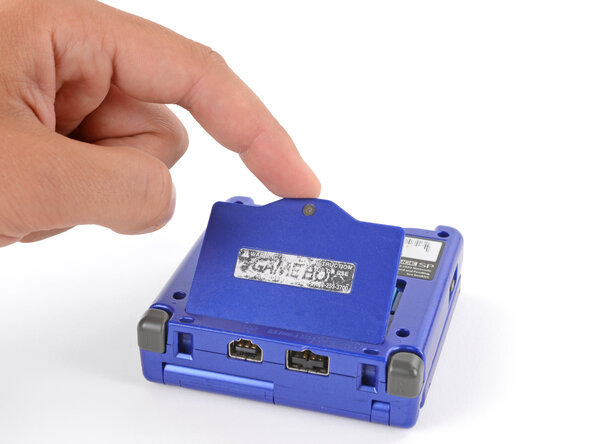
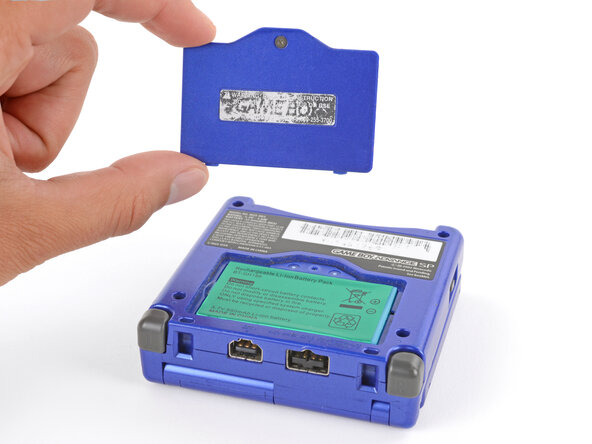
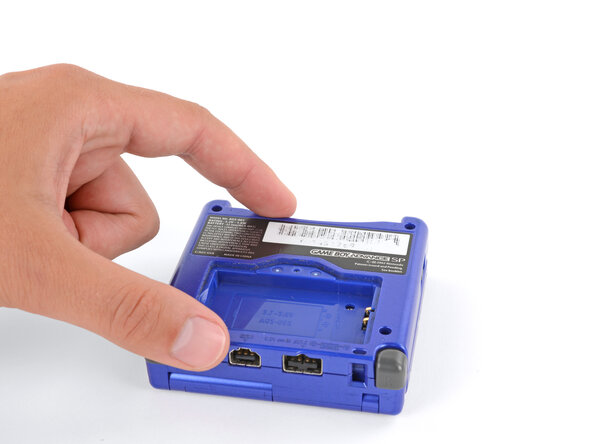
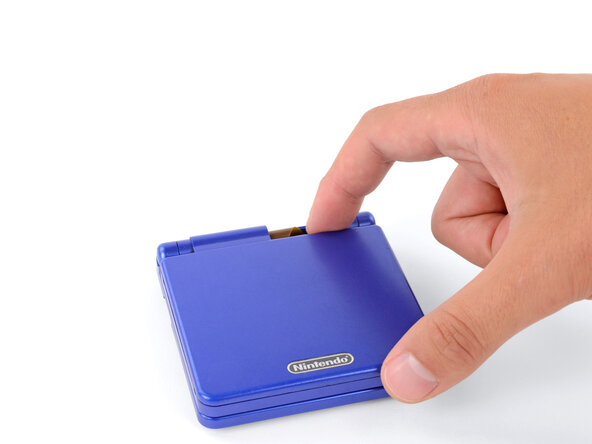
- Lift the edge of the cover near the screw and remove the cover.
- During reassembly, hook the tabs on the bottom edge of the cover into their slots and lay the cover into place.
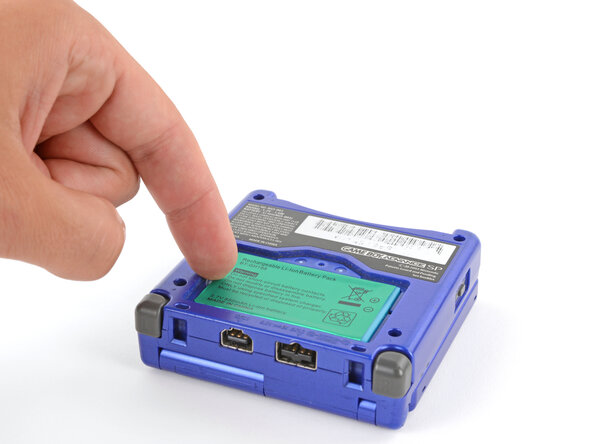
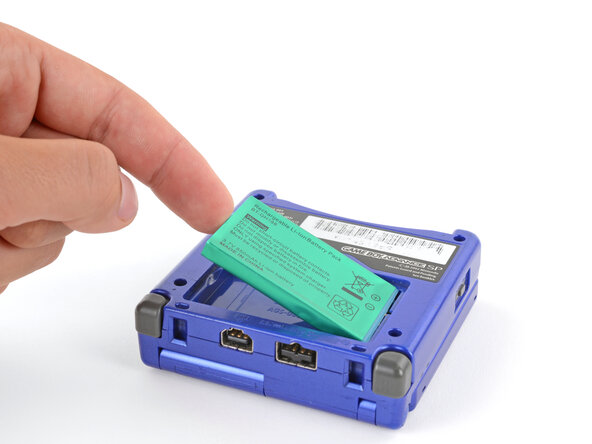
- Use your finger to lift the battery by the tab on its left edge, then remove it.
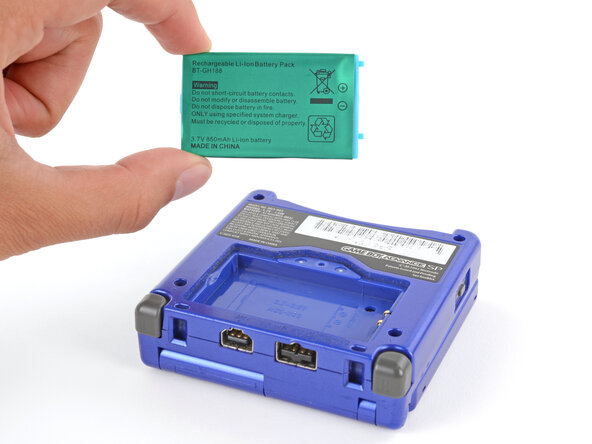
- During reassembly:
- Never reuse a deformed or damaged battery—it's a fire hazard. Replace it with a new battery.
- Your replacement battery may come with a plastic enclosure that slides over the battery.
- Insert the edge of the battery with contacts at a slight downward angle—aligning the contacts with their prongs in the recess—and press the battery into place.
- Use a tri‑point Y0 screwdriver to remove the six screws securing the bottom shell:
- Four 6.3 mm‑long recessed screws
- Two 4.6 mm‑long screws
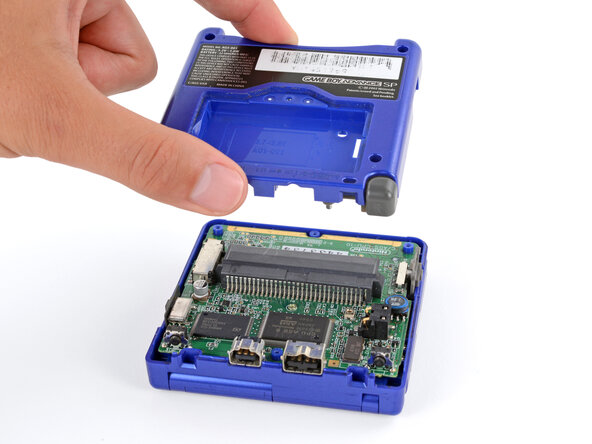
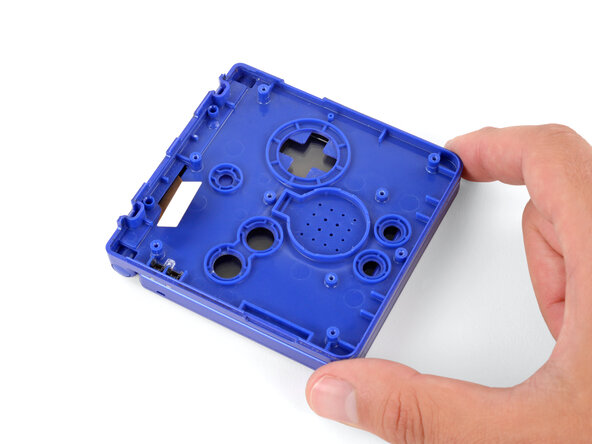
- Lift the bottom shell straight up and remove it.
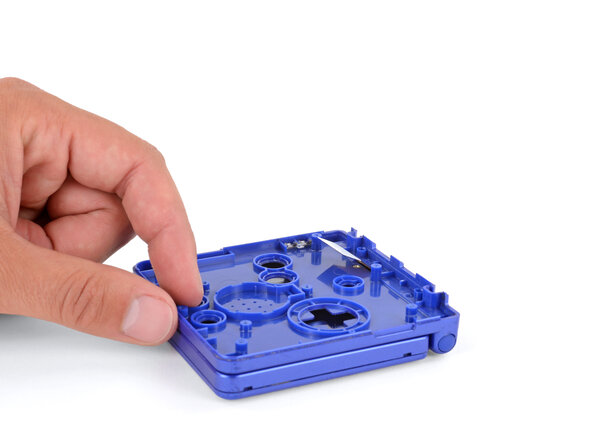
- Use your fingers to lift and remove the power switch cover.
- During reassembly:
- Use your fingers to put the power switch cover (notched side up) into place so the cutout goes around the actual switch.
- Gently slide the cover back and forth to make sure it's positioned properly and moving the switch.
- If the switch isn't properly in its cutout, you won't be able to power on your Game Boy.
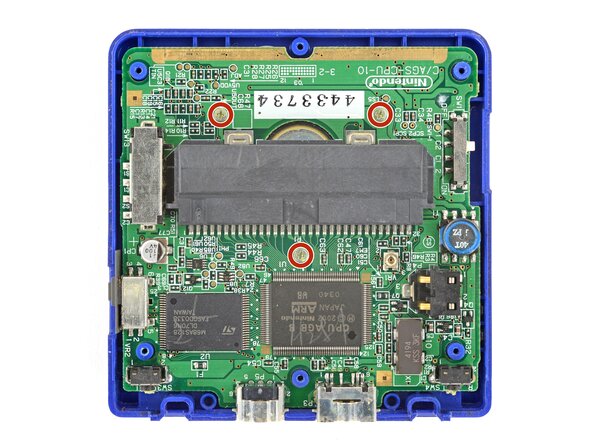
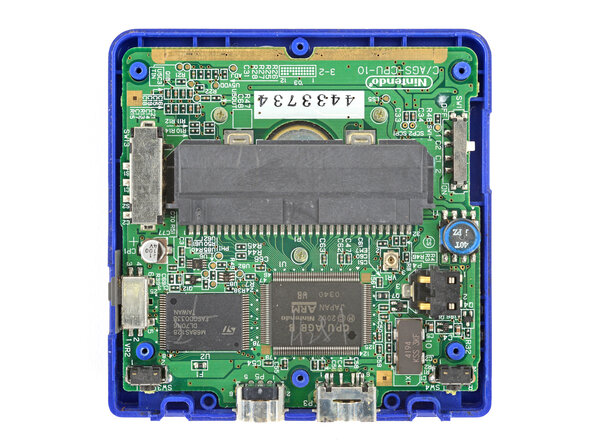
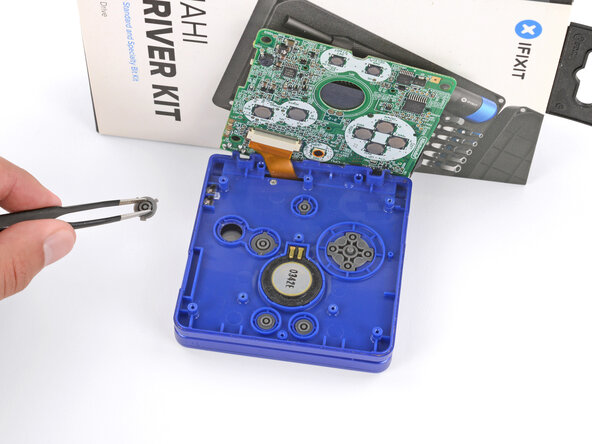
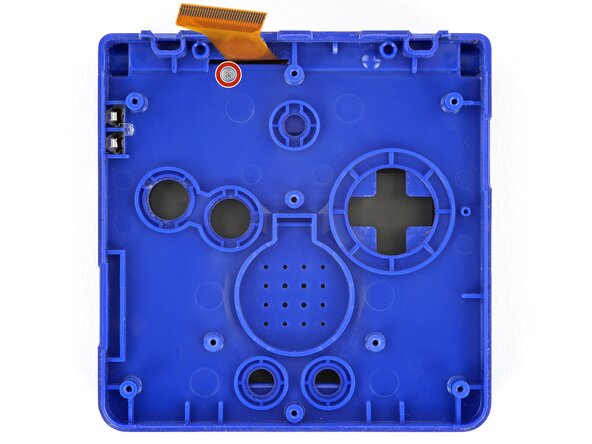
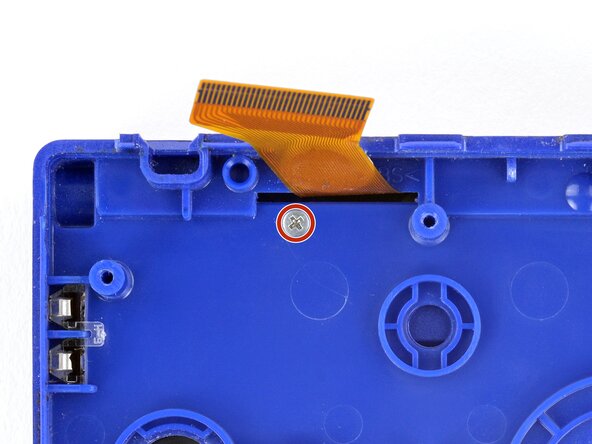
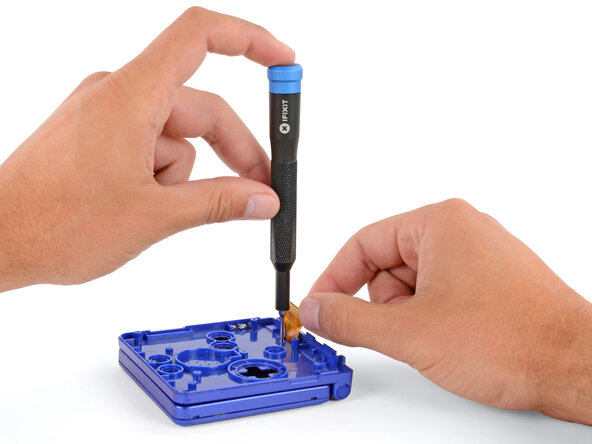
- Use a JIS 00 screwdriver to remove the three 4.1 mm‑long screws securing the motherboard.
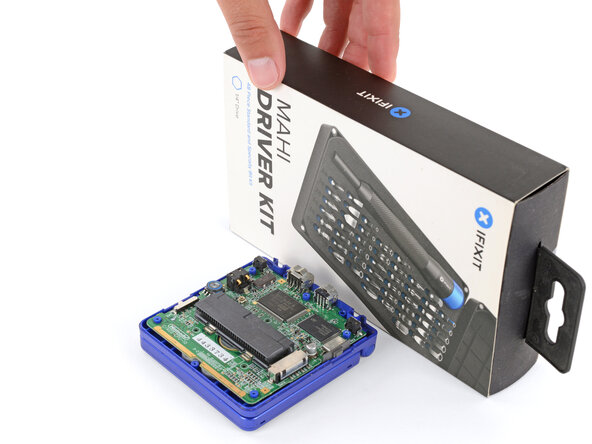
- Place a sturdy object such as a stack of books or tool case along the edge of your Game Boy with the hinges.
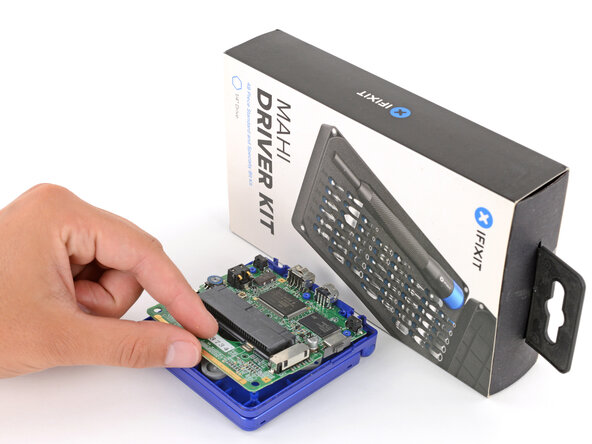
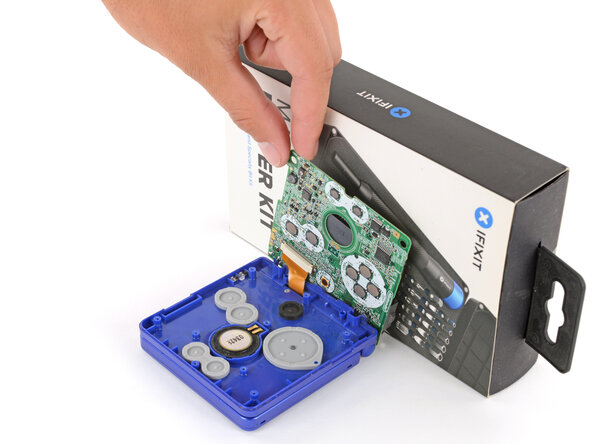
- Use your fingers to gently flip the motherboard over the hinges and prop it up.
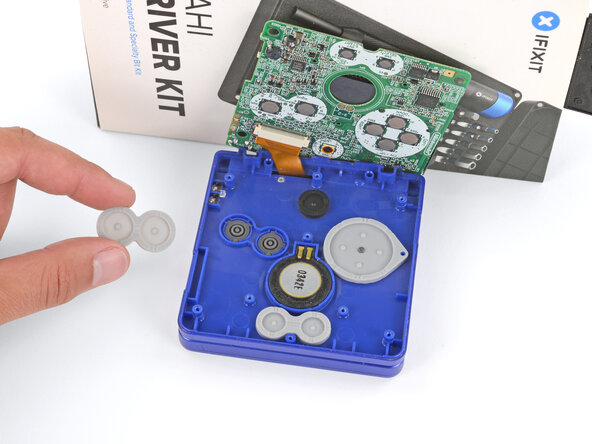
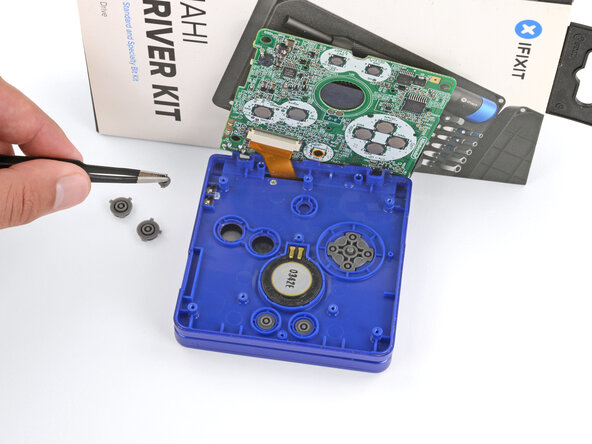
- Use tweezers or your fingers to remove the four silicone pads covering the buttons (A and B, D‑pad, brightness, and Start/Select).
- If any of the pads are missing, they may be stuck to their corresponding spot on the motherboard.
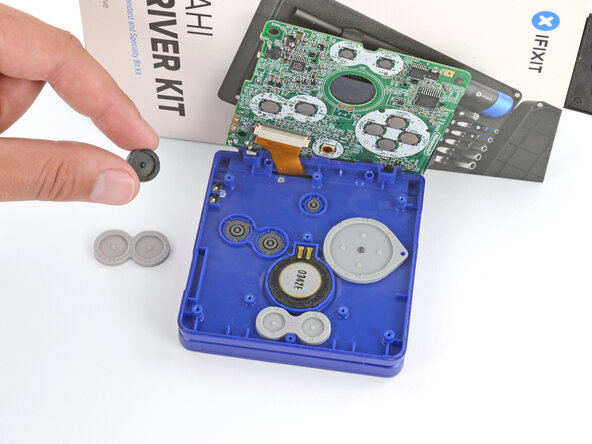
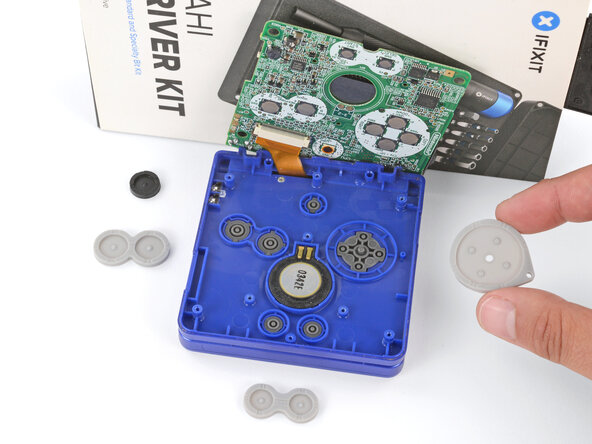
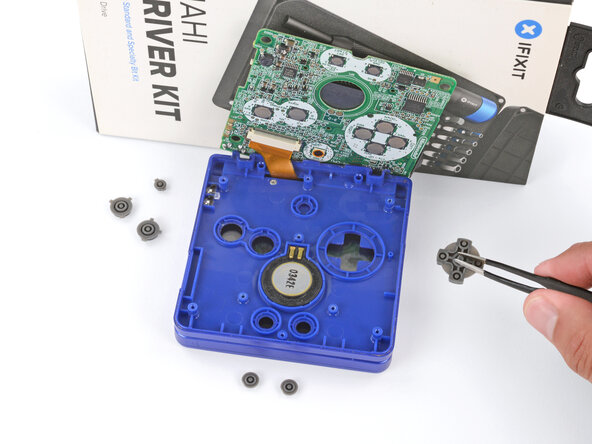
- Use tweezers or your fingers to remove the buttons (A and B, D‑pad, brightness, and Start/Select).
- When re‑inserting the action buttons, note that each one is keyed specifically for its recess and proper orientation.
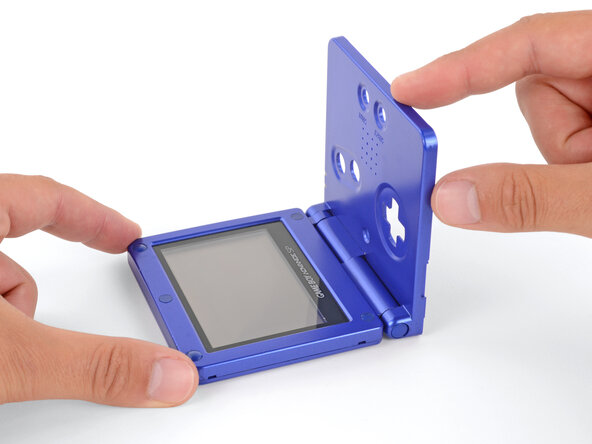
- Open your Game Boy to a 90‑degree angle and set it down so the screen is facing up.
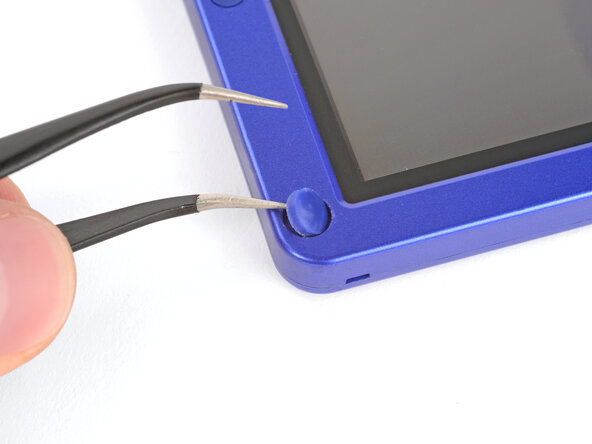
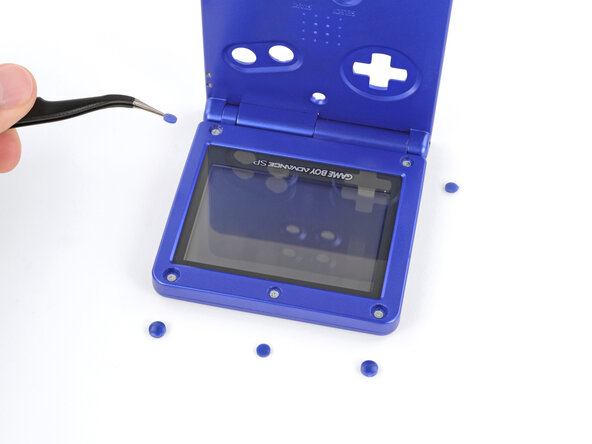
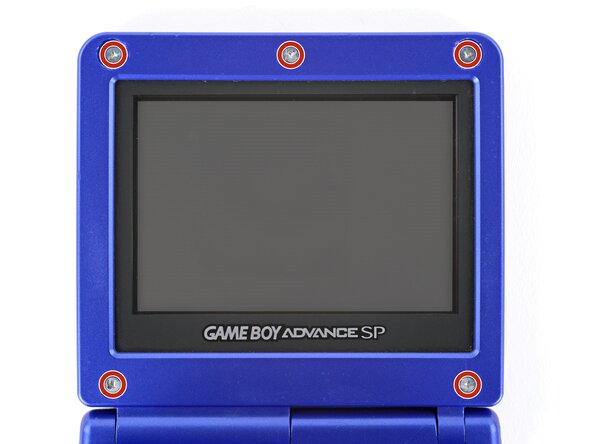
- Use a pair of angled tweezers to pry up and remove all five rubber screw covers.
- Removing old, brittle covers without damaging them can be tricky. Make sure to pry gently between the cover’s edge and the frame—don’t dig into the cover itself.
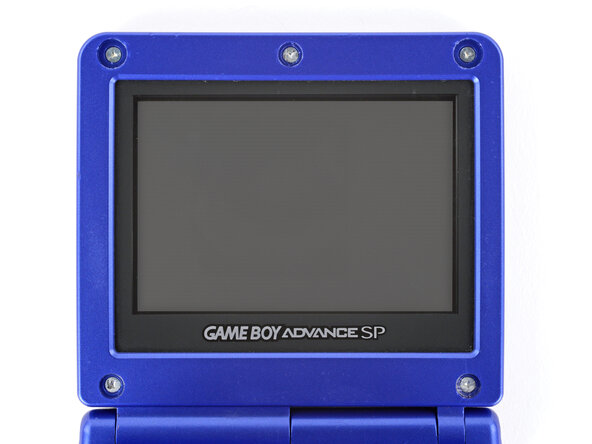
- Use a tri‑point Y0 screwdriver to remove the five 4.7 mm‑long screws securing screen shells together.
- Fully close your Game Boy (the button cutouts should be on top).
- Use a JIS 00 screwdriver to remove the 6.3 mm‑long screw securing the hinge cover.
- You may need to use your free hand to hold the screen cable out of the way.
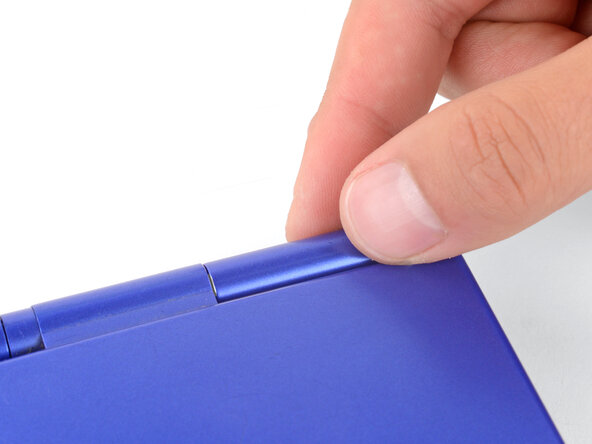
- Flip your Game Boy over.
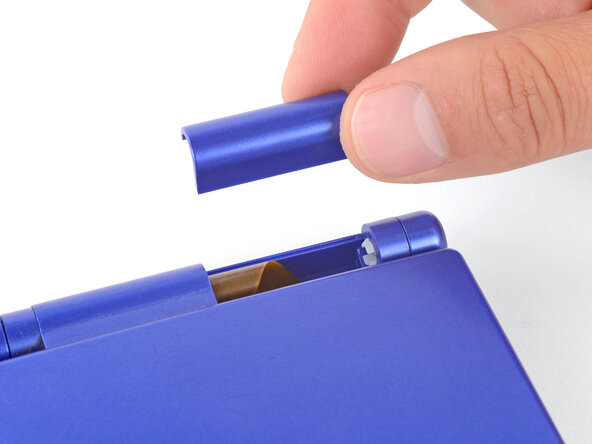
- Use your fingers to lift and remove the hinge cover.
- Depending on the age of your device, the screen may stay attached to its outer shell. If it does, make sure to thread the cable through its cutout while removing the shell.
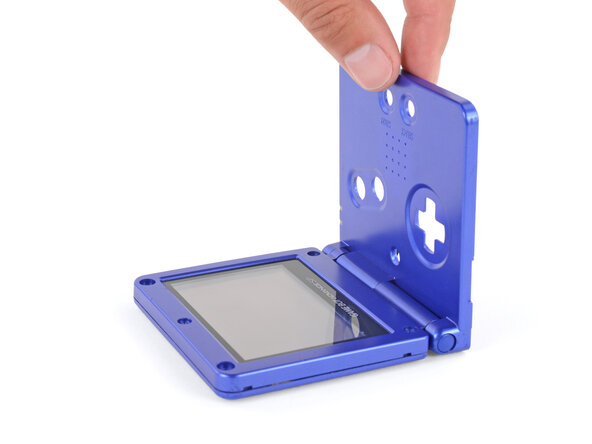
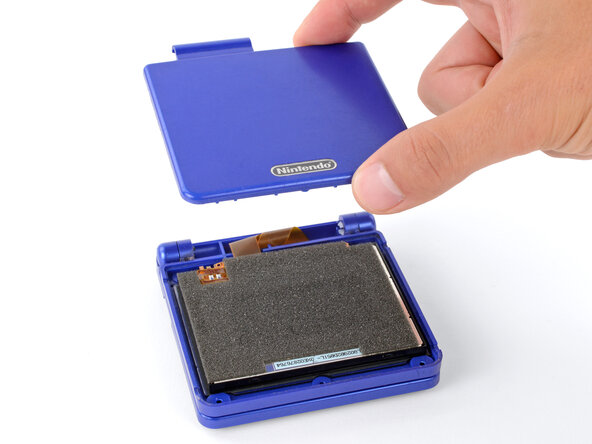
- Use your fingers to lift and remove the outer screen shell.
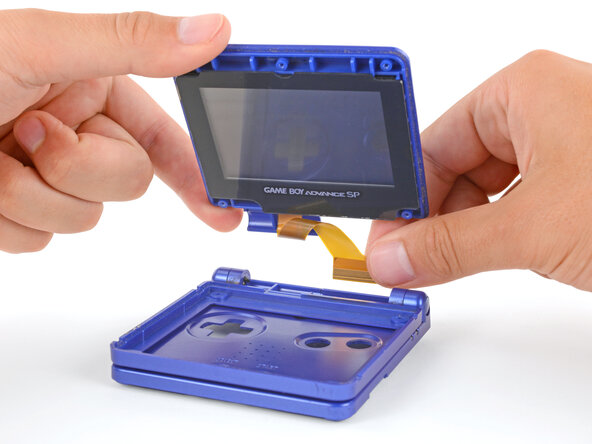
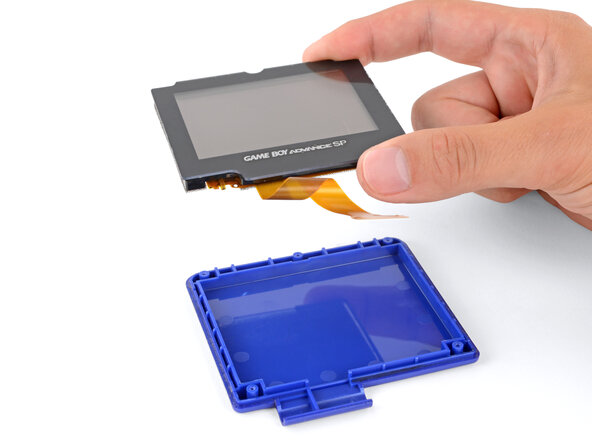
- Use your fingers to lift and remove the screen, threading the cable through its cutout.
- If your screen stayed attached to the shell, you may need to gently pry it up with a spudger before removing it.
- During reassembly:
- Place the screen foam-side up into its recess, so the cable is near the hinges.
- Make one loop in the screen cable and then slide it through the cutout.
- Don't try to force the hinges out of their sockets—you may damage the hinges, crack the shell, or injure yourself.
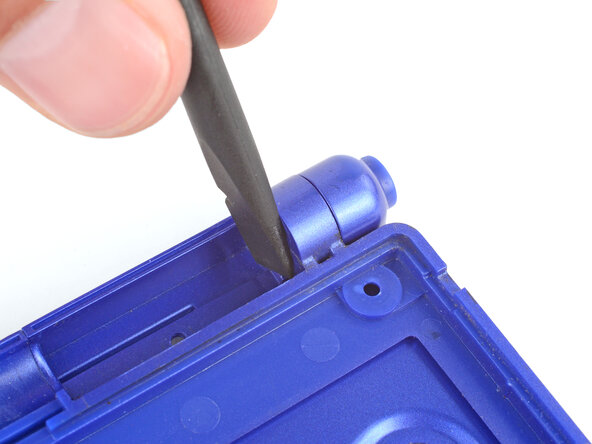
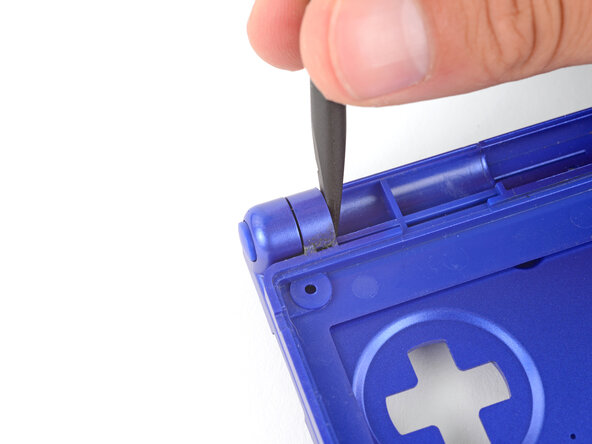
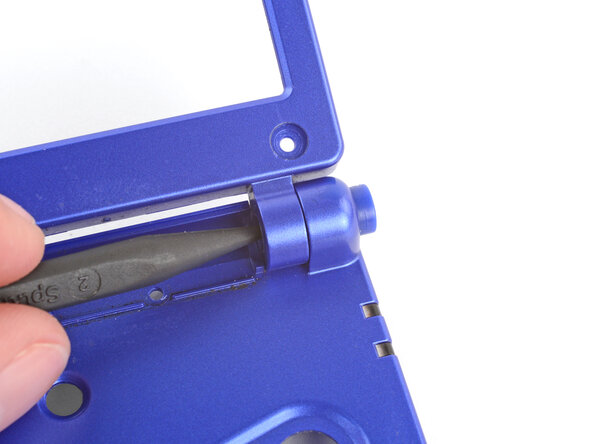
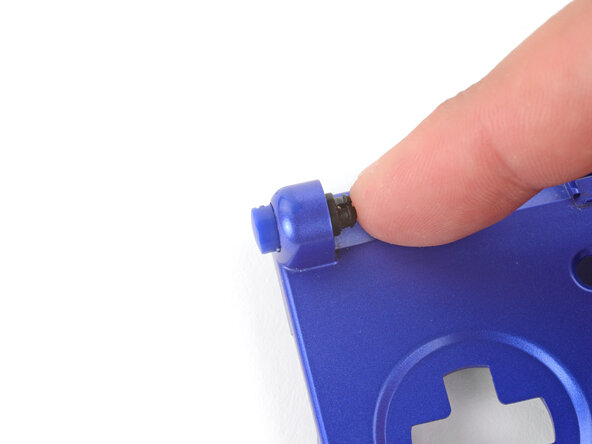
- Use the flat end of a spudger to push both hinges partially out of their sockets.
- You only need to push the hinges out until you feel them click into place.
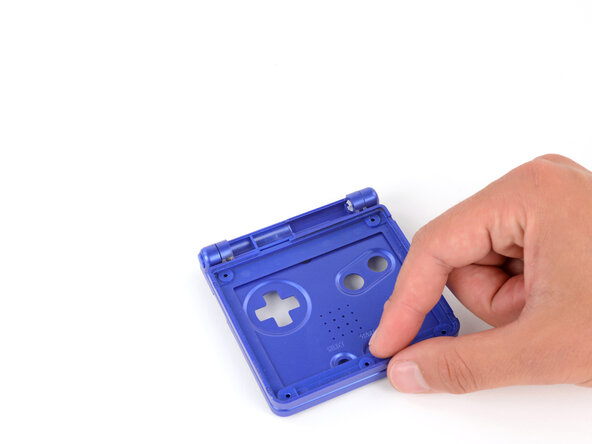
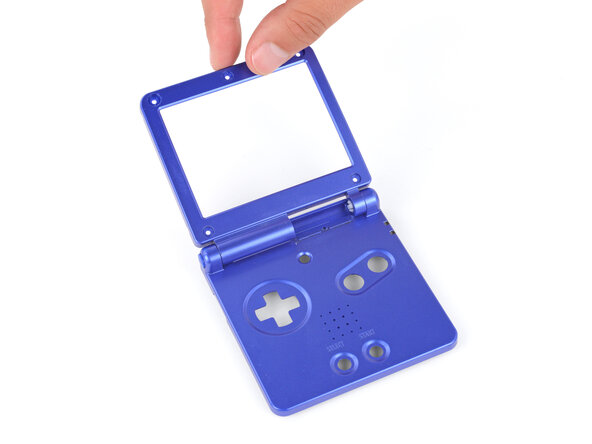
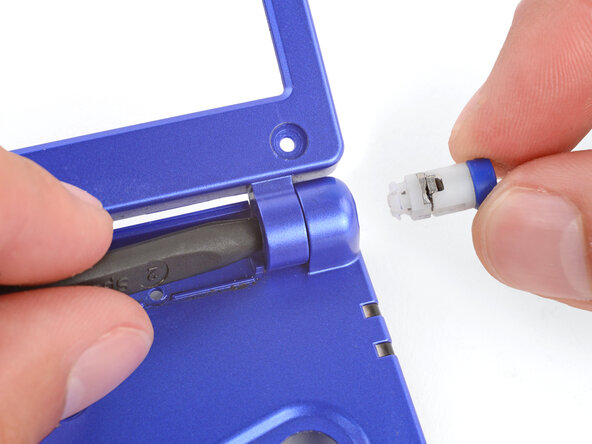
- Full open the shell of your Game Boy.
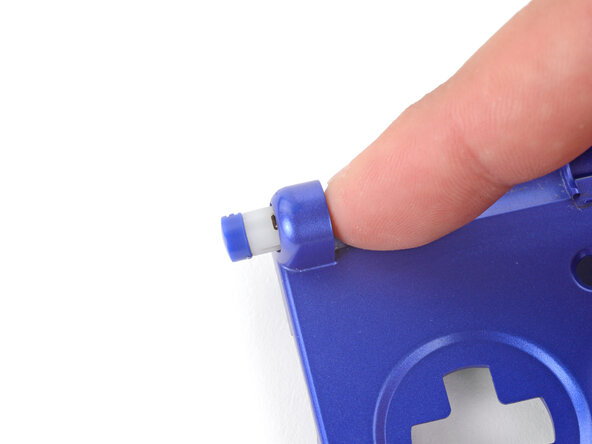
- Use the point of a spudger to push the right hinge fully out of its socket and remove it.
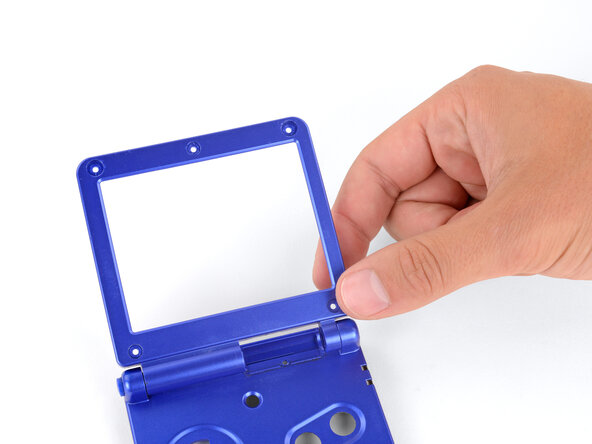
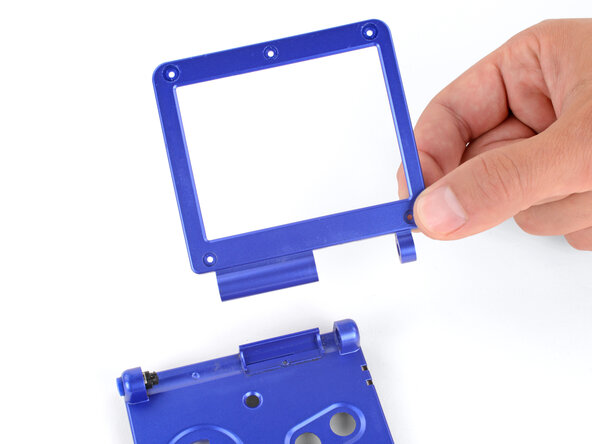
- Use your fingers to gently lift the right side of the screen bezel.
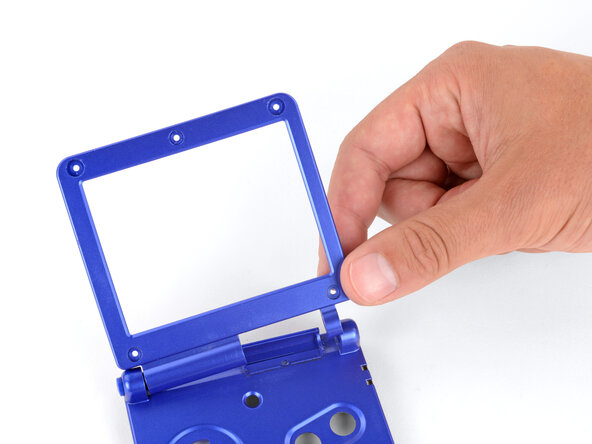
- Pull the screen bezel to the right—so it slides out of the left hinge—and remove it.
- Use your finger to push the left hinge out of its socket and remove it.