Nacon Asymmetric Wireless PS4 Controller Teardown
ID: 192858
Description: A simple teardown with some cables that may...
Steps:
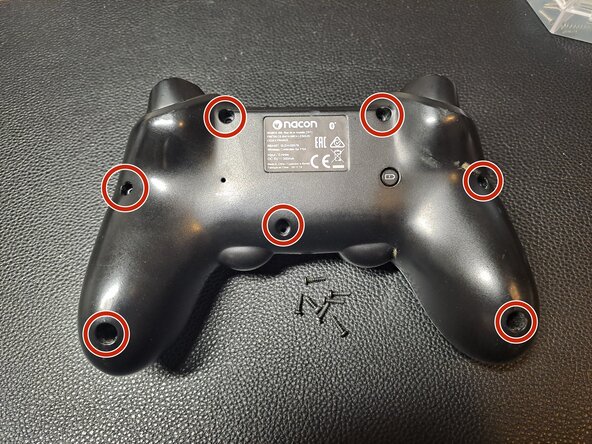
- There are 7 screws in total, and all require a J00 screw bit.
- The bottom two screws are set somewhat deep and may require a longer screwdriver.
- When the screws are removed, the shell should come off by itself. If not, gently apply some pressure.
- In my case, the shell simply dropped off as soon as I removed the last screw.
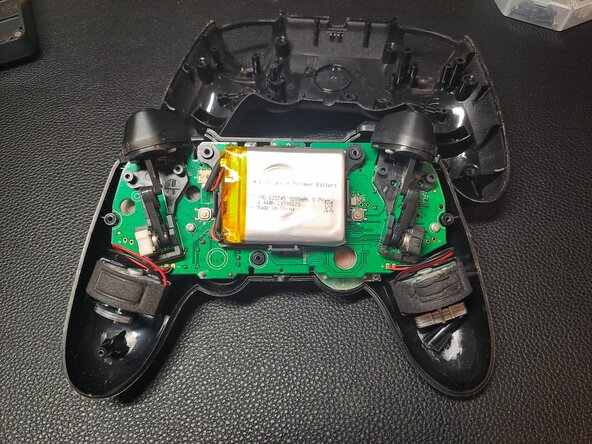
- The left and right sticks can be easily removed by lifting them up. They just need a bit of pressure, which then gives access to the potentiometers.
- Note: The broken part in the bottom right grip/handle should not be present on your controller.
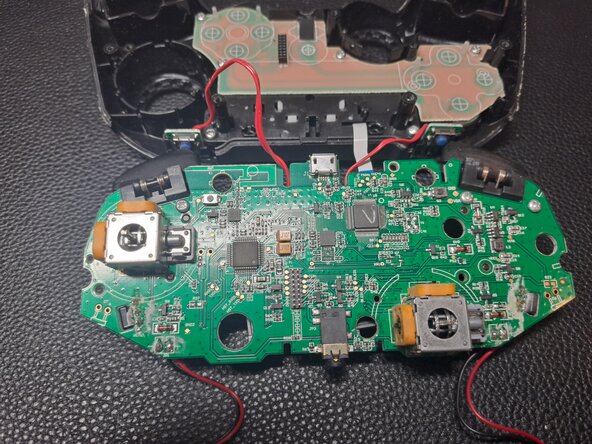
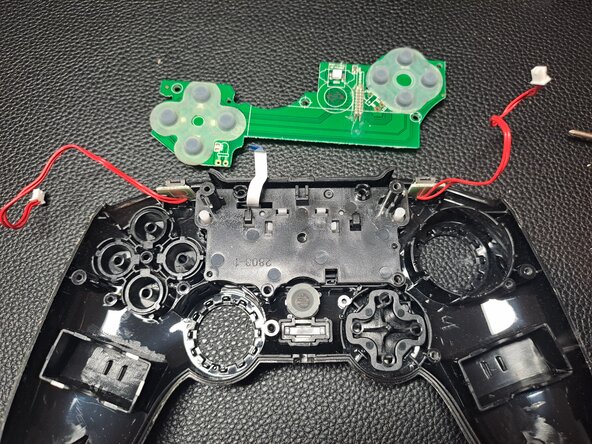
- There are 2 screws securing the board to the top shell cover. Again, you’ll need the J00 screw bit for these.
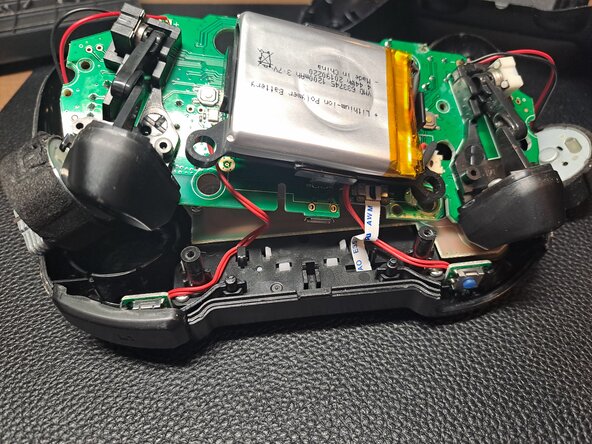
- Be careful when lifting, as there are ribbon cables and rumble electric motors attached.
- Before lifting the board off the top of the shell, remove the ribbon cables. They are tucked into plastic clips and plugged into the main board.
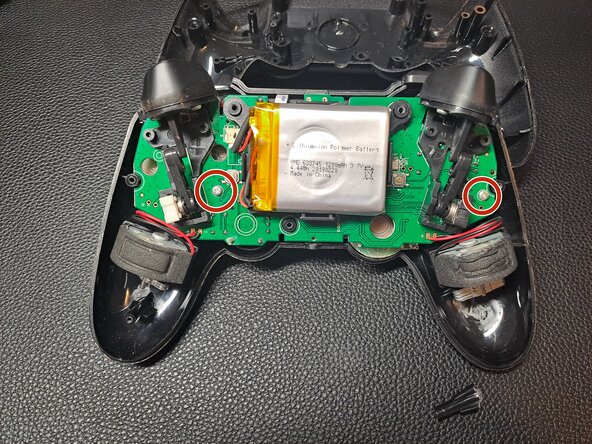
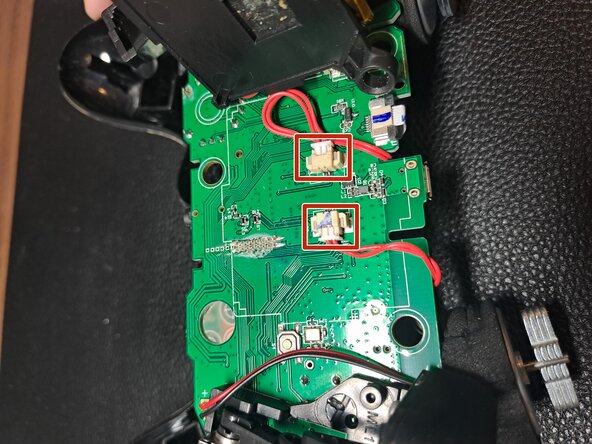
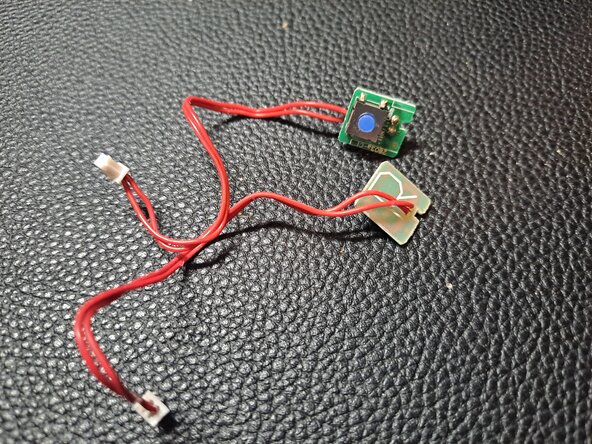
- Lift and move the battery to access and disconnect the left and right bumper button ribbon cables from the main board.
- Be careful, as these cables can easily break.
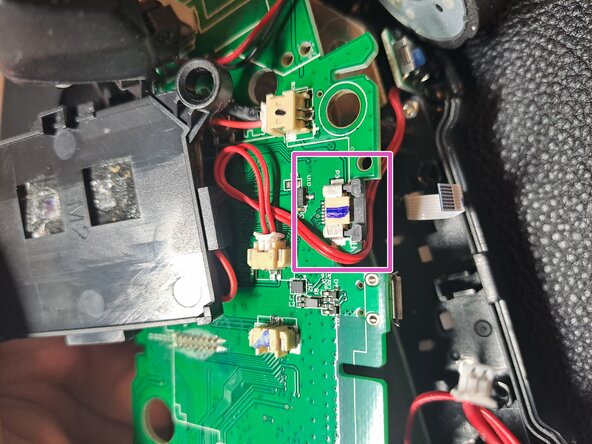
- To remove the last ribbon cable, pull the black plastic tab outward (towards you) to release the ribbon cable.
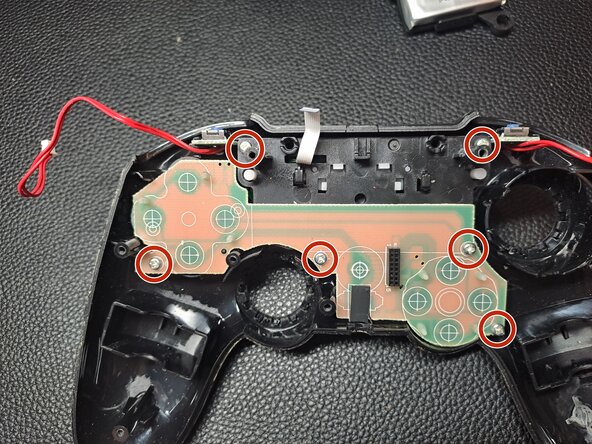
- There are 4 screws on the board that need to be removed to access the buttons. There are also 2 screws securing the touchpad in the controller. Again, you can use the J00 screw bit.
- To remove the smaller bumper boards, simply pull them off.
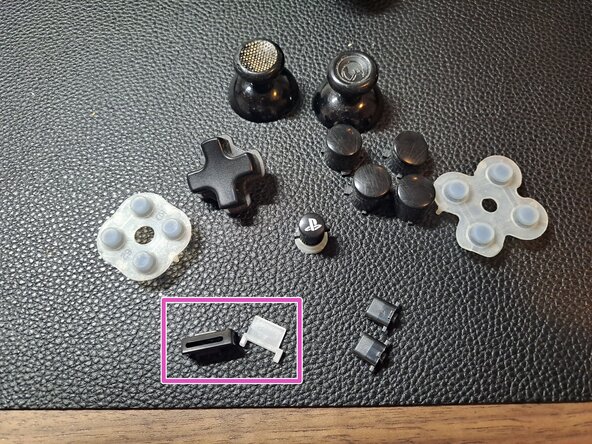
- These are all the buttons and button membranes.
- The parts inside the pink square are the light and its housing.
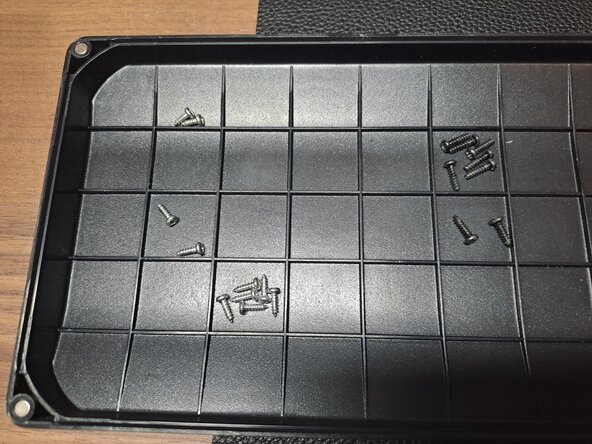
- And the screws that belong to the device.