Windows 10/11 - USB Installation Media Creation (Rufus)
ID: 192874
Description: The recommended minimum capacity for USB drives...
Steps:
- These steps are only applicable on Windows. Mac and Linux have different steps, especially based on what distro is used. This is only needed to get a used drive ready for this process and is not needed for a “new” drive. This will erase everything on the drive so backup the drive if you need the data!
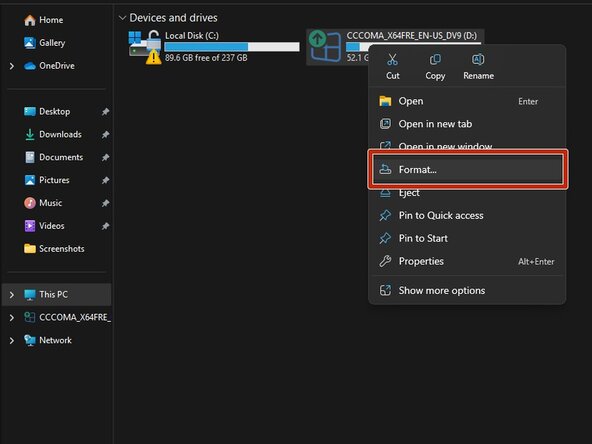
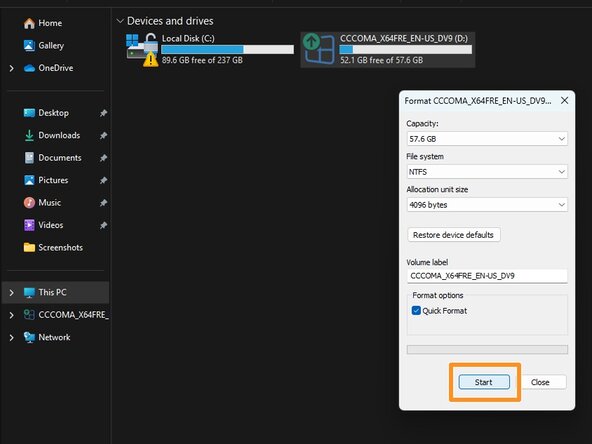
- With the USB drive plugged into the computer, go into Windows Explorer, right click Format. For all intents and purposes format type used here does not matter as Rufus does a format before writing the drive image.
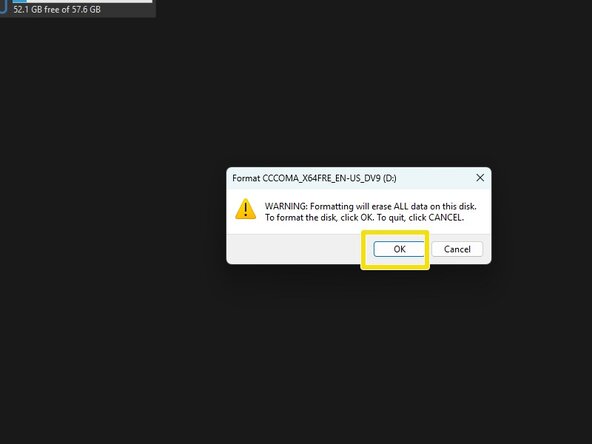
- Click on Format and click OK on the data loss warning. Once done the drive is ready to be imaged with Rufus.
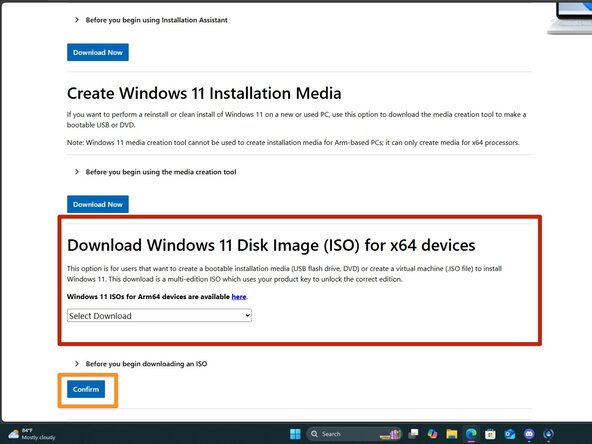
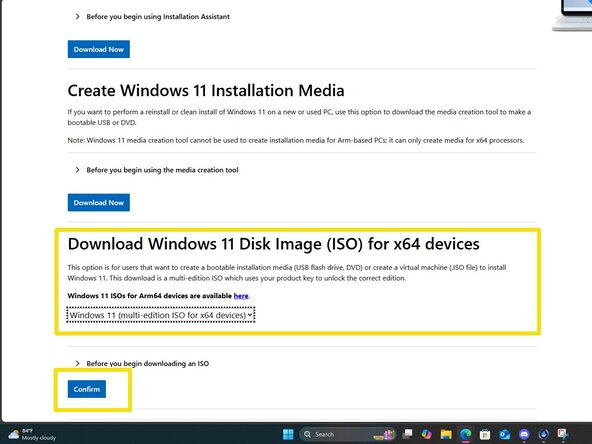
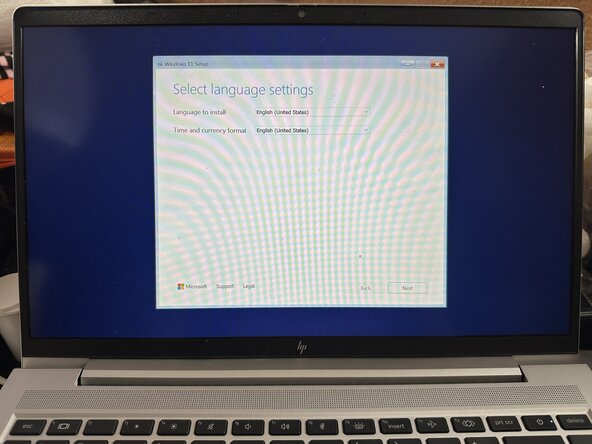
- NOTE: Due to space limits, I could not include the language selection option. Choose your native language and click "Confirm".
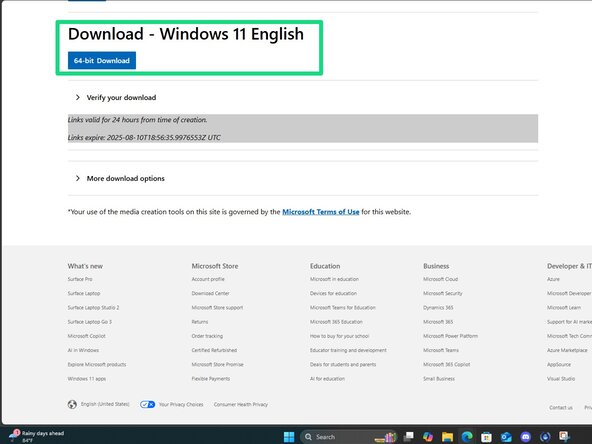
- For this guide, I am downloading Windows 11, but Windows 10 works the same (but without internet access, you can bypass the account issue without this fix -- but if you want to apply it and be sure, it works the same).
- Download a Windows 10 or 11 ISO from Microsoft - do not use other sources unless you trust it.
- Windows 11: https://www.microsoft.com/en-us/software...
- Windows 10: https://www.microsoft.com/en-us/software...
- THIS PROCEDURE WILL ERASE THE TARGET USB DRIVE! BACKUP THE DRIVE OR USE A NEW ONE IF YOU DO NOT HAVE A DRIVE THAT CAN BE ERASED.
- If you are reusing an old drive, format it first!
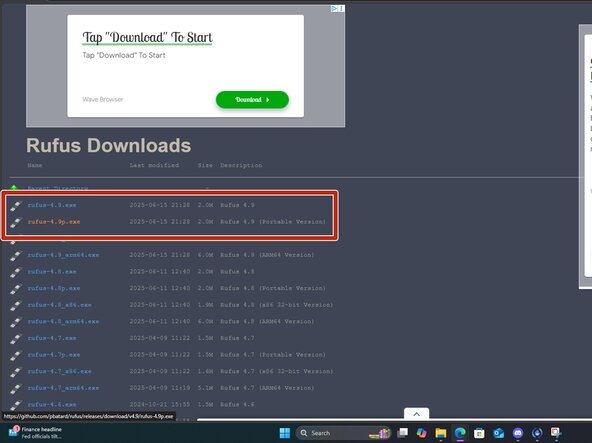
- IMPORTANT: make sure to use Rufus 3.x, 4.x or newer — anything older will not work. To write the ISO, download Rufus. Place this somewhere it is easily found.
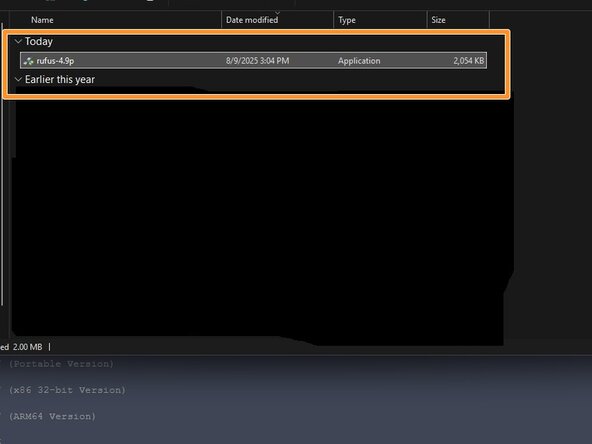
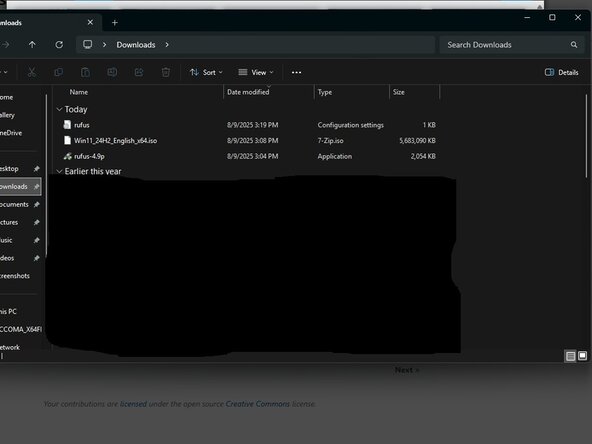
- The default download location for recent Windows versions will be Downloads
- Plug the USB drive in and select the ISO you want to use.
- If you are using this guide to bypass the CPU/TPM checks to install Windows 11 on unsupported machines older than Zen1/Zen+ or 7th-gen Intel, you run a higher risk of future compatibility and stability issues. The bypass has generally been proven safe on 7th gen and Zen1/Zen+ CPUs. However, you are on your own in the eyes of Microsoft.
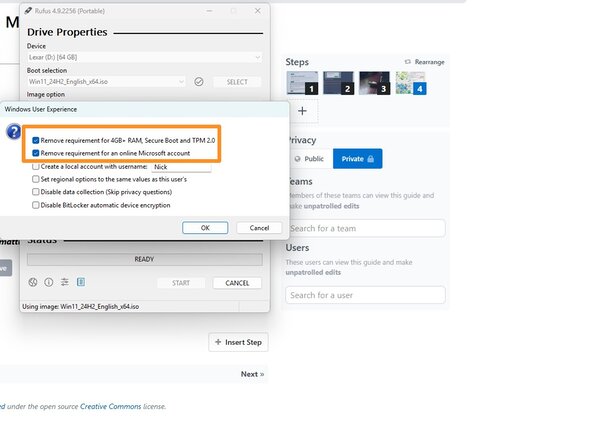
- If you are bypassing the requirements to install Windows 11 on unsupported hardware that is borderline from what is officially supported, make sure to keep the two default options selected. This will let you bypass the system requirements.
- Legacy PCs only: If your device is pre UEFI, most of these struggle with GPT formatted drives. Change it to MBR or you may have issues.
- Open Rufus and click SELECT. Find the ISO and click Open.
- Select the options you want to enable. For most people the defaults are fine, but you can enable and disable options as you desire.
- After configuring the writing process, click start. Click OK on the formatting warning.
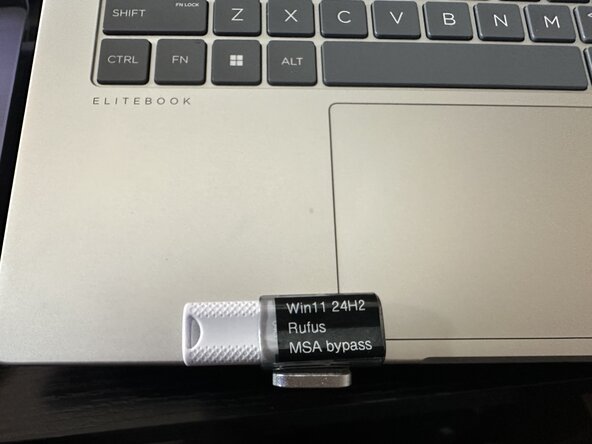
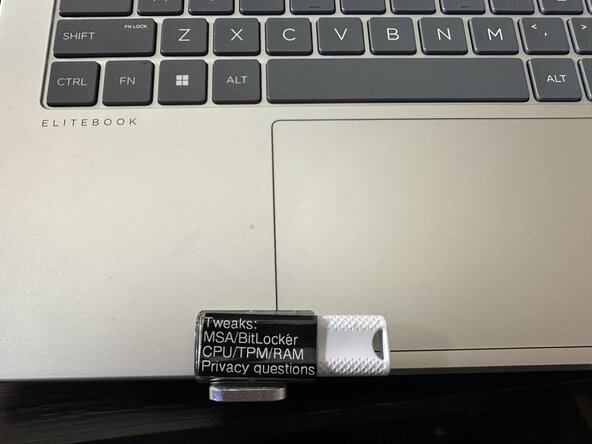
- Authors' Note: This step is your call on if you do it or not - if you choose to maintain the drive as it stands in case of a reinstall or you need to keep a few drives, labeling is strongly recommended, along with any tweaks made.
- How you do this is up to you, but depending on the drive size -- you might find yourself with little room - in these cases, choose carefully what you put on the drive. If you have a larger drive like this one, you can have a more "full" label.
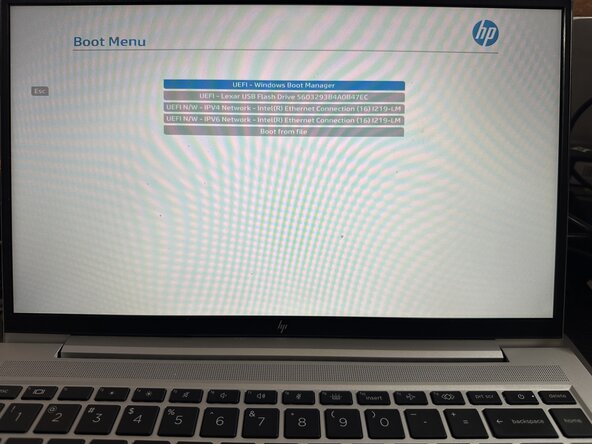
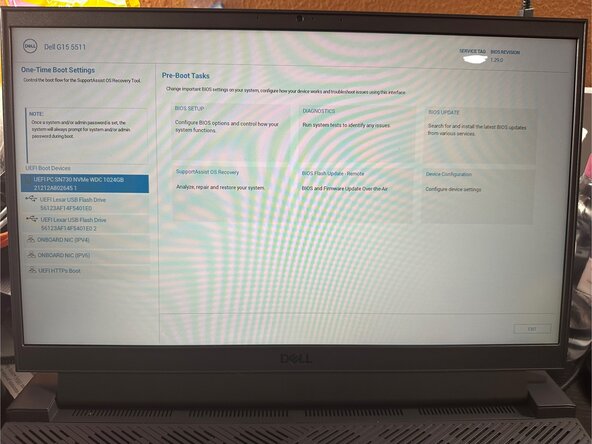
- Every PC will use a different "common key" to access the startup menu. The machines shown use ESC (HP Commercial/Consumer) and F12 (Dell, same key on commercial and consumer). For machines from other vendors like MSI and Asus, confirm the key you use with a Google search as these vary wildly.
- Authors' Note (Lenovo, ThinkPad/ThinkBook): ThinkPads use two keys: ThinkVantage button for startup interrupt (30 and older series), or the Enter key for startup interrupt (40 and up). Most use F12 for the boot device menu but the ThinkBook could deviate from this standard key, so confirm as needed.
- Authors' Note (Non ThinkPads, Lenovo): These usually use a recessed Novo key somewhere on the chassis (sides or bottom) to pull up the boot menu, but some like the Legion series do not use the Novo key. Confirm the sequence with a Google search if there is no Novo key and the procedure is unclear.
- After selecting the drive from the BIOS startup menu, follow the prompts to install Windows 10/11 on your PC.