HP 17-p051no Hard Drive Upgrade
ID: 192905
Description: Because this laptop comes with HDD, it's...
Steps:
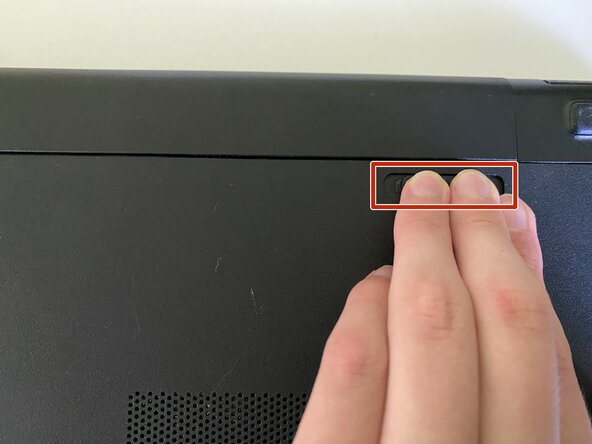
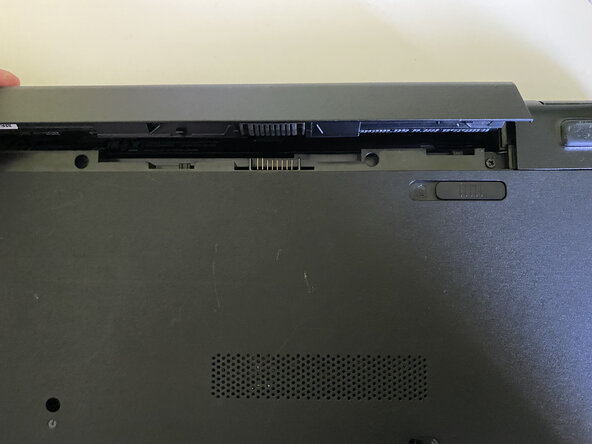
- Put the laptop upside down and remove the battery by pulling the right latch outward.
- Raise the battery upwards.
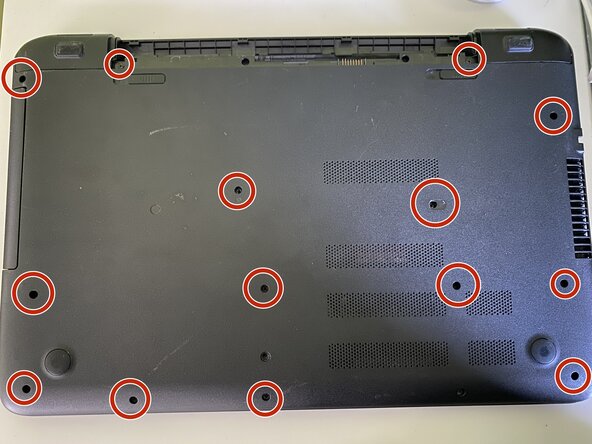
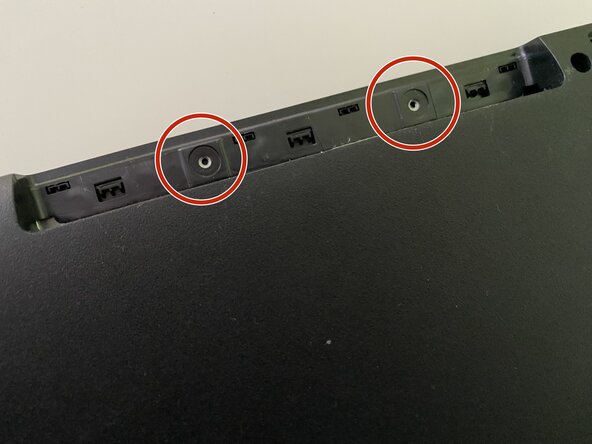
- Remove the screws that are shown in the picture with a Phillips #0 screwdriver.
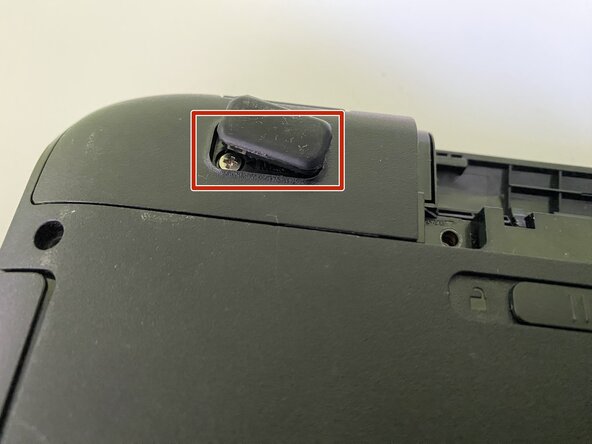
- Remove the paw with iFixit Opening Picks.
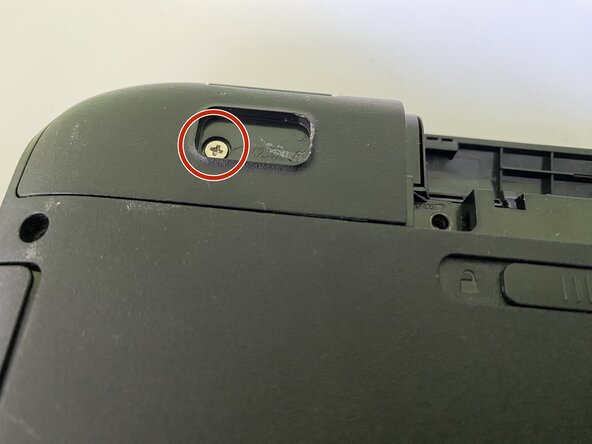
- Remove the screw with a Phillips #0 screwdriver.
- Do the same operation to the right corner.
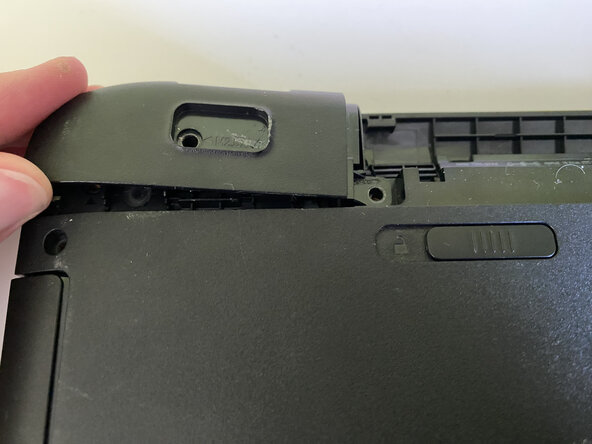
- Remove the corner piece with iFixit Opening Picks.
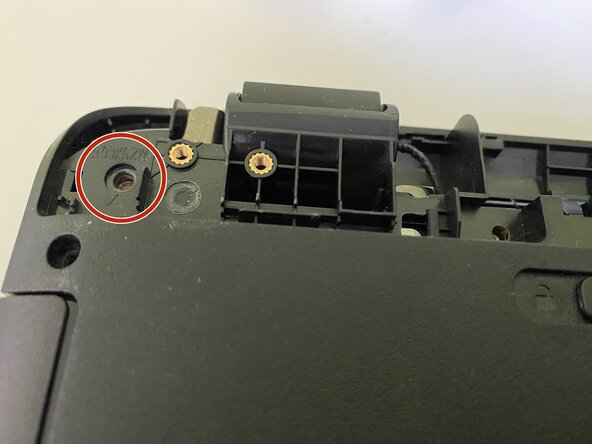
- Remove the screw as shown in the picture.
- Do the same operation to the right corner.
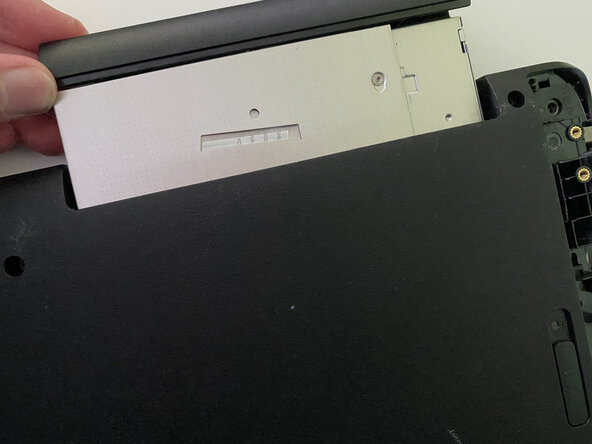
- Pull the optical disk drive (ODD) out with fingers.
- Remove the screws as shown in the picture.
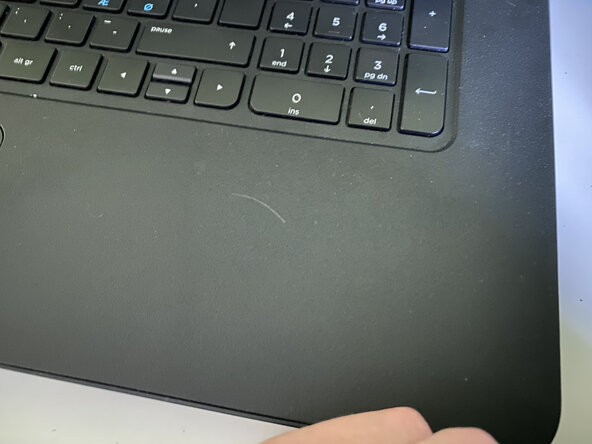
- Remove the keyboard/touchpad tile with iFixit Opening Picks and fingers.
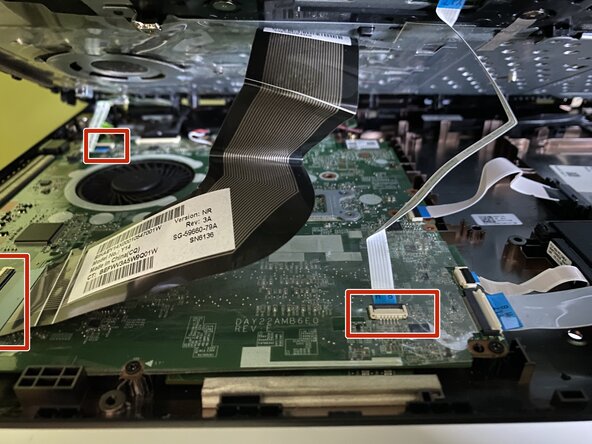
- Remove the cabels as shown in the picture from the motherboard.
- Now you can start the replacement or cleaning operation.
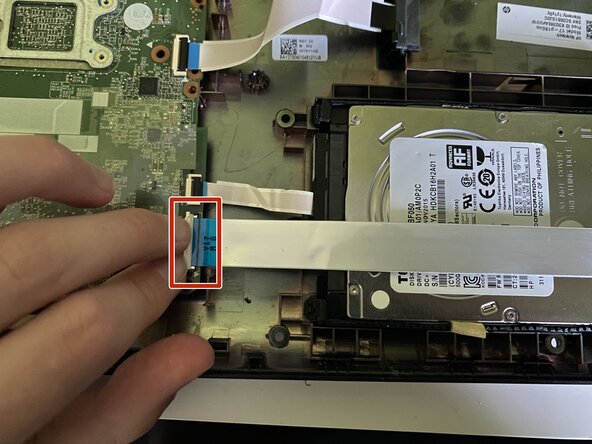
- Turn the cable's tip upwards and put the cable out of the way.
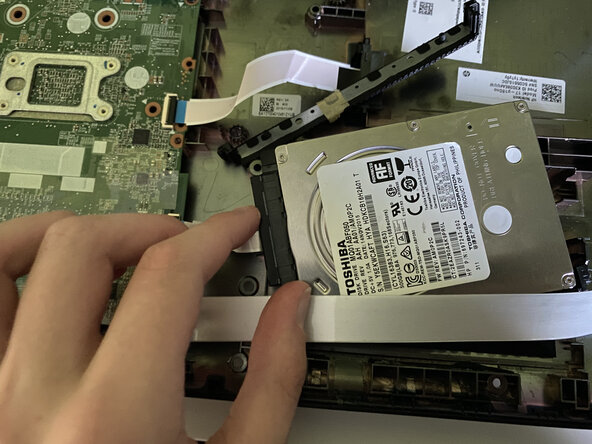
- Remove the buttresses from both sides of the hard drive.
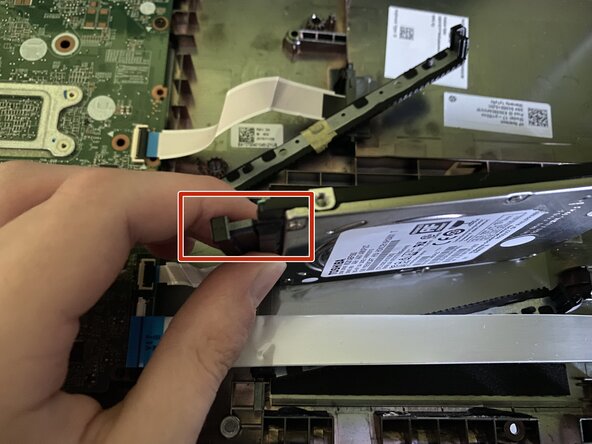
- Remove the SATA cable from the old hard drive.
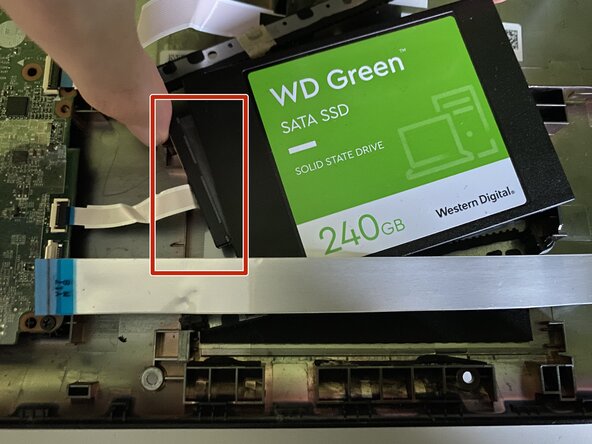
- Plug the SATA cable to the new hard drive.
- Put all of the removed pieces and screws back and reassembly the laptop.
