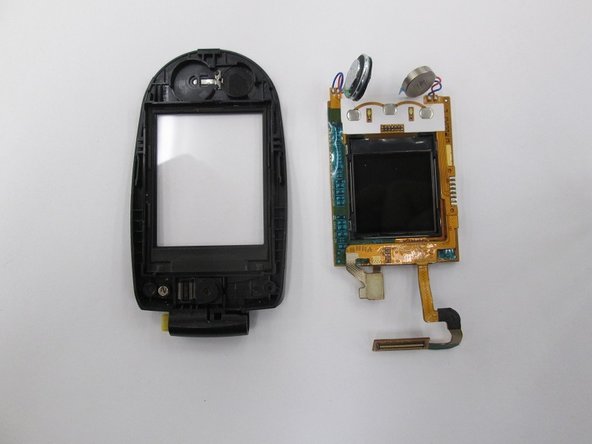
Removing LG VX8350 Screen Assembly
ID: 19363
Description:
Steps:
- Locate the horizontal grip located on the back cover of the phone.
- Slide the back cover down and off of the phone.
- Insert a plastic opening tool into the battery release point located above the battery.
- Pull outwards in order to release the battery.
- Locate the 5 screws holding the body of the phone together.
- The top screw will have a plastic cover, remove it using tweezers.
- Using a Philips head screwdriver, twist counterclockwise to remove the screws.
- Take special care with the screw located at the top of the phone. It is smaller and more likely to be damaged or improperly attached.
- Lift the back cover starting at the bottom of the phone.
- Remove the back cover completely from the phone.
- Locate the clamp at bottom right side of the Circuit Board.
- Pull the circuit board from the phone being cautious to pull out underneath the clamp.
- Locate the ribbon connecting the circuit board to the phone display.
- Using the spudger, disconnect the ribbon connecting the phone's display and the circuit board.
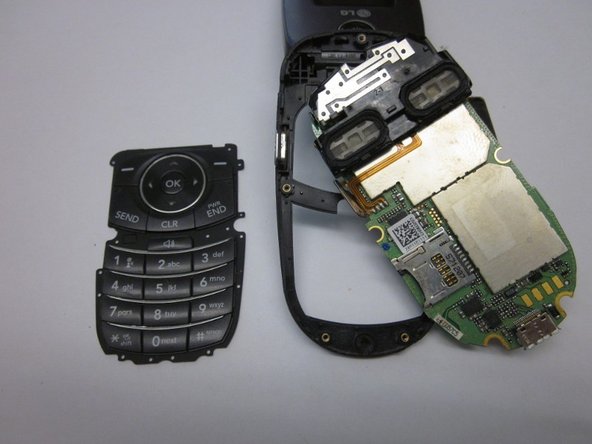
- Remove the circuit board
- Lift the keyboard and remove it from the phone.
- Locate the two rubber circles covering the screws.
- Remove the rubber covers using tweezers.
- Using the Phillips head screwdriver, unscrew and remove the two screws.
- Close the phone and gently pull outwards from the bottom left portion of the phone cover.
- Take care not to do this with too much force, as it could crack the cover.
- Completely remove the cover from the phone.
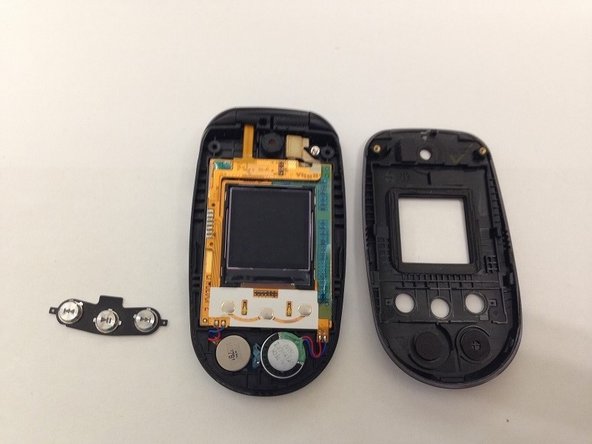
- Locate the front music buttons.
- Remove the music control buttons on the face of the phone.
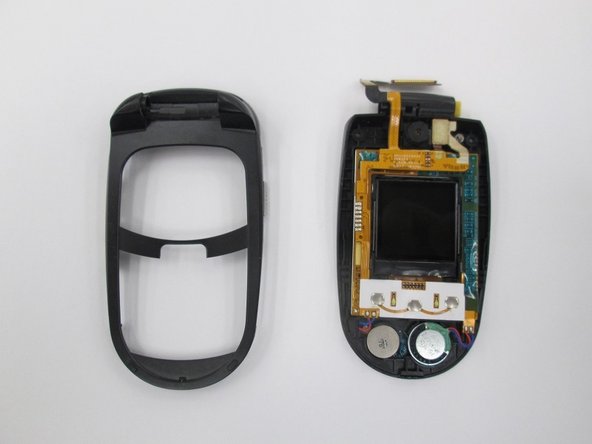
- While grasping the top and bottom sections torque the pieces until the indicated hinge has popped out. The two sections of the phone are now able to separate.
- Make sure the right side of the hinge is removed first and not the left as you will likely damage the ribbon connection.
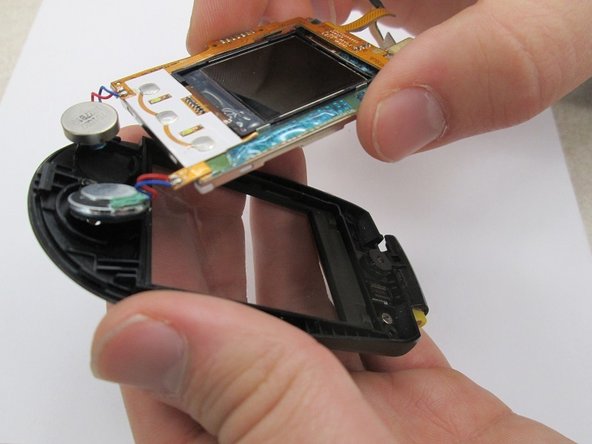
- Locate the two speakers. Using a spudger disconnect the speakers from the assembly.
- Lift the screen assembly from the casing.
- The screen assembly is completely removed to allow for easier access to the speaker connections when performing further repairs on the speakers.


