Logitech MX Anywhere 3S for Mac Battery Replacement
ID: 193637
Description: Follow this guide to replace a worn-out or dead...
Steps:
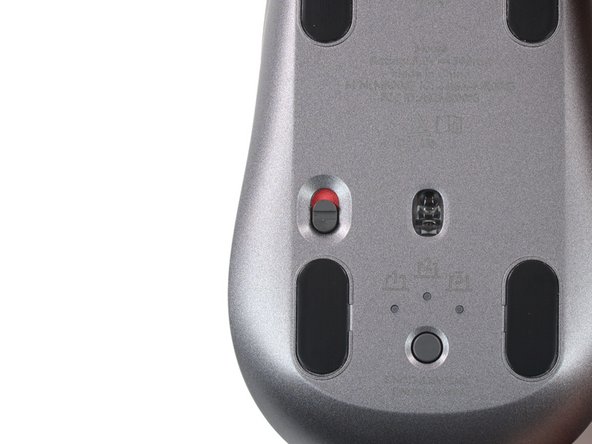
- Slide the mouse's power switch to the OFF position and unplug any cables.
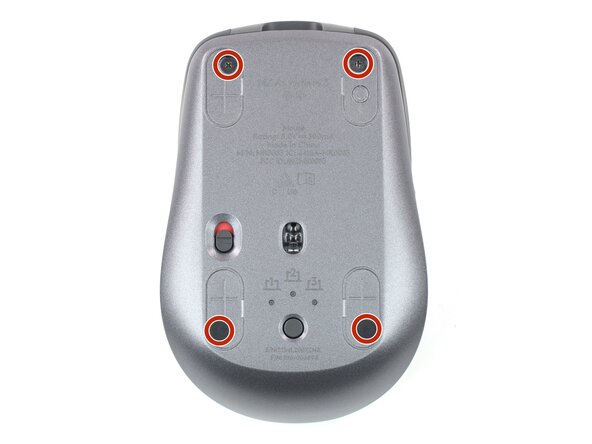
- Flip the mouse over so the feet are facing up.
- The unique shape of some mice can prevent them from laying flat. If you need to, lay your mouse on a soft towel to prevent wobble.
- If you're planning to reuse your existing mouse feet, the adhesive needs to be thoroughly heated to cleanly remove them.
- Heat an iOpener and lay it on the mouse feet for about two minutes to soften the adhesive.
- Alternatively, you can use a hair dryer to soften the mouse feet adhesive.
- When using a hair dryer, don't heat the feet for more than a couple seconds at a time—anything hotter than just warm to the touch risks melting or warping the plastic case.
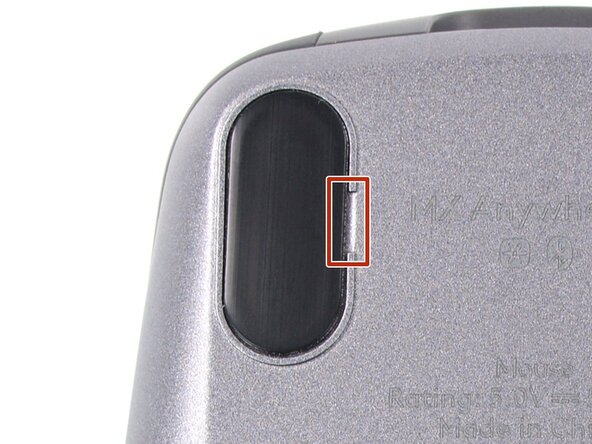
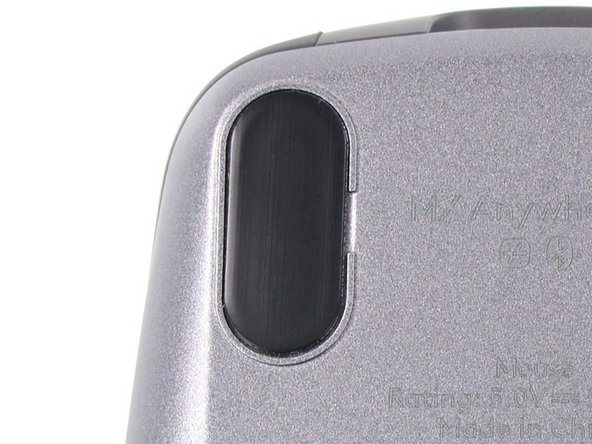
- While you wait for the adhesive to soften, note the following:
- There are small gaps in the rims surrounding each foot. This is where to insert your tool when peeling up the feet.
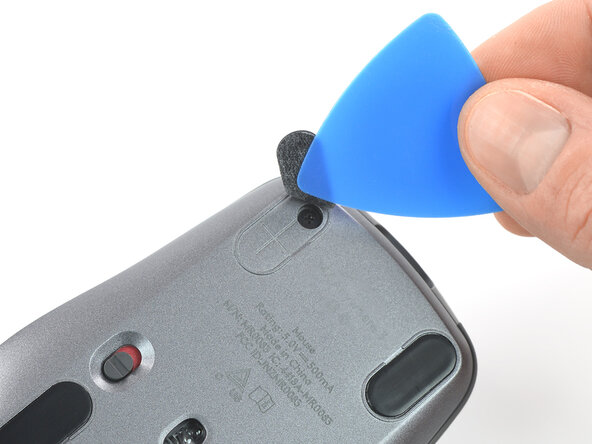
- Push the tip of an opening pick (or spudger) underneath the mouse foot, into the gap in the rim.
- Go slowly, and make sure the pick slides underneath both the foot and its adhesive pad—these layers separate easily.
- If you plan on reusing your mouse feet, be careful not to crease them or separate them from their adhesive pads.
- Slide your pick under the foot and lift to remove it.
- Repeat the process to remove the three remaining mouse feet. If you're having trouble sliding the tool under a foot, reheat it and try again.
- To install new mouse feet:
- Use a pair of tweezers or a spudger to remove any large chunks of leftover adhesive. Thoroughly clean the bottom of the mouse with isopropyl alcohol and a lint-free of microfiber cloth. Allow the surface to dry completely.
- Peel your new mouse feet off their adhesive liners and press them firmly into place.
- Use a Phillips screwdriver to remove the four 4.3 mm‑long screws securing the two halves of the mouse together.
- Gently lift the top shell off the mouse up and flip it over the right edge.
- Don't try to fully remove the top shell yet—a cable connects it to the lower half.
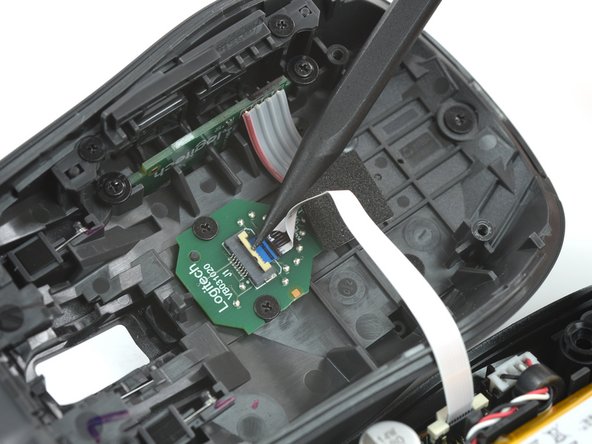
- Use the point of a spudger or a clean fingernail to flip up the small, hinged locking flap on the interconnect cable ZIF connector (located on the underside of the top shell).
- There may be a small piece of adhesive securing the interconnect cable to the board on the top shell, right where the cable goes into its socket.
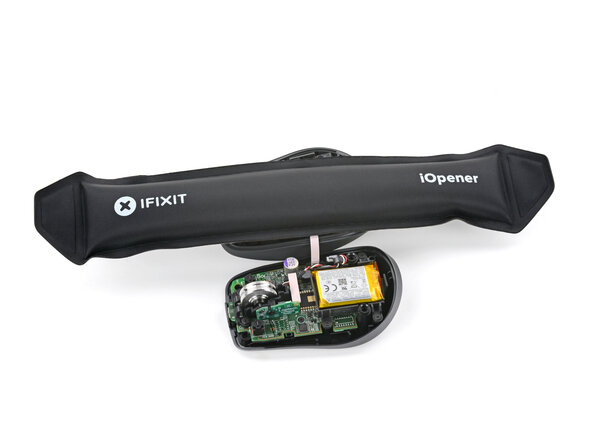
- Apply a heated iOpener to the board on the underside of the mouse's top half for two minutes.
- Gently slide the tip of an opening pick under the cable to separate its adhesive.
- Use your fingers or tweezers to pull the cable straight out of its socket.
- During reassembly, insert the cable with its blue tab facing up, then flip down the locking flap.
- Remove the top shell.
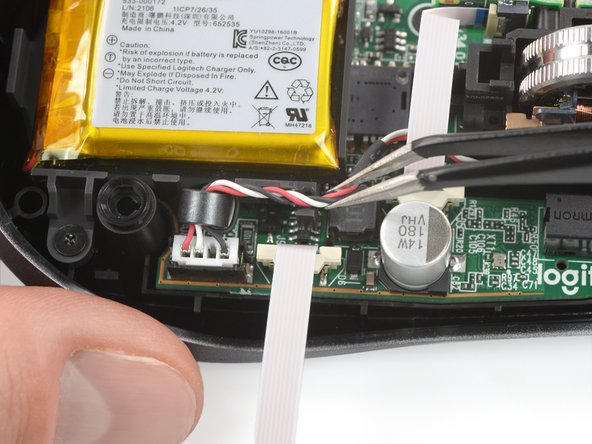
- Use a pair of tweezers (or the point of a spudger) to lift the wheel assembly cables out from under their clip on the battery housing.
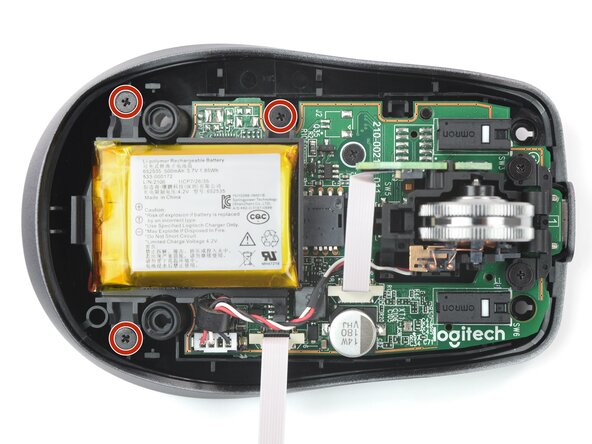
- Use a Phillips screwdriver to remove the three 3.4 mm‑long screws securing the battery housing.
- Be careful not to strain the battery cable.
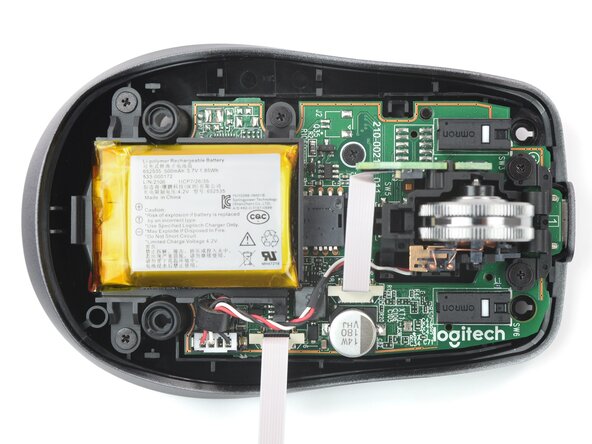
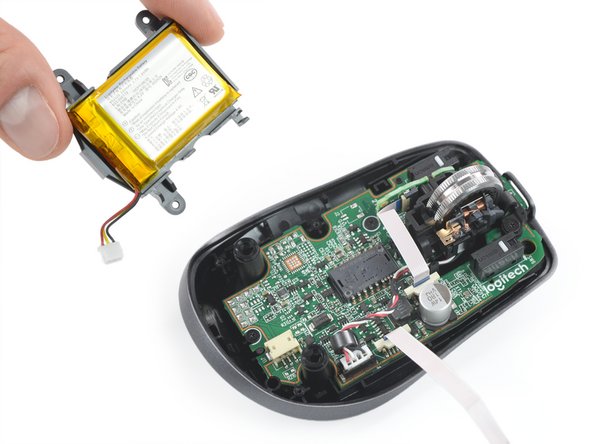
- Lift the battery housing up and set it aside so you can access the connector underneath.
- If you're having trouble, make sure the scroll wheel cables are fully out of the way.
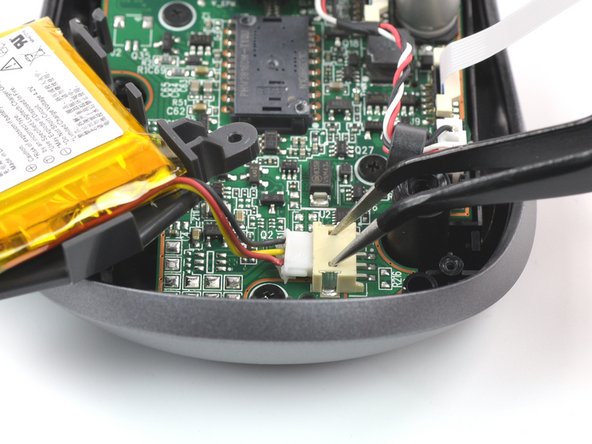
- Insert each arm of a pair of pointed tweezers into the small cutouts on the top of the battery connector socket.
- Slowly push the connector out of its socket, just enough to grip the top of the connector with another pair of tweezers or your fingers.
- Be careful not to let your tweezers slip out and damage the motherboard.
- Pull the battery connector completely out of its socket to disconnect it.
- Remove the battery housing.
- The battery is secured in its housing with mild adhesive.
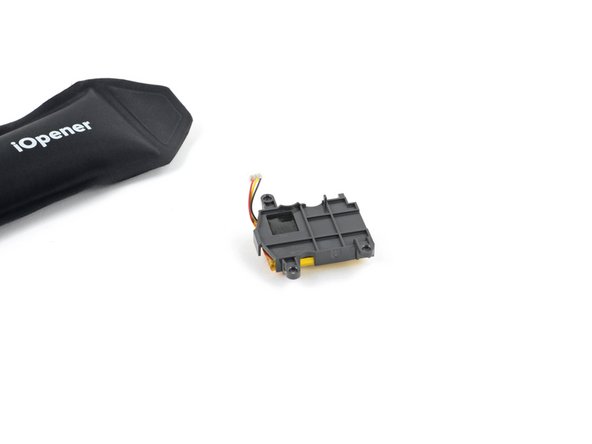
- Flip the battery housing over so the battery is facing down.
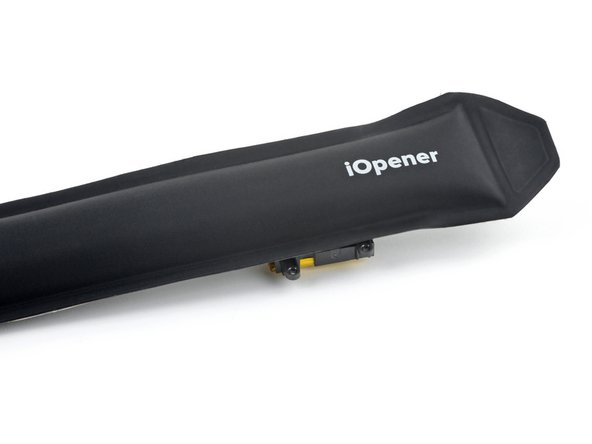
- Lay a heated iOpener on the battery housing for two minutes to soften the battery adhesive.
- Be careful not not to bend, crease, deform, poke, or puncture the battery with your tool—a damaged battery is a potential fire hazard.
- Insert the flat end of a spudger between the battery and its housing through one of the cutouts.
- Use the spudger to pry the battery away from the housing to separate its adhesive.
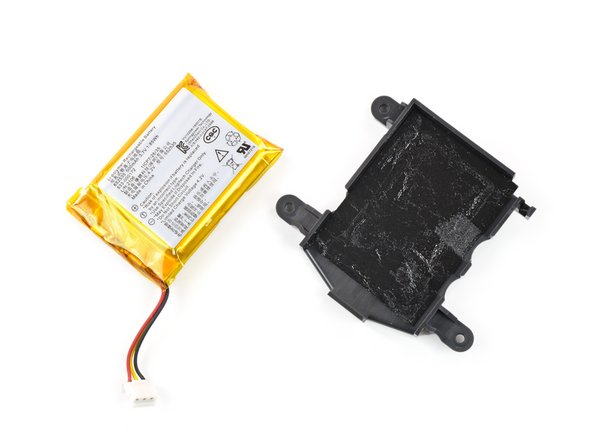
- Remove the battery.
- To install a new battery:
- Use tweezers or your fingers to peel all the old adhesive off the battery housing—it shouldn't leave any residue.
- If your new battery doesn't come with adhesive pre‑installed, apply a couple strips of double-sided tape to the battery housing.
- Orient your new battery so the sticker is facing up and the cables are on the short side of the housing that protrudes outward. Press the battery firmly into place to secure it.