Logitech K Series Keyboard Feet Replacement
ID: 193758
Description: Follow this guide to replace worn‑out or...
Steps:
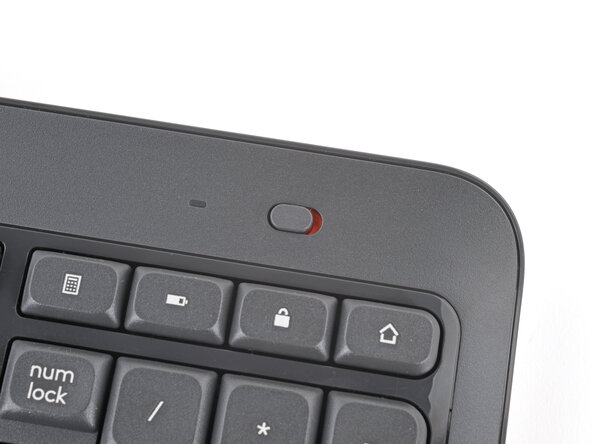
- Slide the power switch on the top right corner to the OFF position.
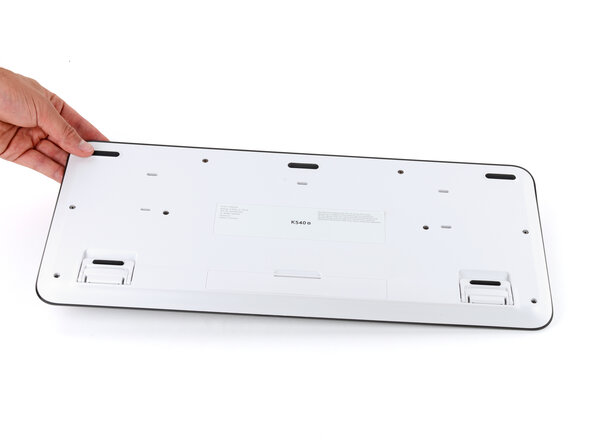
- Flip your keyboard over and lay it down so the edge with the two tilt legs is closest to you.
- If your work surface might scratch the keyboard, place a soft towel under it.
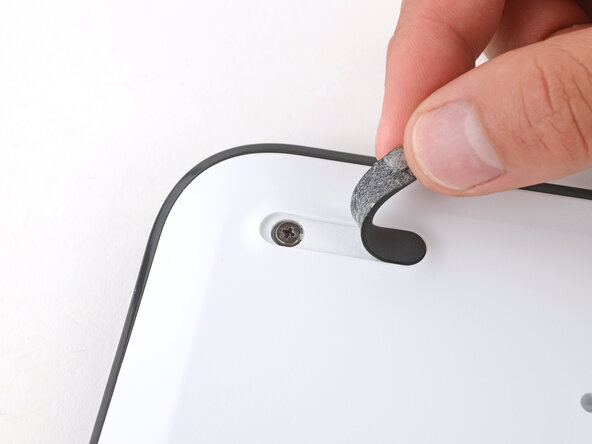
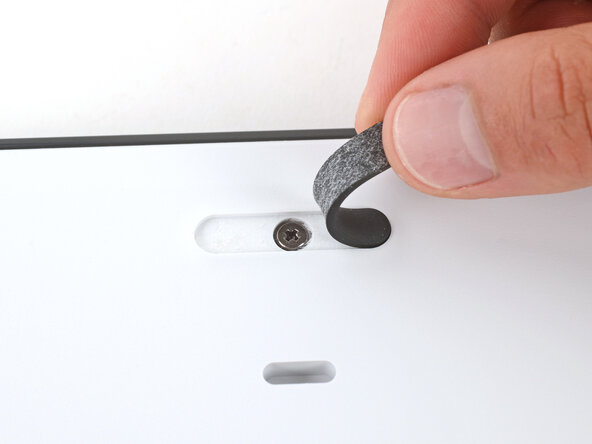
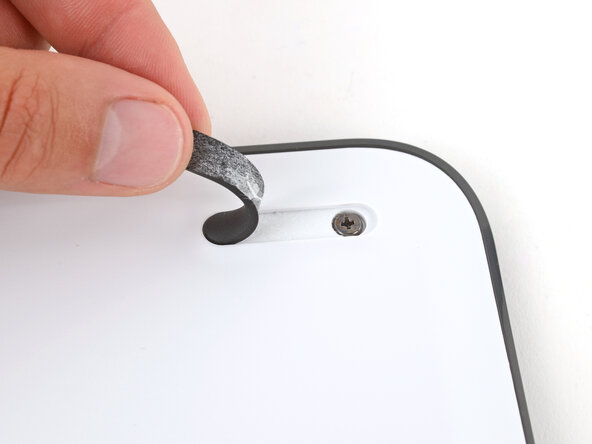
- Light adhesive secures the three rubber feet along the edge of the keyboard. If you're having trouble removing them, use an iOpener or hair dryer to lightly heat them.
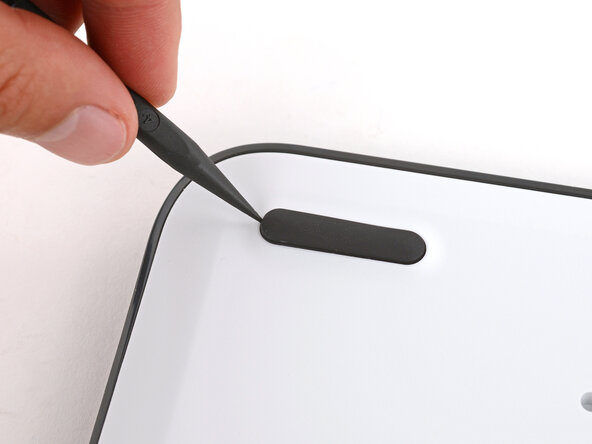
- Insert the point of a spudger under an end of the foot.
- Push the spudger underneath the foot and lift until you can grip it with your fingers.
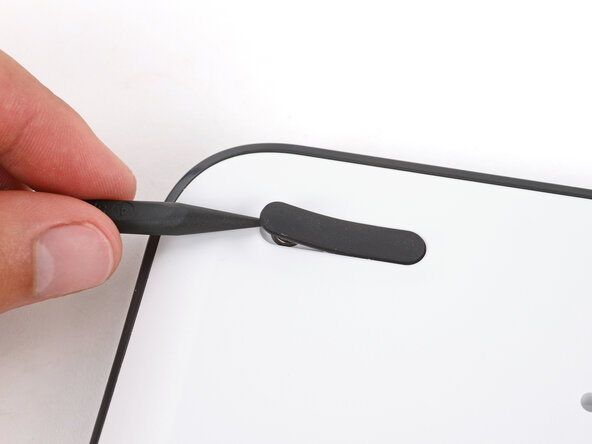
- Peel the foot up and remove it.
- Repeat the previous step to remove the two remaining feet.
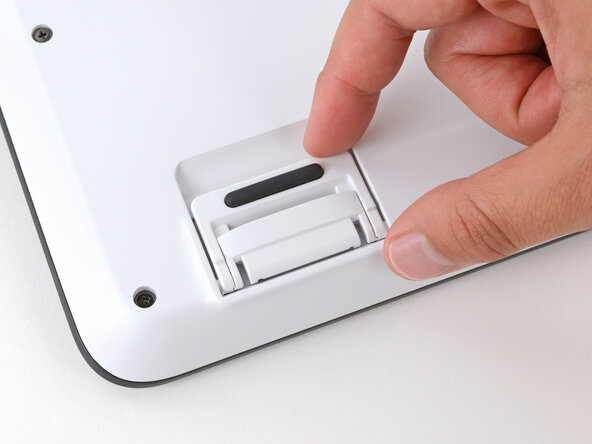
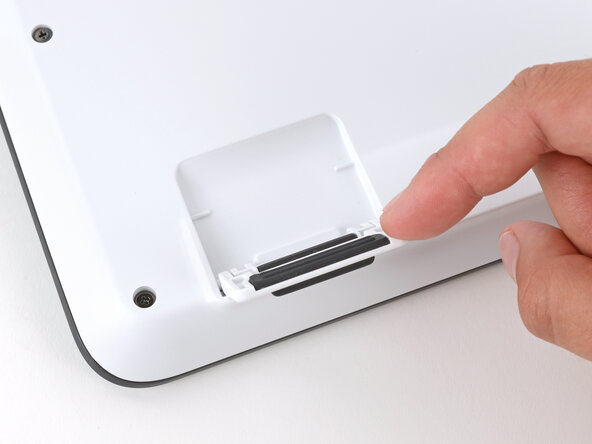
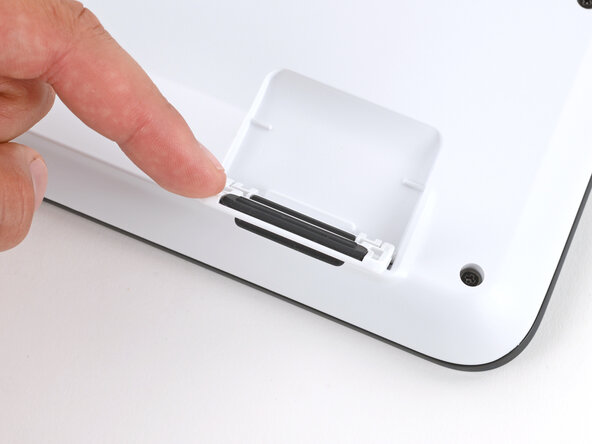
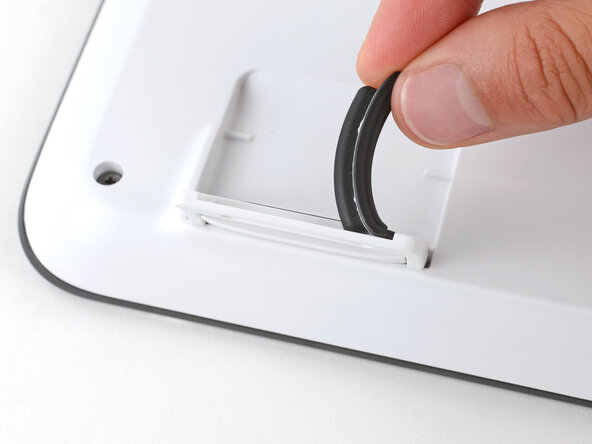
- Use your fingers to flip up both tilt legs.
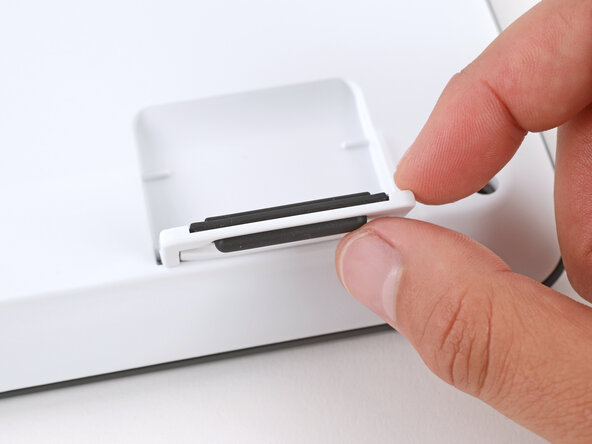
- Light adhesive secures the rubber feet on the tilt legs. If you're having trouble removing them, use an iOpener or hair dryer to lightly heat them.
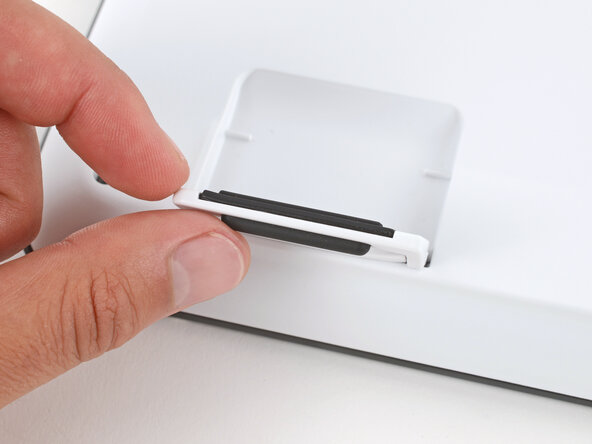
- Use your finger to push the bottom of the foot up, separating its adhesive.
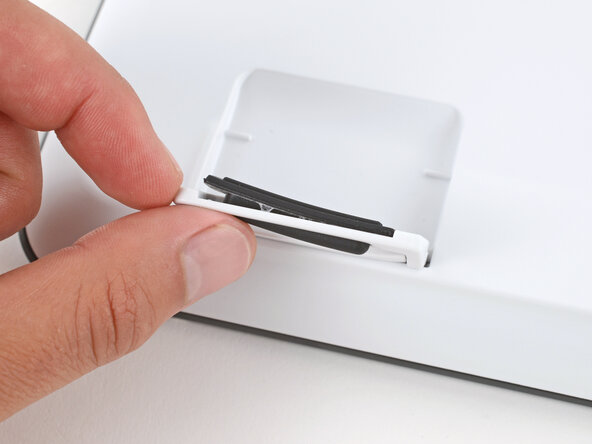
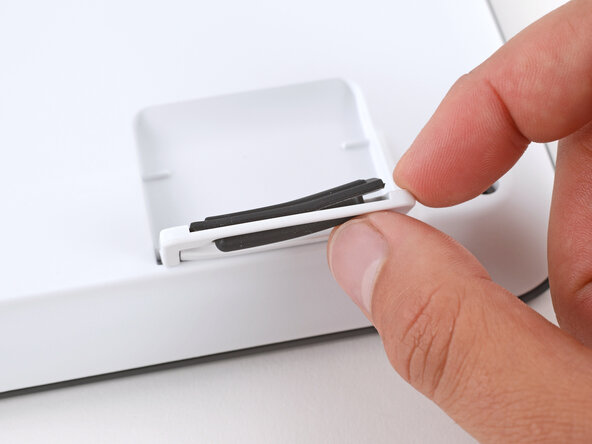
- Peel up and remove the foot.
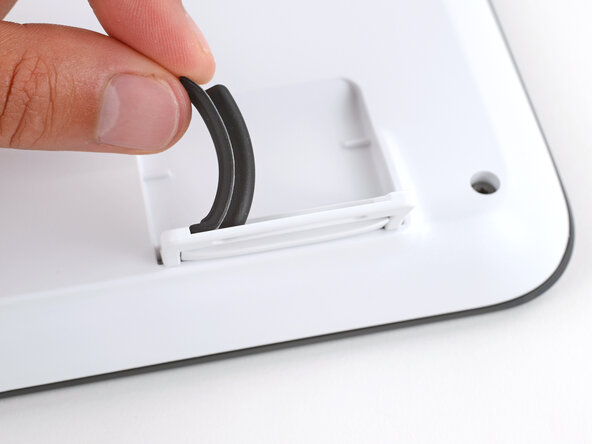
- Repeat the previous step to remove the other tilt leg foot.