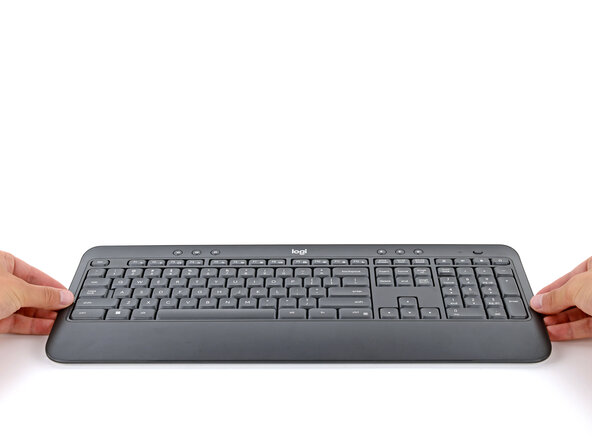
How to Open Your Logitech K540 Wireless Keyboard
ID: 193761
Description: Follow this guide to open your Logitech K540...
Steps:
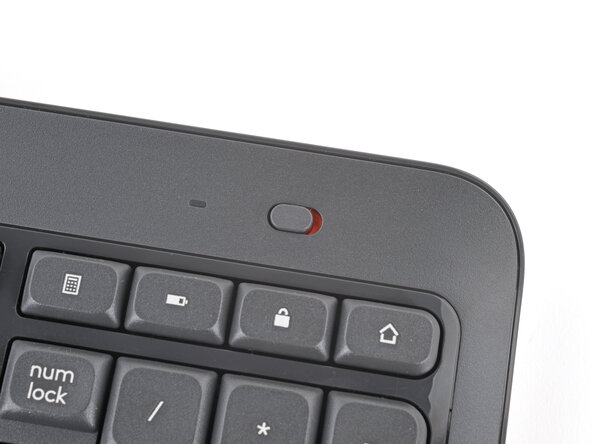
- Slide the power switch on the top right corner to the OFF position.
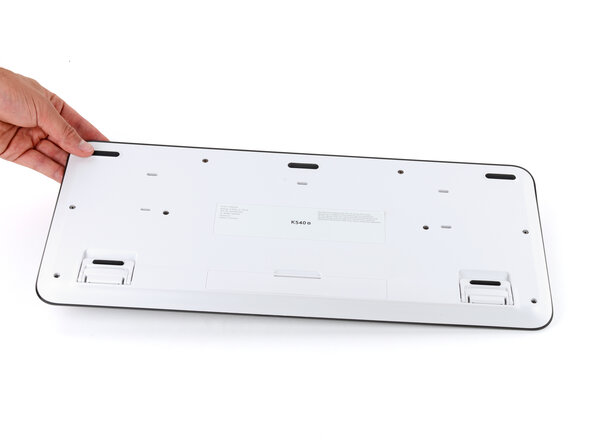
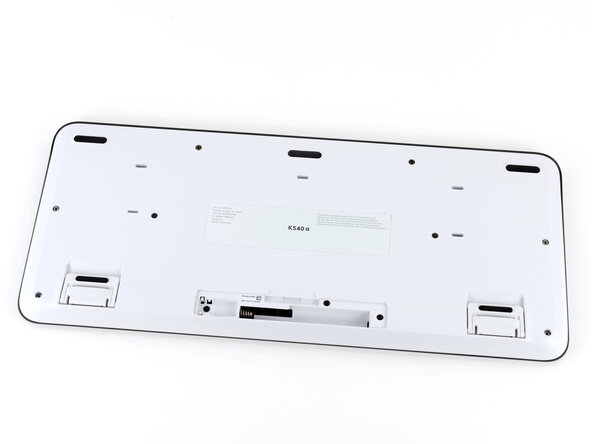
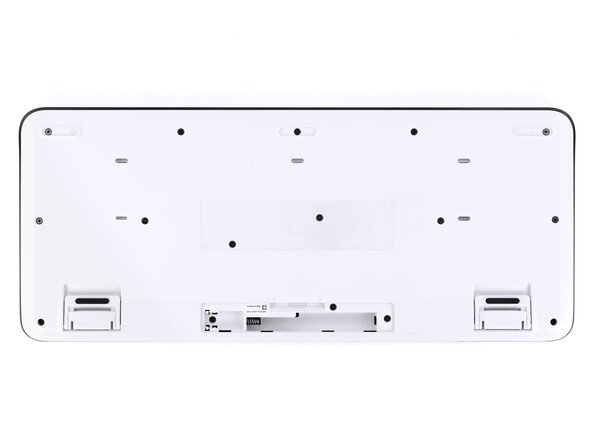
- Flip your keyboard over and lay it down so the edge with the two tilt legs is closest to you.
- If your work surface might scratch the keyboard, place a soft towel under it.
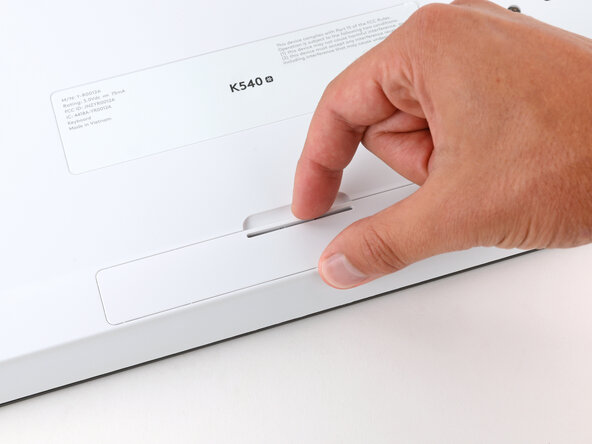
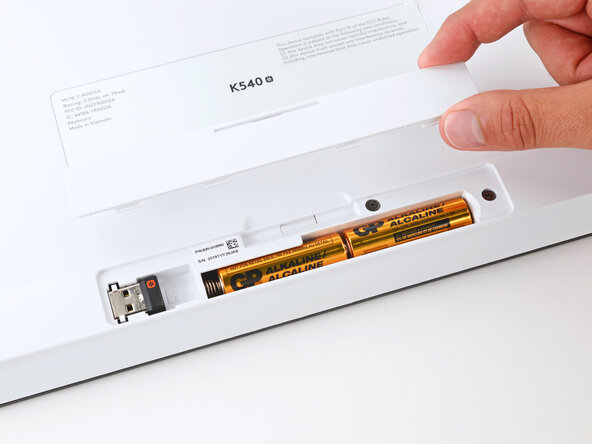
- Use your finger to pull the tab near the middle of the battery cover inward, towards the center of the cover.
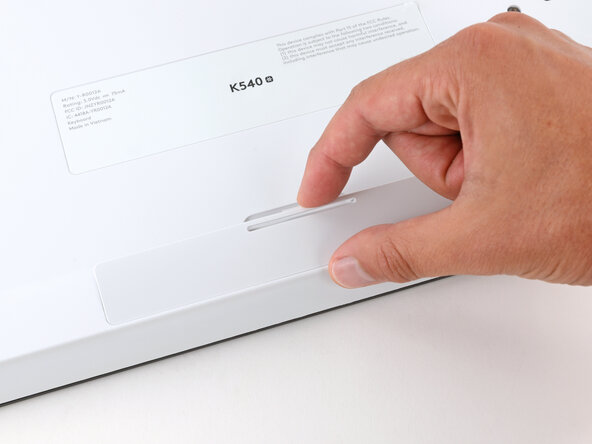
- With the tab pulled in, lift and remove the cover.
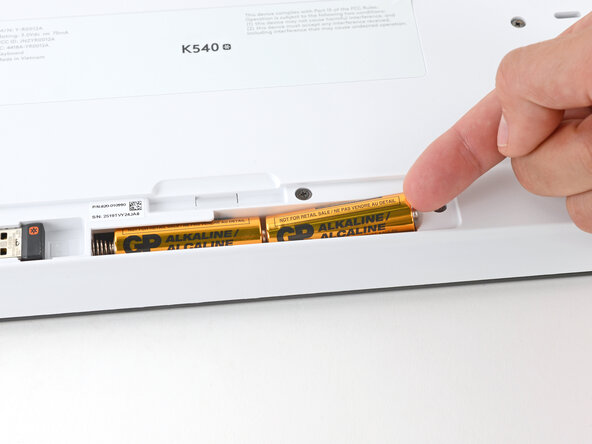
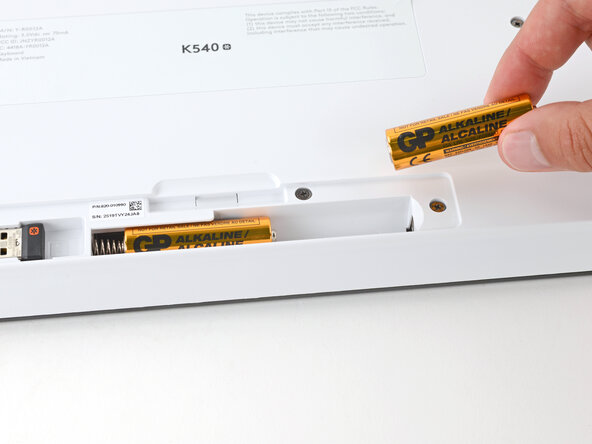
- Use your finger to lift the edge of the outer battery and remove it.
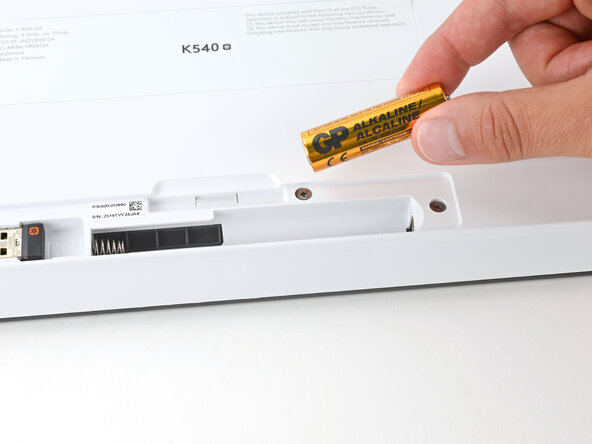
- Slide the second battery out of the recess and remove it.
- During reassembly, slide the batteries in negative (-) end first, as shown in the recess.
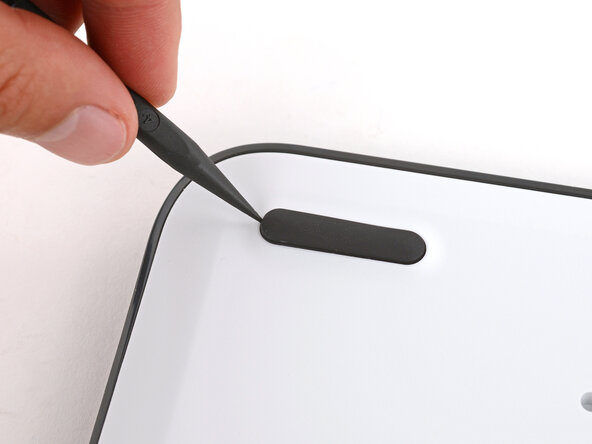
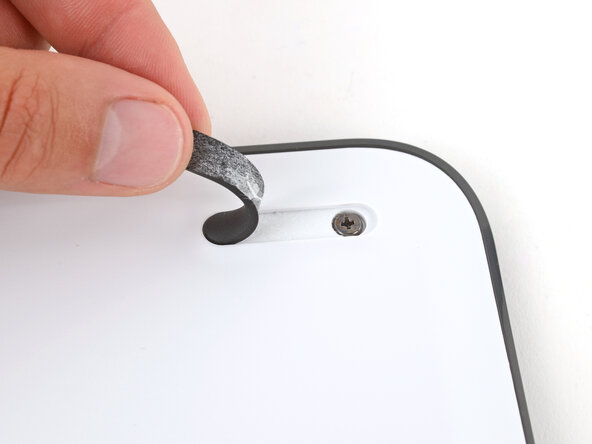
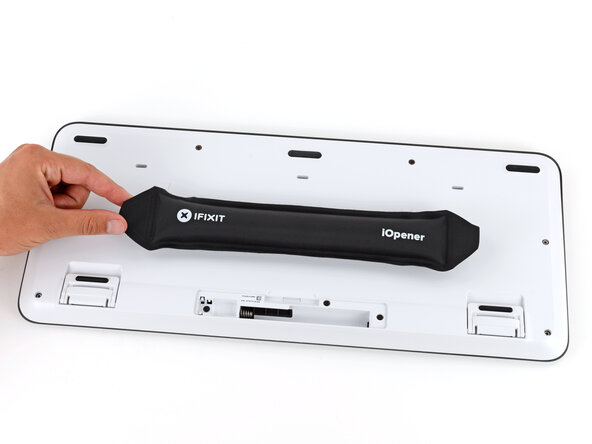
- Light adhesive secures the three rubber feet along the edge of the keyboard. If you're having trouble removing them, use an iOpener or hair dryer to lightly heat them.
- Insert the point of a spudger under an end of the foot.
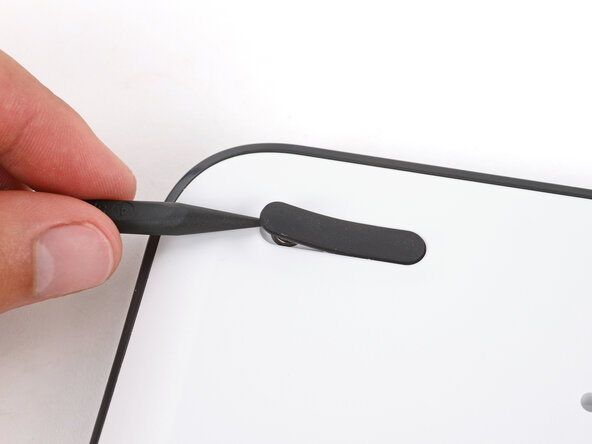
- Push the spudger underneath the foot and lift until you can grip it with your fingers.
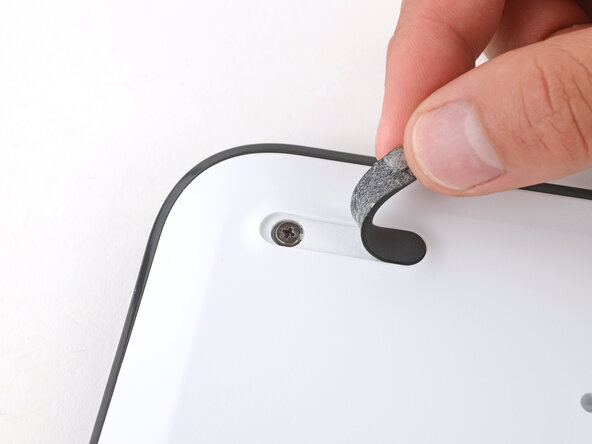
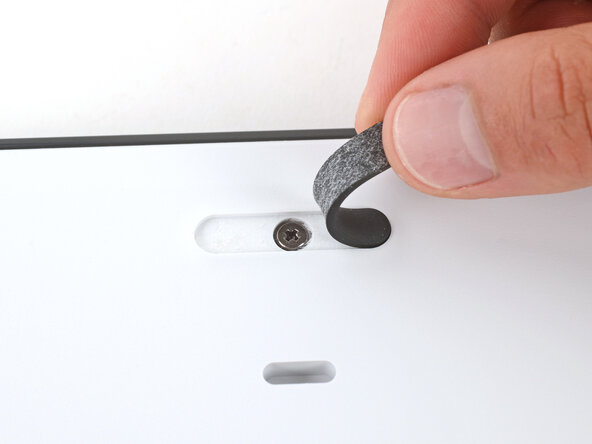
- Peel the foot up and remove it.
- Repeat the previous step to remove the two remaining feet.
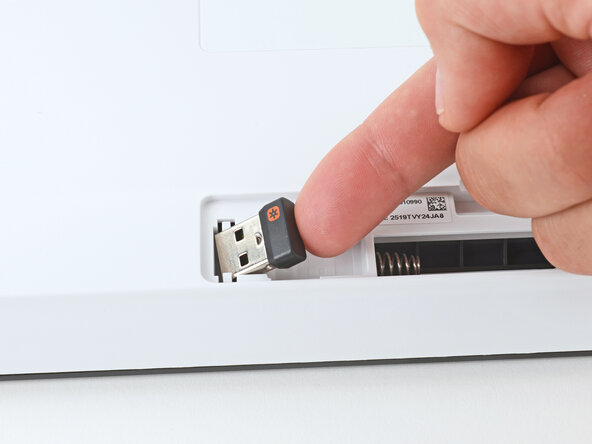
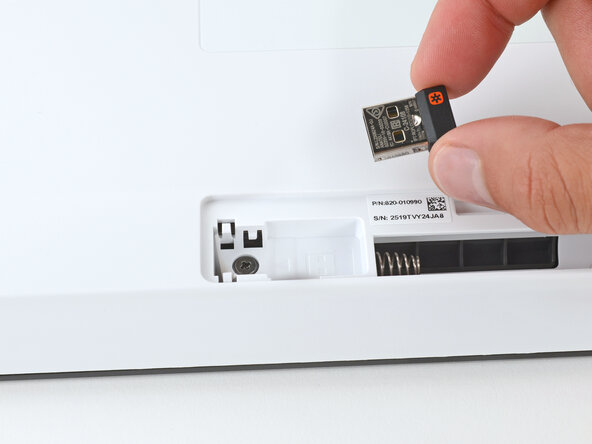
- If you have a USB receiver stored in the battery compartment, use your fingers to remove it.
- The Logitech sticker covers two screws and is very hard to cleanly remove. If you don't mind damaging the sticker, you can pierce through it with your screwdriver and skip the next two steps.
- Heat an iOpener and lay it on the Logitech sticker for two minutes to soften the adhesive.
- Alternatively, you can use a hair dryer to heat the sticker.
- When using a hair dryer, don't heat one area of the sticker for more than a couple seconds at a time, or you risk melting or warping the plastic case.
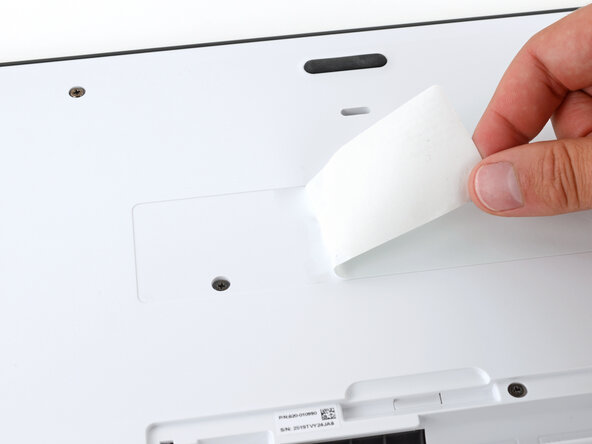
- The sticker is very hard to remove without damaging it. You'll need to peel slowly and constantly reheat it to have the best shot of a clean removal.
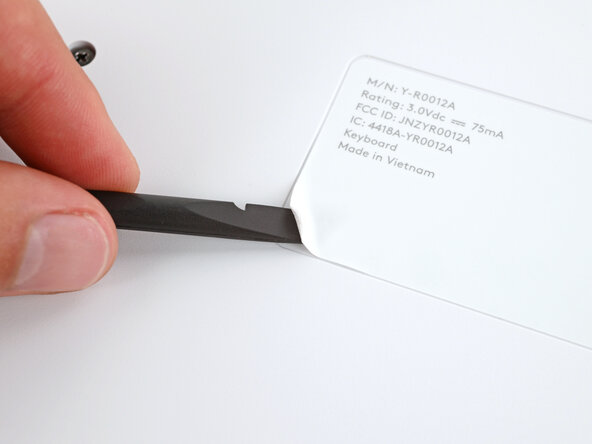
- Use the flat end of a spudger to scrape up a corner of the sticker until you can grip it with your fingers.
- Peel the sticker up very slowly, pausing to reheat it if you feel any resistance. If the sticker starts to rip, stop and try at a different corner.
- If the sticker tears or won’t come off cleanly, either pierce it with your screwdriver in the next step or use a spudger and isopropyl alcohol to scrape off all the remnants.
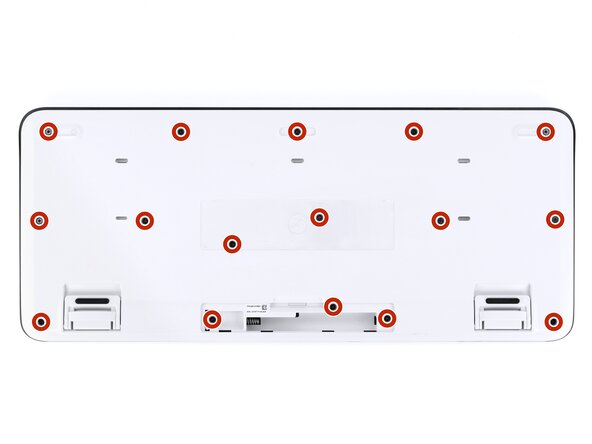
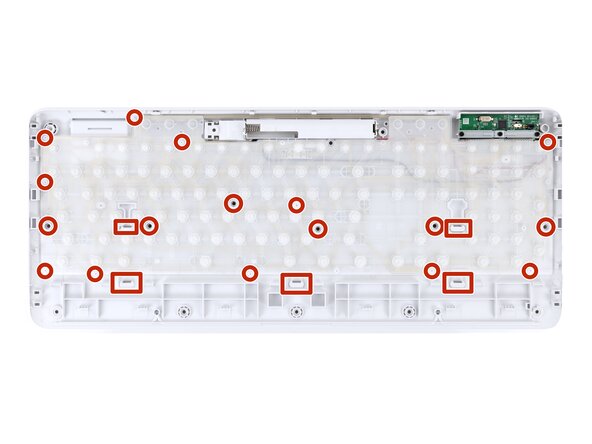
- Use a Phillips screwdriver to remove the sixteen 7 mm‑long screws securing the two halves of the keyboard together.
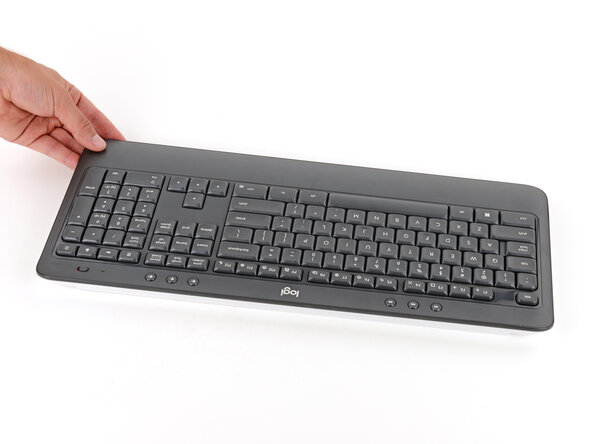
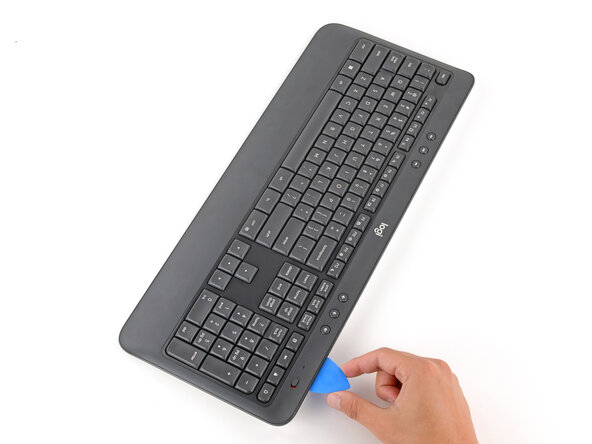
- Flip your keyboard over and lay it down so the top edge (with the logi logo) is facing you.
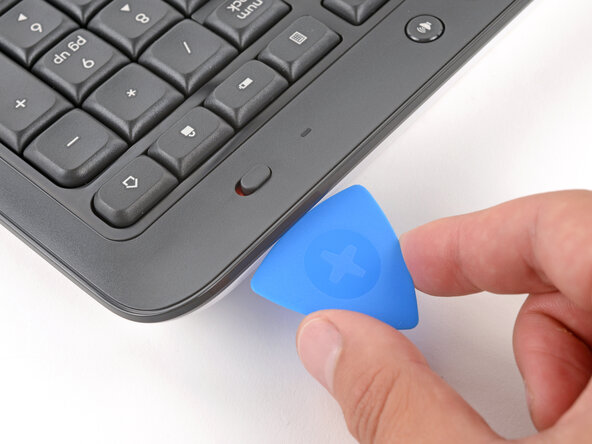
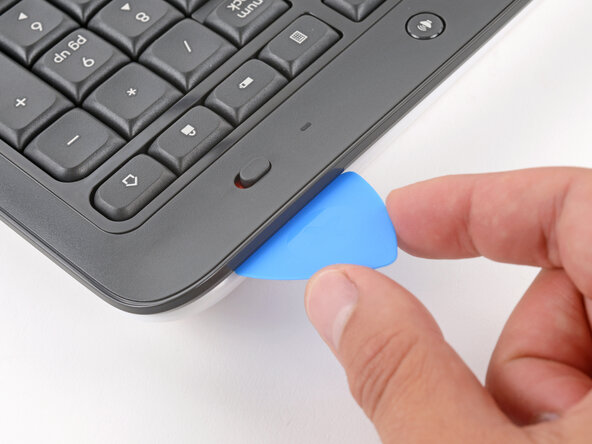
- Insert the long edge of an opening pick in the seam between the two halves of the keyboard, by the corner near the power button.
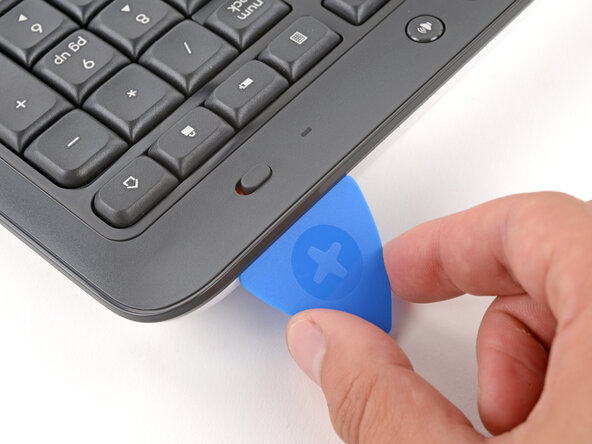
- Pry up the top half of the keyboard to release the clips.
- You should feel and hear a "click" as the clip releases.
- Leave the pick inserted for the next step.
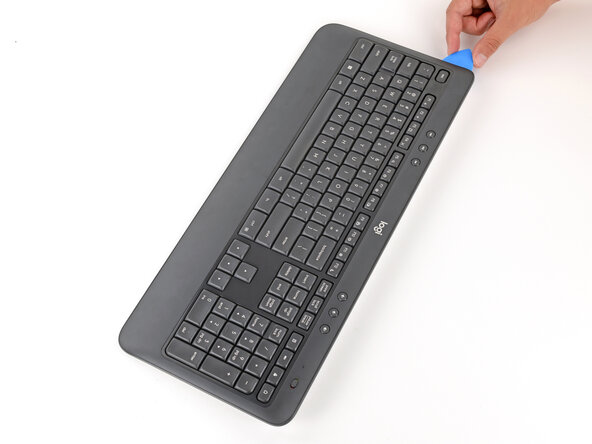
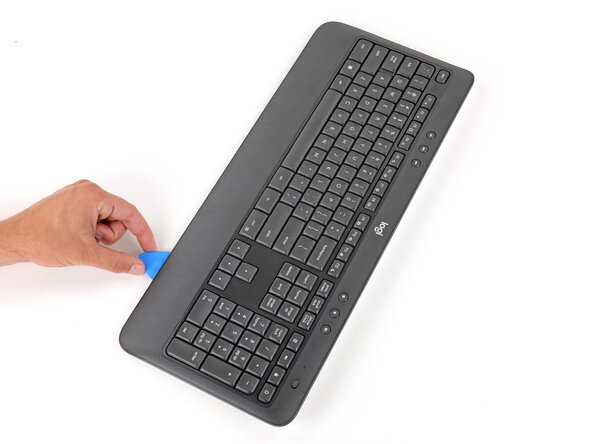
- During this step, keep the opening pick flat to help release the clips.
- Slide the opening pick around the perimeter of the keyboard to release the remaining clips.
- You should feel and hear "clicks" as the pick slides along each section. If you don't, slide the pick along the section again—the clips didn't release.
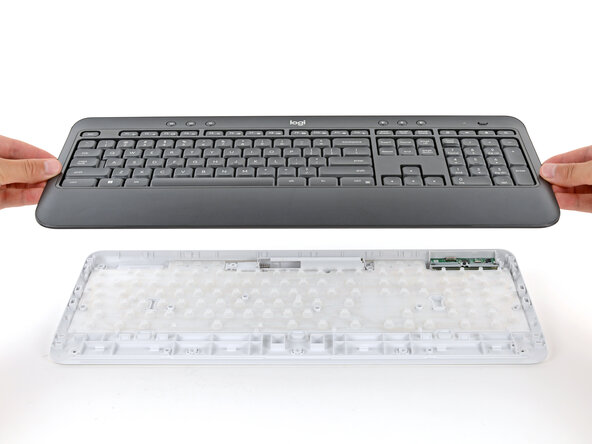
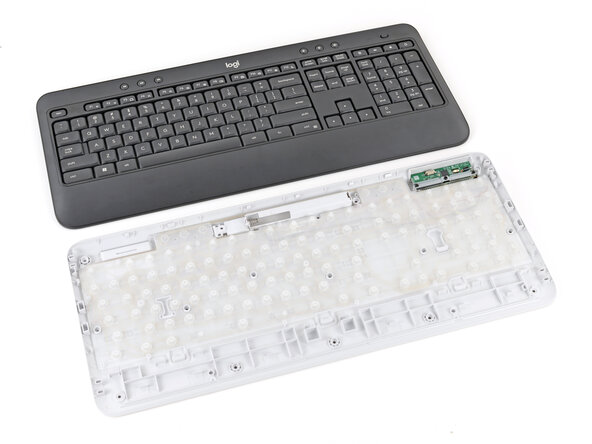
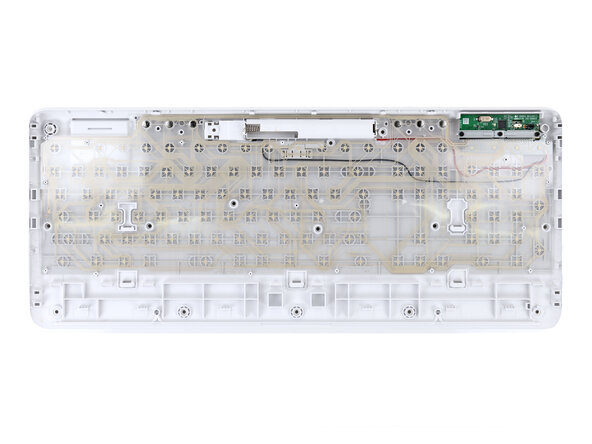
- Use both hands to lift the top half of the keyboard off the bottom half.
- During reassembly, set the keyboard’s top half in place and press firmly around the edges to engage all clips. Check for gaps and re-engage any loose clips.
- During reassembly:
- Make sure the two membranes (one plastic, one silicone) are properly aligned before putting your keyboard back together.
- There are many alignment posts and cutouts on each membrane to help properly orient them.