How to Reset the Mainboard in your Framework Desktop
ID: 193895
Description: Follow this guide to reset the Mainboard in...
Steps:
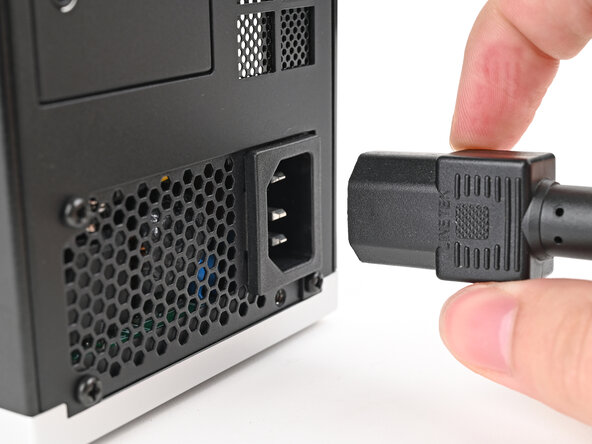
- Before you begin repairs, shut down your Desktop from the operating system and unplug it.
- Wait one minute before continuing to allow your Desktop to fully power down.
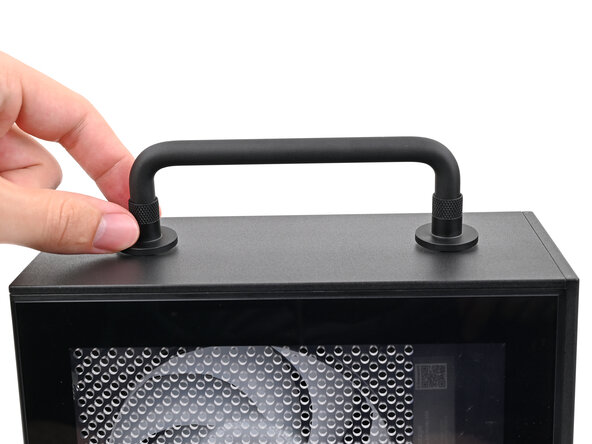
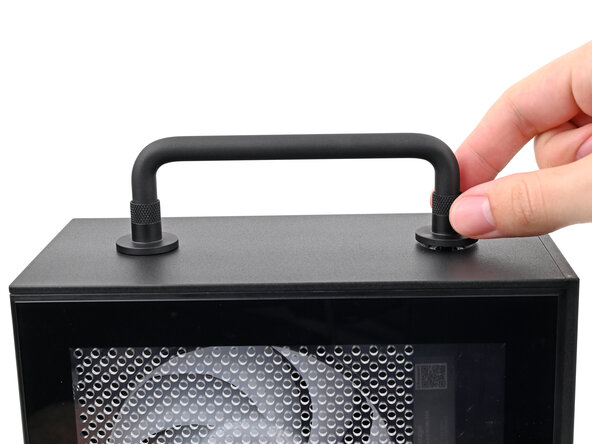
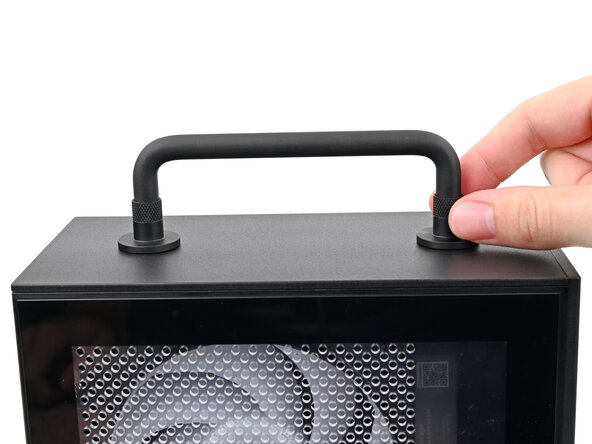
- If you installed the Handle on your Desktop, follow this step. Otherwise, skip it.
- Rotate the Handle's screw threads counterclockwise on both sides until it comes free.
- Remove the Handle.
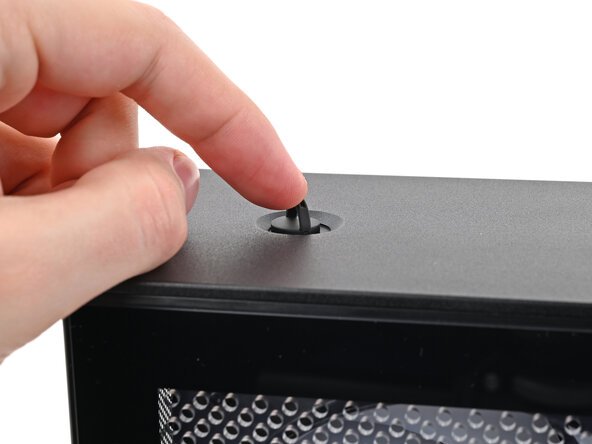
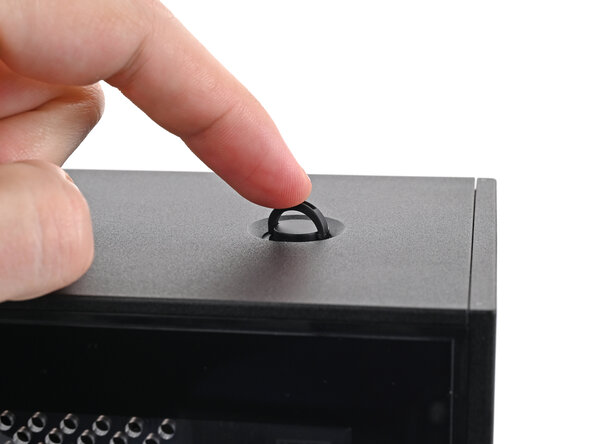
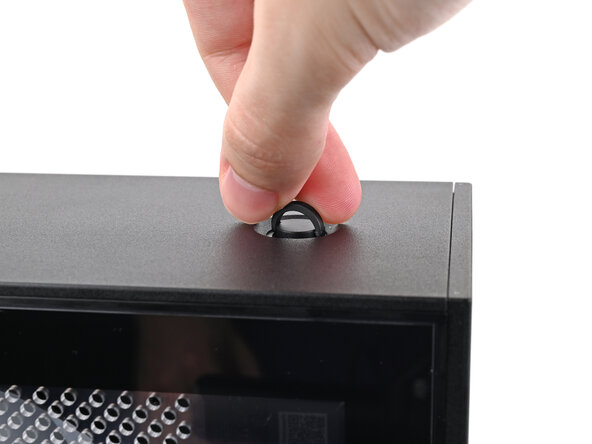
- Use your finger to lift up the two D-rings on the Top Panel screws.
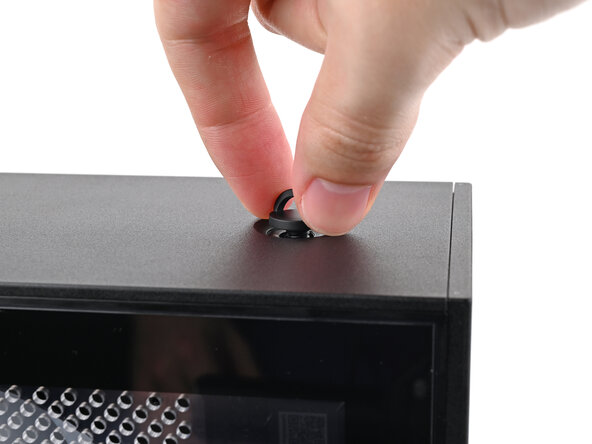
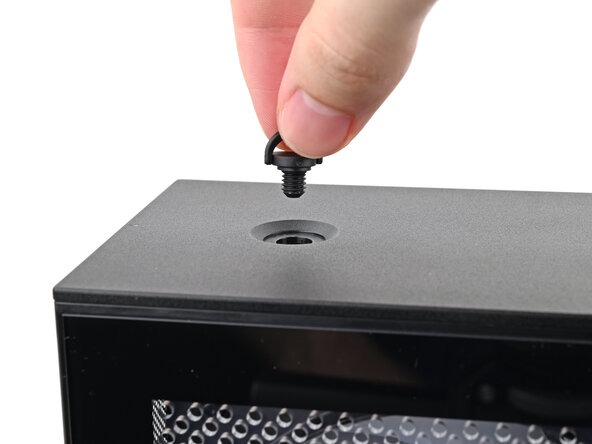
- Use your fingers to twist the screw counter-clockwise and loosen it.
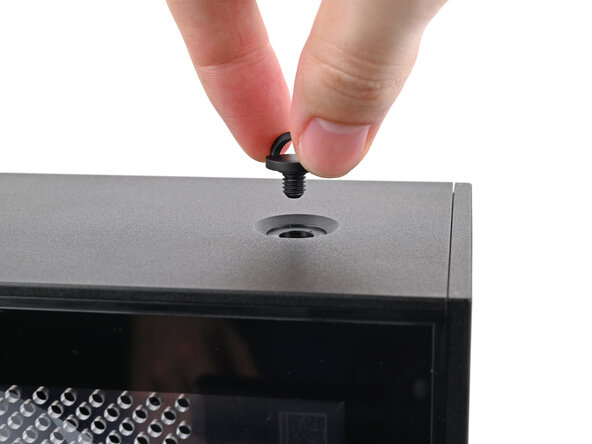
- Remove the Top Panel screw.
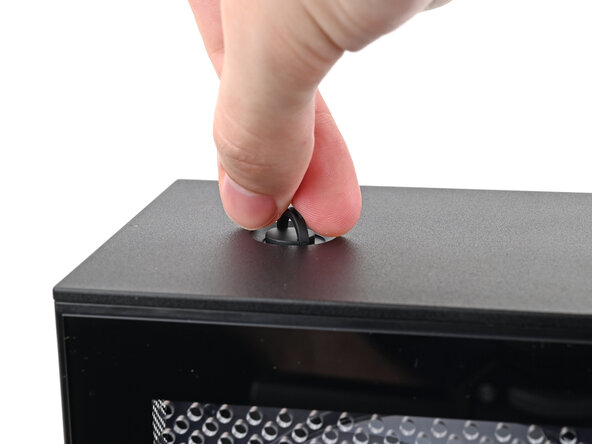
- Repeat the same procedure for the other Top Panel screw.
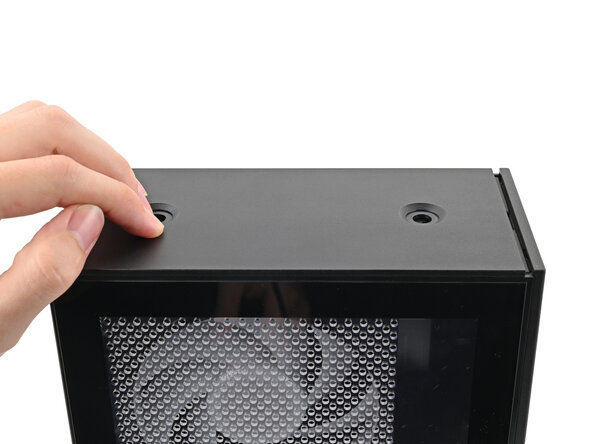
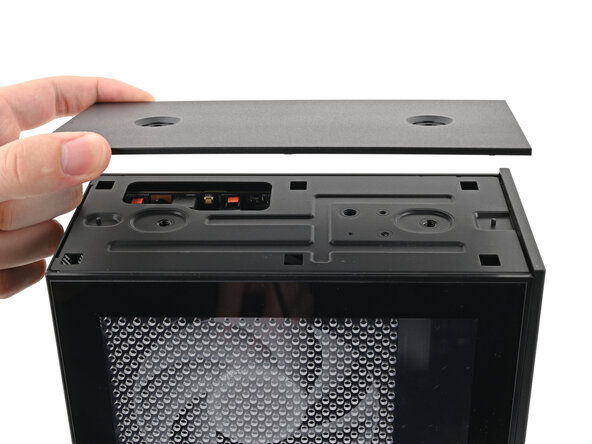
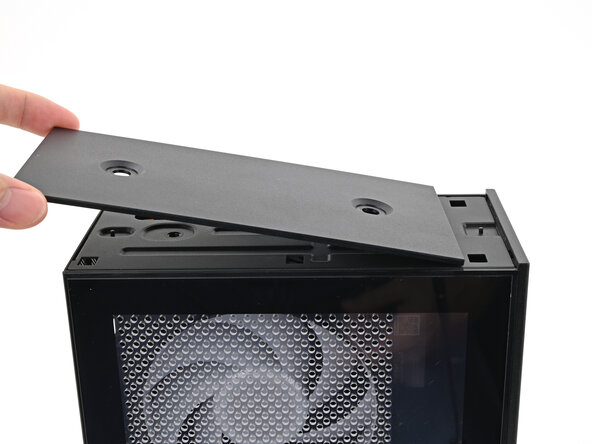
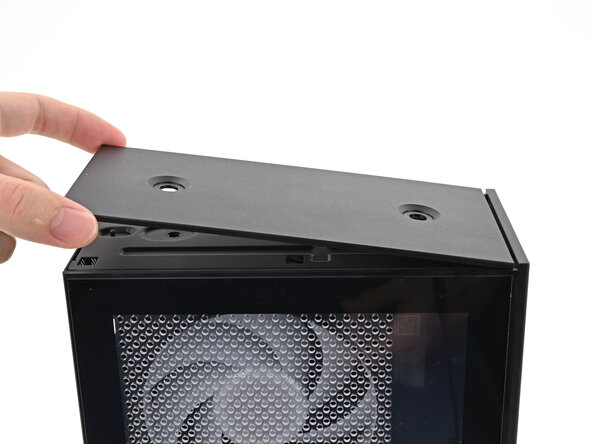
- Slide the Top Panel towards the rear of the computer to release the clips securing it to the chassis.
- If you're having a hard time gripping the Top Panel, use the screw holes to get a better handhold.
- Lift the Top Panel off the chassis and remove it.
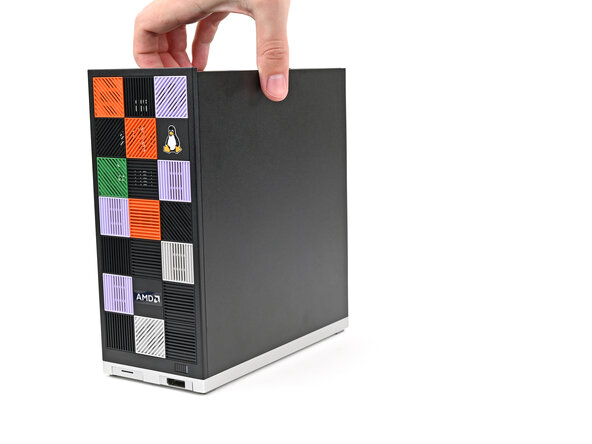
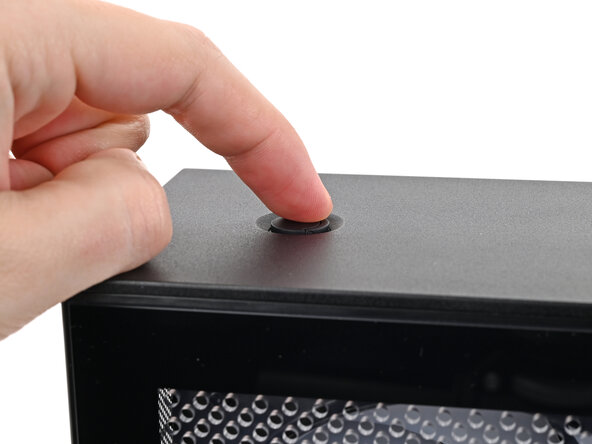
- Lay down the Desktop on its right side.
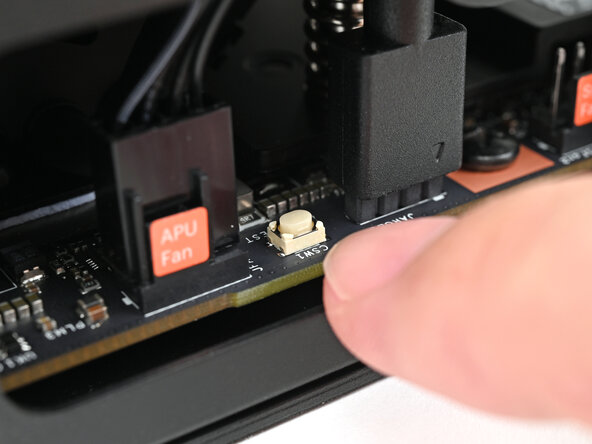
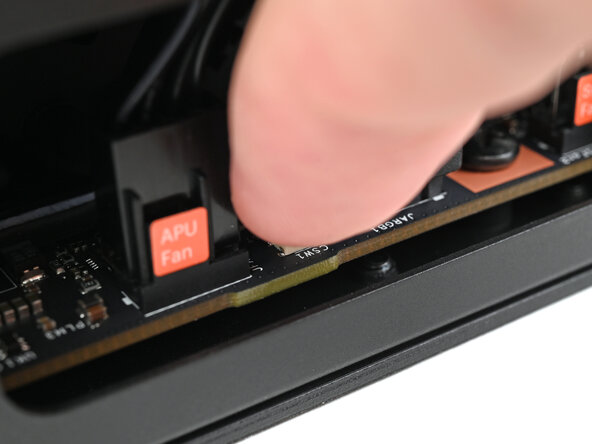
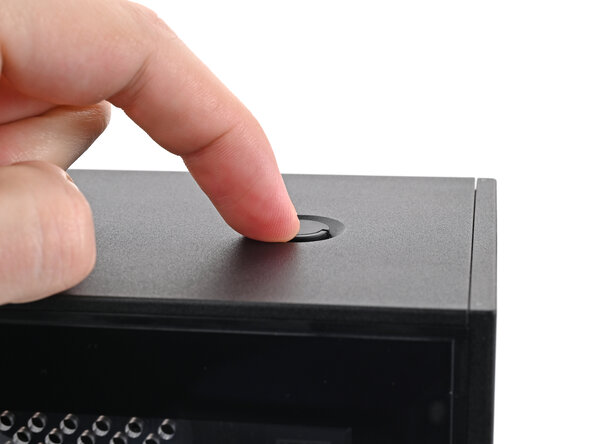
- Press the white button labeled "CMOS RESET" next to the APU Fan connector and hold for 10 seconds.
- Lift the Desktop so it stands upright on your work surface.
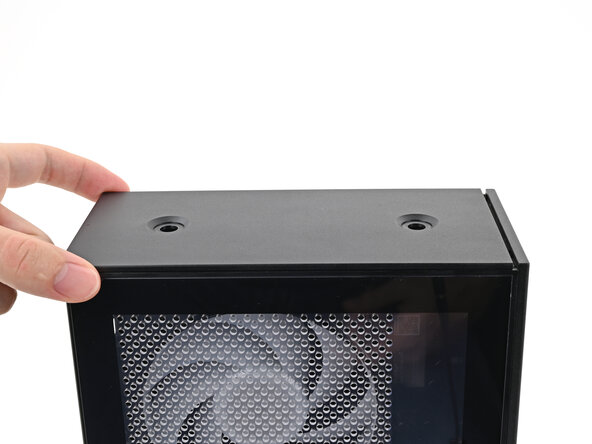
- Orient the Top Panel so its arrow is pointing towards the rear of the computer.
- While holding the Top Panel at a slight downward angle, slide it across the top of the chassis (from rear to front) until you feel its clips catch.
- There should be a small gap between the Top Panel and the front of the Desktop.
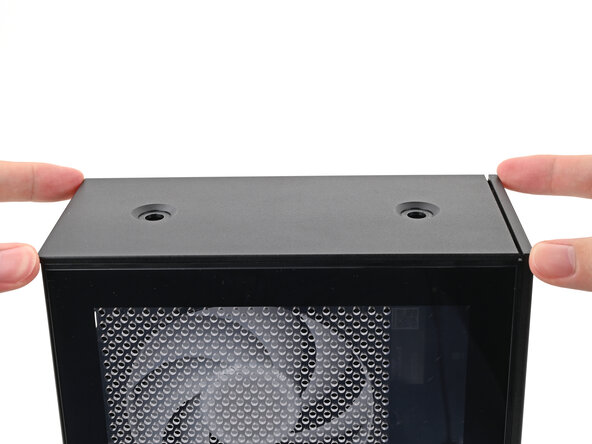
- Lay the Top Panel flat on the chassis to align the remaining clips.
- While securing the computer with one hand, use the other hand to slide the Top Panel towards the front of the computer to close the gap and engage the clips.
- If you're installing the Handle on your Desktop, follow this step. Otherwise, skip it.
- Place the Handle over the Top Panel screw holes.
- While holding the Handle in place, twist the screw threads on both sides clockwise until they're snug on the Top Panel.
- Insert the top panel screw into its hole and twist clockwise until it feels snug.
- Repeat the same procedure for the other top panel screw.
- Use your finger to close the two D-rings on the top panel screws.
- Plug the Desktop back in.
- Turn on your Desktop—it should boot up normally. If your BIOS settings haven't changed, or if you're still experiencing issues, repeat the Mainboard reset procedure.