How to Rack Mount your Framework Desktop
ID: 193897
Description: This guide shows how to rack mount the...
Steps:
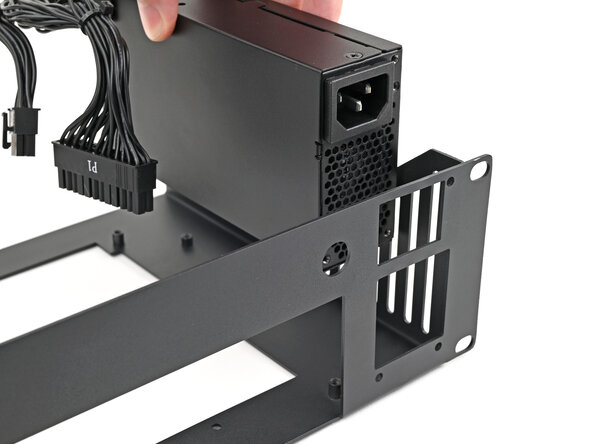
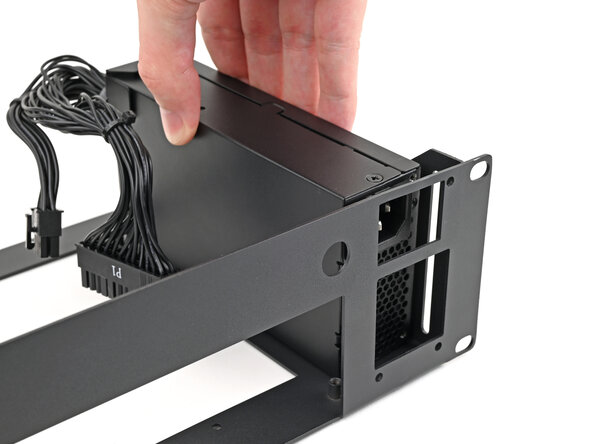
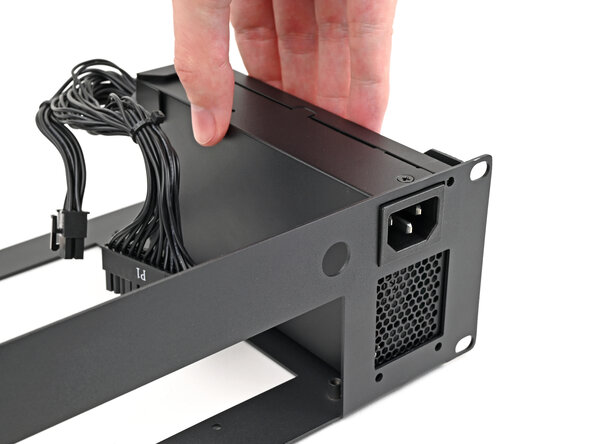
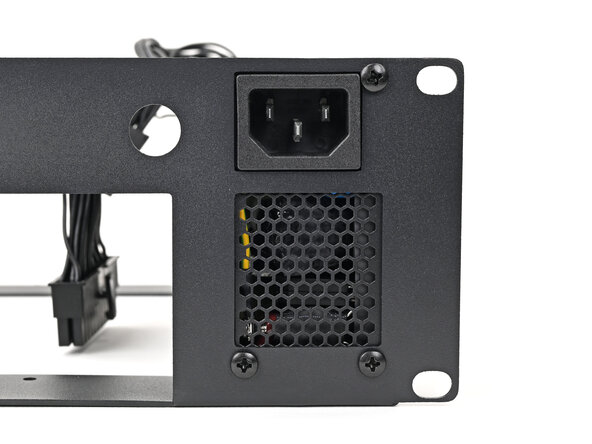
- Place the power supply into its slot at the right edge of the Tray.
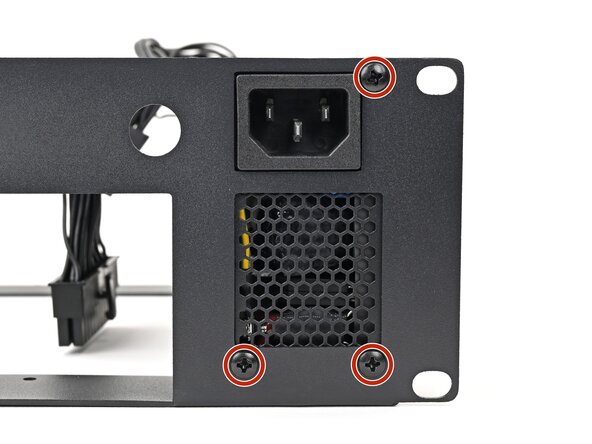
- Push the plug on the power supply through its cutout on the Tray and align the three screw holes.
- Use your Framework Desktop Screwdriver to install the three 6.0 mm‑long Phillips screws securing the power supply.
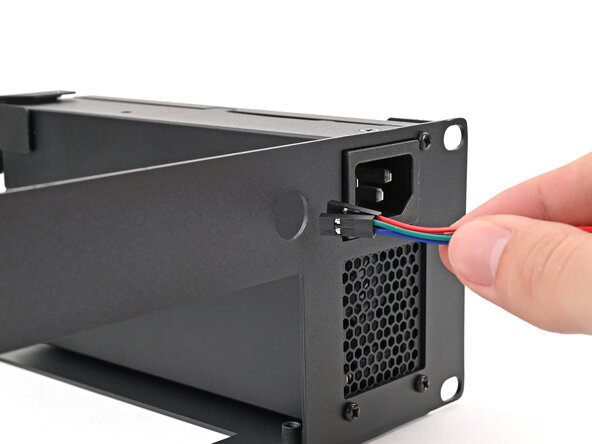
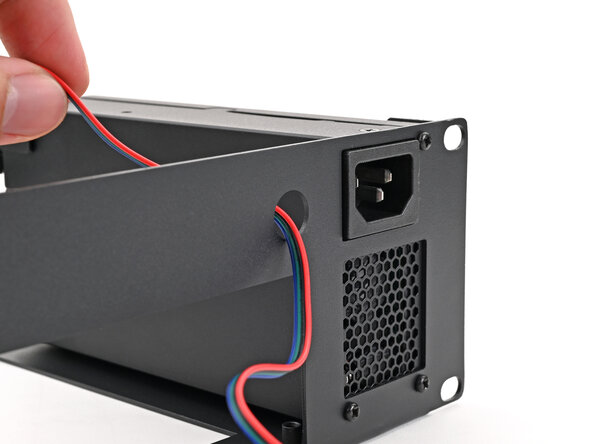
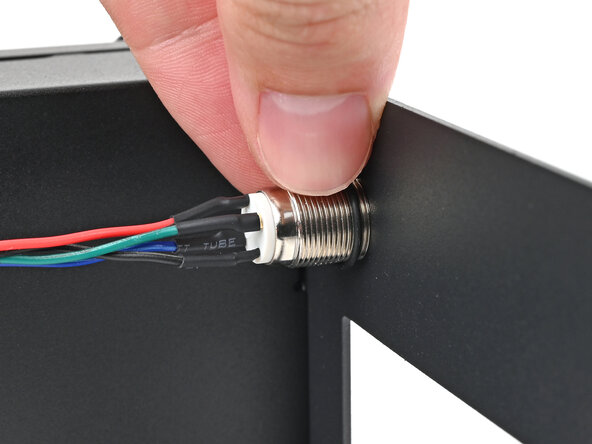
- Thread the power button cable through the hole to the left of the power supply plug.
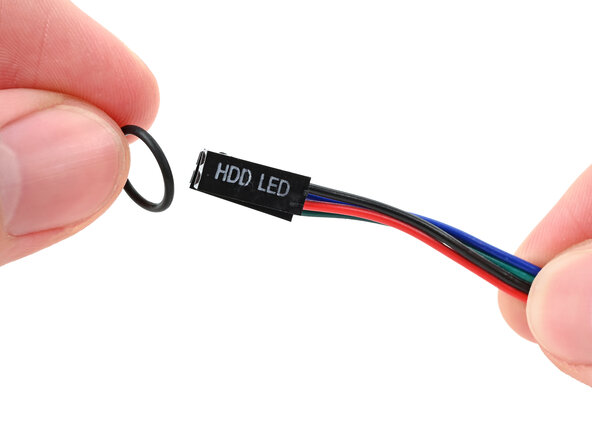
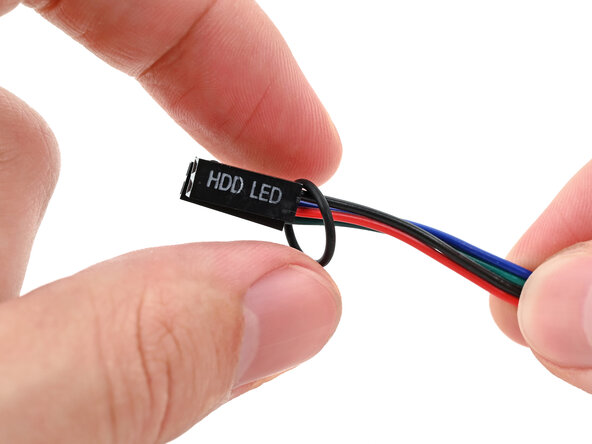
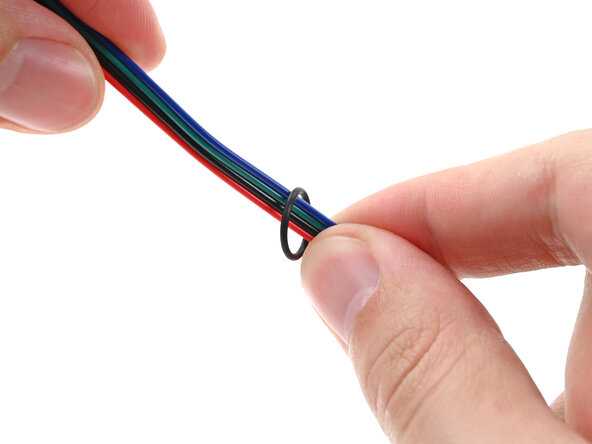
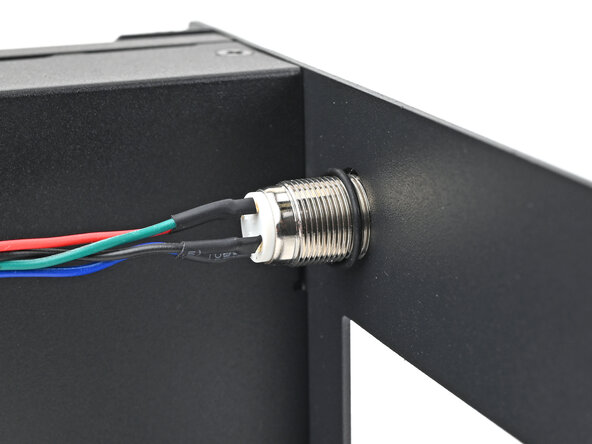
- Thread the O-ring over the power button cable and slide it down the length of the cable.
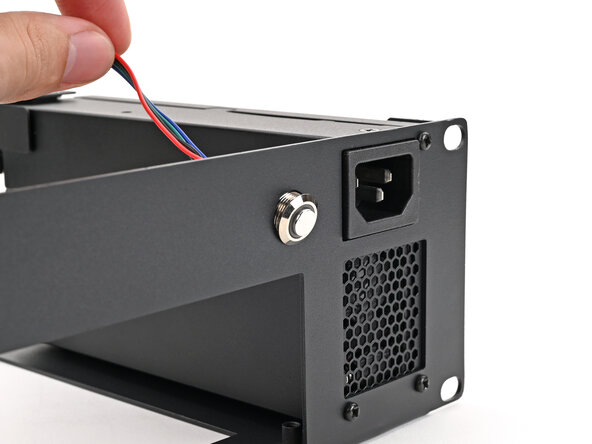
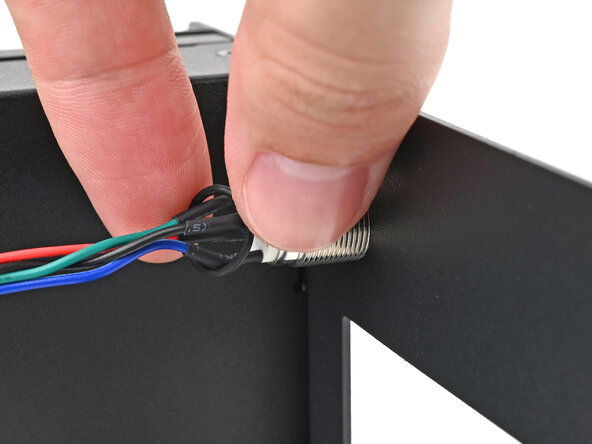
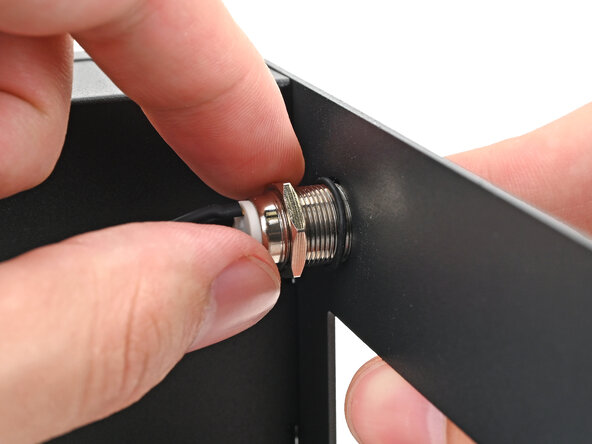
- Slide the O-ring over the threads of the power button so it sits close to the front of the Tray.
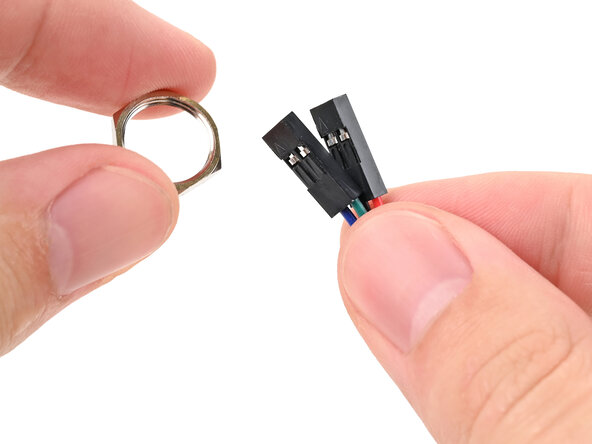
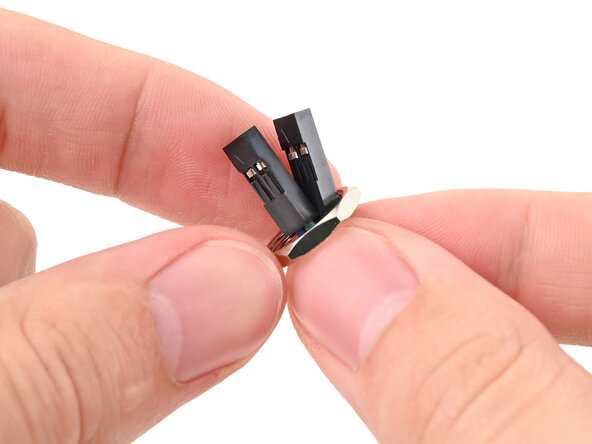
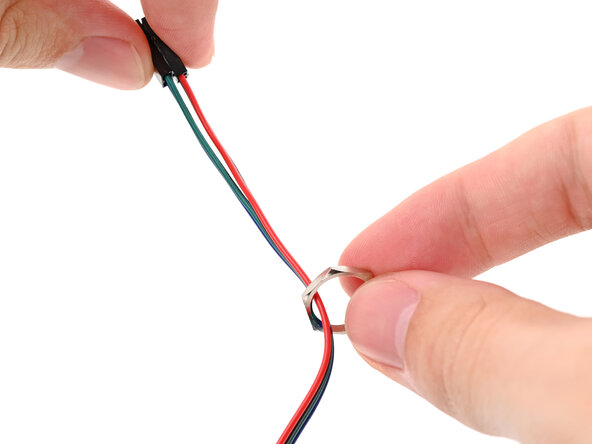
- Thread the hexagonal nut over the power button cable and slide it down the length of the cable.
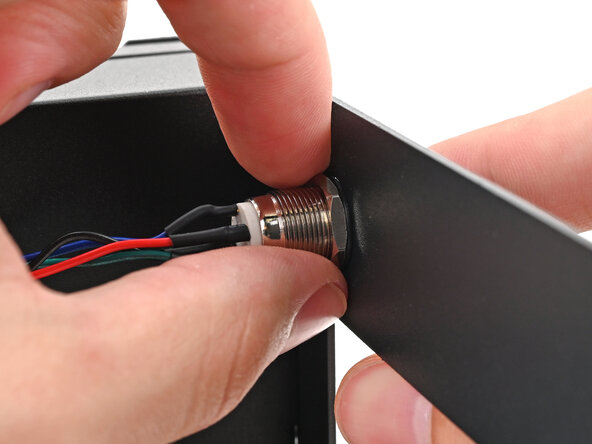
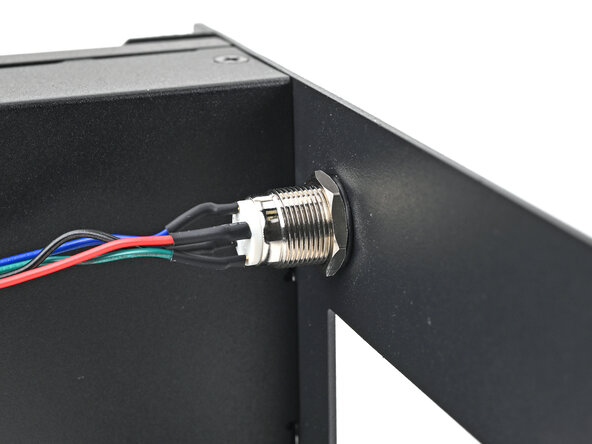
- While holding the power button in place, tighten the nut over the threads of the power button until it's snug.
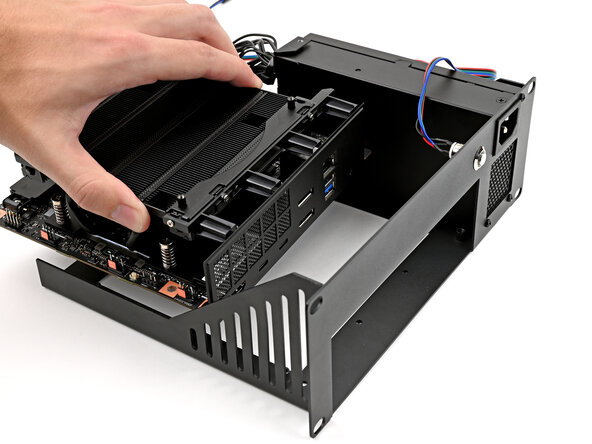
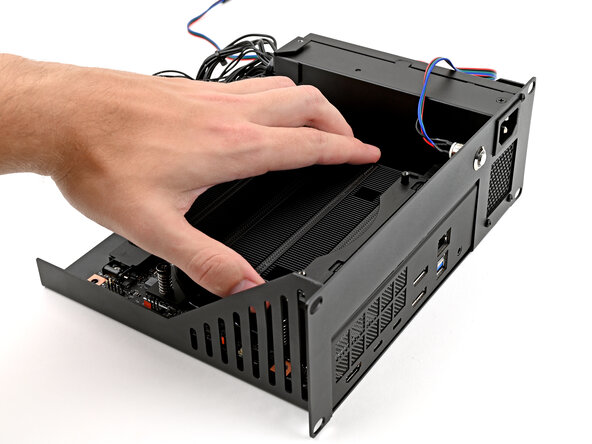
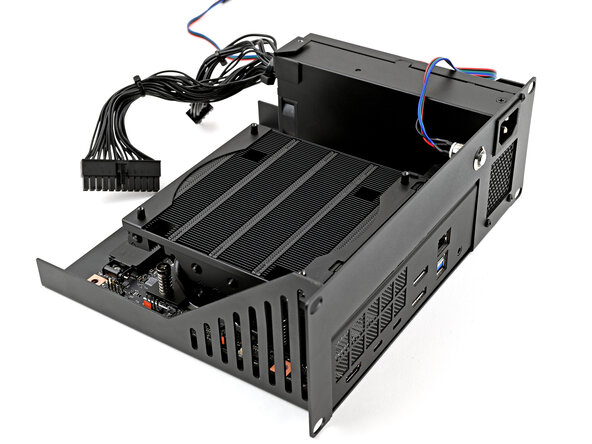
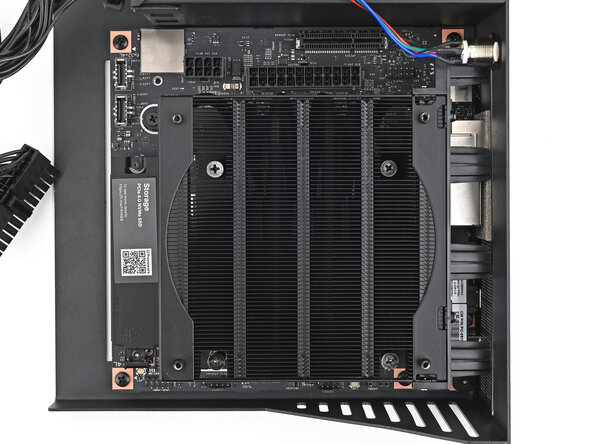
- Grab the Mainboard by its heatsink and slide it into the Tray with its I/O ports facing the front.
- Align the I/O ports with its cutout in the Tray and the screw posts with the screw holes on the Mainboard.
- You'll feel the Mainboard rest onto the screw posts when it's aligned properly.
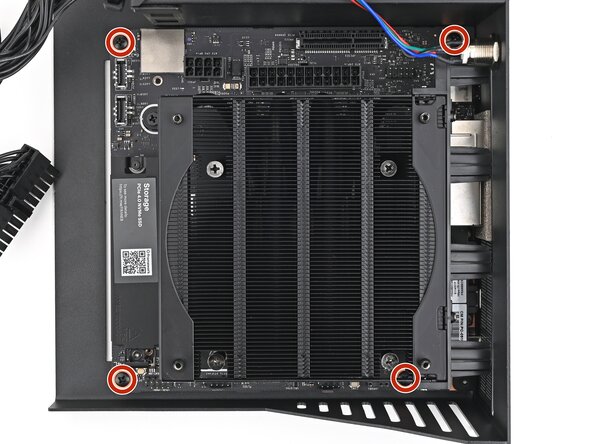
- Make sure no cables are trapped underneath the Mainboard before continuing.
- Use your Framework Desktop Screwdriver to install the four 8.2 mm‑long Phillips screws securing the Mainboard.
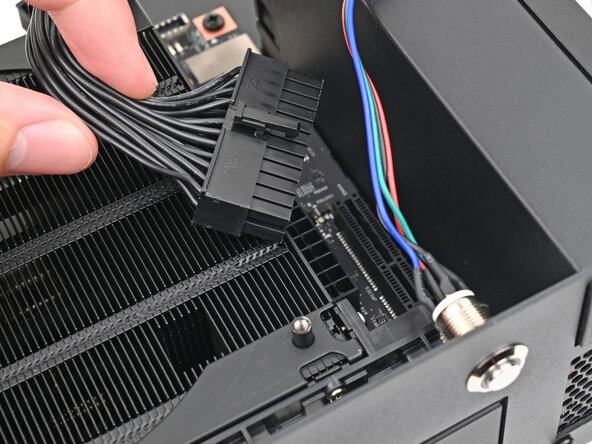
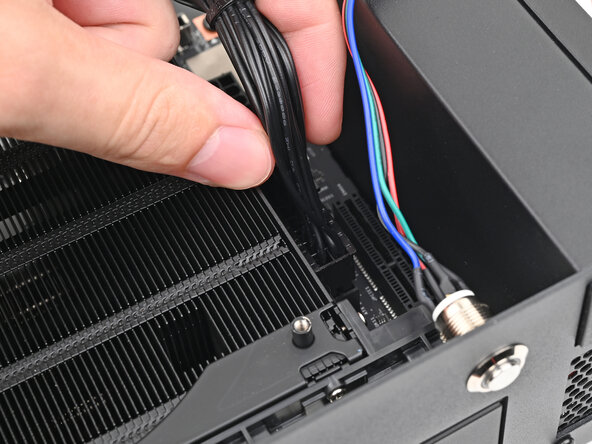
- Orient the main power supply cable so its clip is facing away from the heatsink.
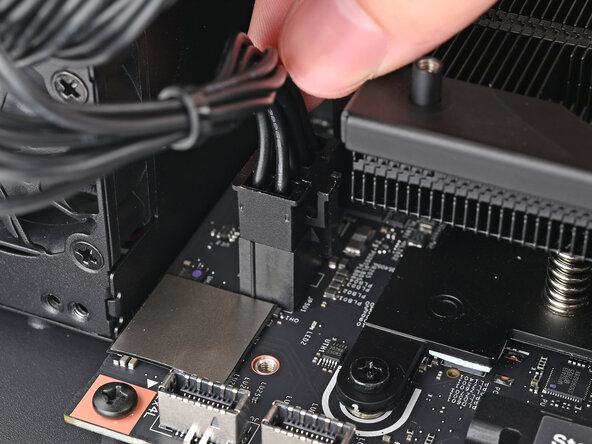
- Slide the cable into its socket on the Mainboard until you feel it click into place.
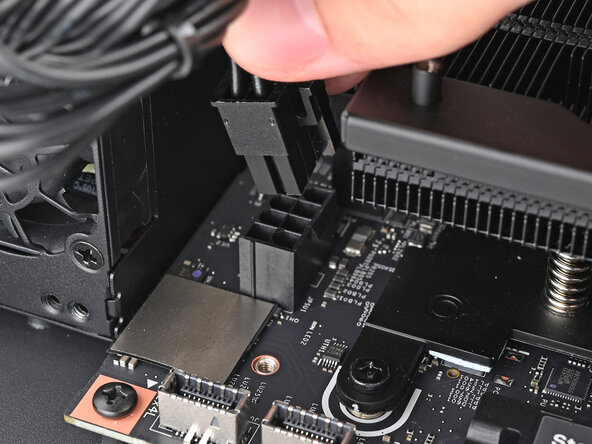
- Orient the CPU power supply cable so its clip is facing the heatsink.
- Slide the cable into its socket on the Mainboard until you feel it click into place.
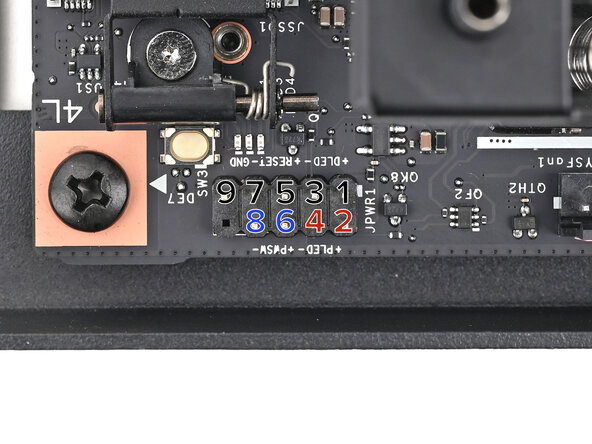
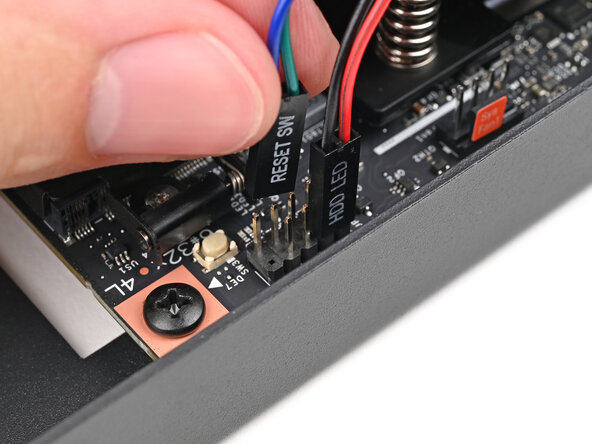
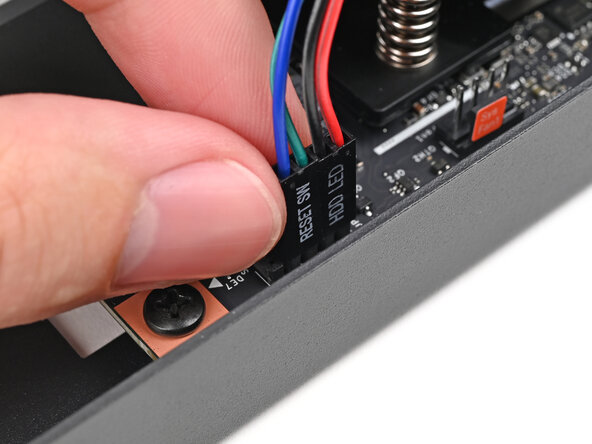
- Slide the two power button cables over the nine-pronged connector near the back left corner on the Mainboard.
- Use the first photo as a reference for how the connectors are slotted:
- The red and black cables labeled "HDD LED" go on prongs 2 and 4, respectively
- The green and blue cables labeled "RESET SW" go on prongs 6 and 8 (the order doesn't matter)
- For full pinout information, click here.
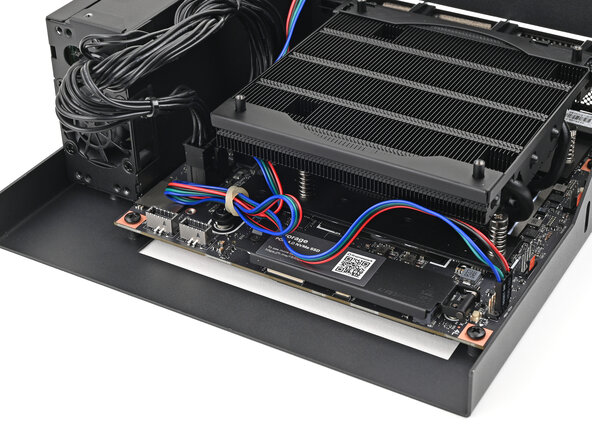
- Optionally, you can shorten the power button cable and tuck it under the heatsink to keep it out of the way.
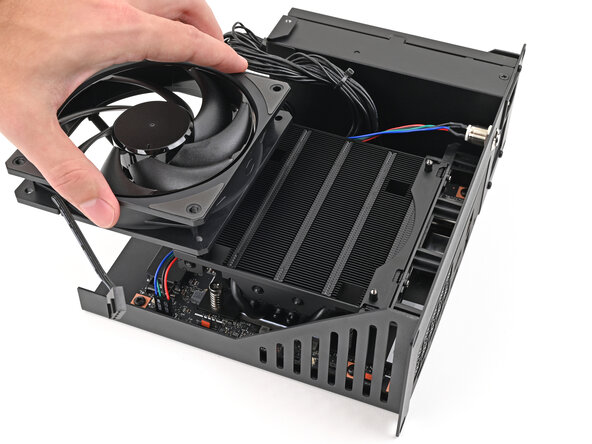
- Orient the fan so its label is facing downward and the cable(s) is pointing towards the left edge of the Tray.
- If your fan has an arrow indicating airflow direction, make sure it's pointed towards the heatsink.
- If you're using a different fan, orient it such that the fan is blowing towards the heatsink, not away.
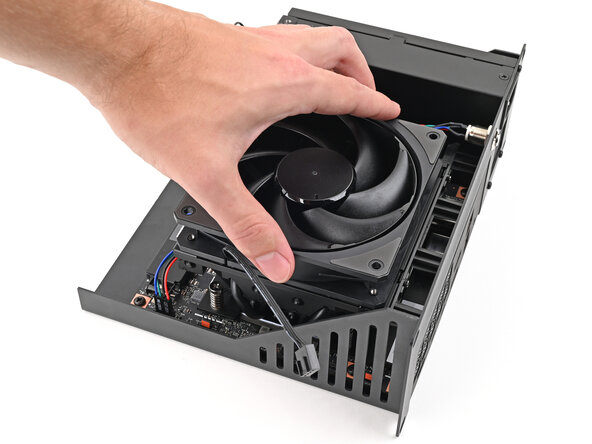
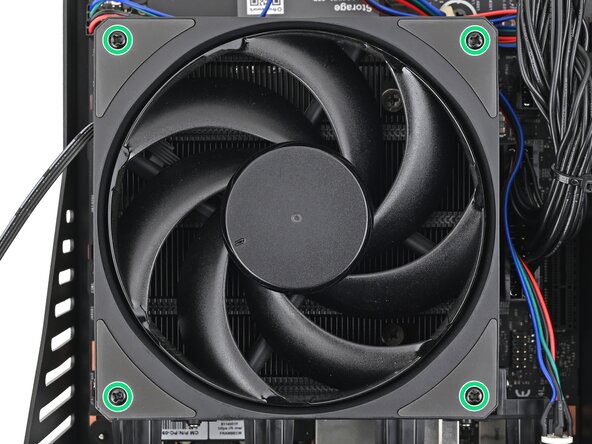
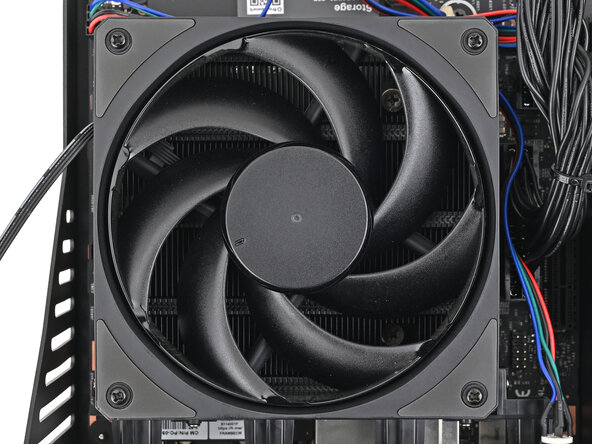
- Lay the fan on top of the heatsink, making sure the screw posts on the heatsink are slotted into the screw holes on the fan.
- Don't install the fan duct since it'll make the unit too tall to stack properly in the rack.
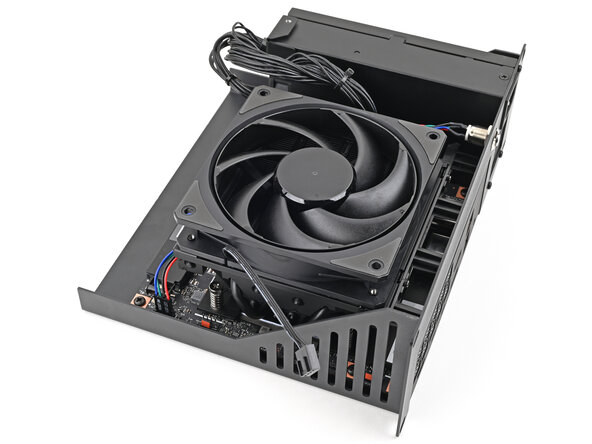
- Use your Framework Desktop Screwdriver to install the four 27.3 mm‑long screws securing the fan.
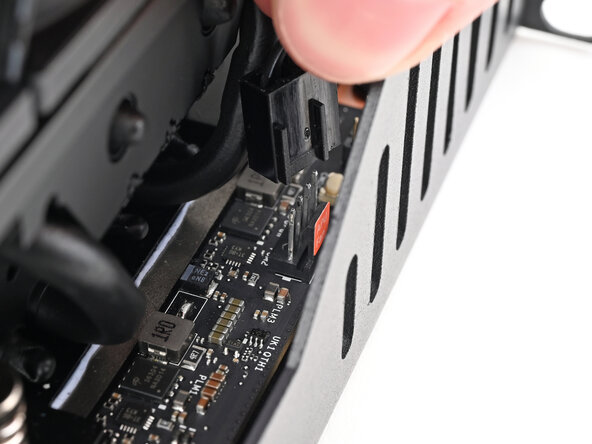
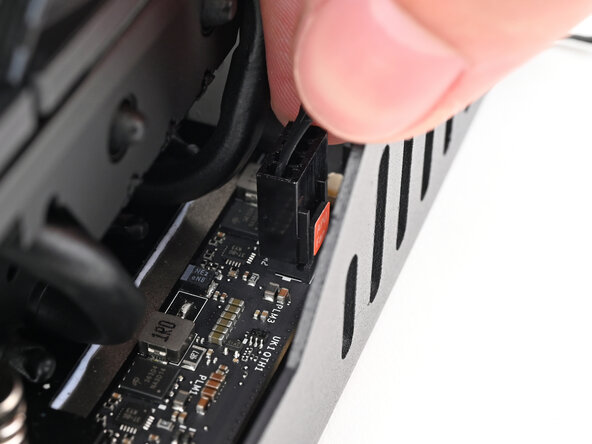
- Orient the main fan cable so its two vertical lines are facing the edge of the Tray.
- Slide the main fan cable over the four-pronged connector labeled "APU Fan," making sure the orange label slots between the vertical lines.
- At this point, you're ready to install the Tray into the rack. If you haven't already installed an SSD, do so now.
- Your rack may look different, but the procedure should remain the same. Refer to your rack's instructions for any additional installation procedures.
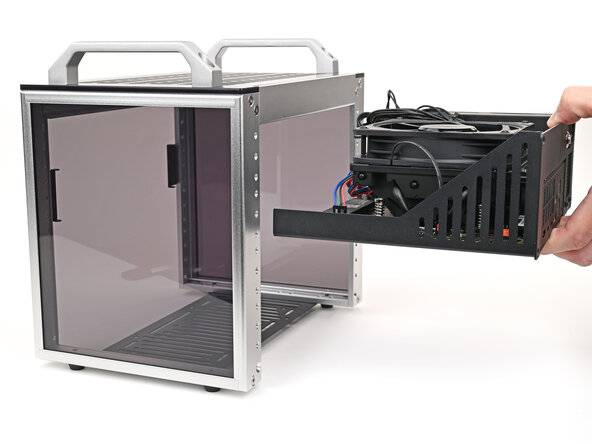
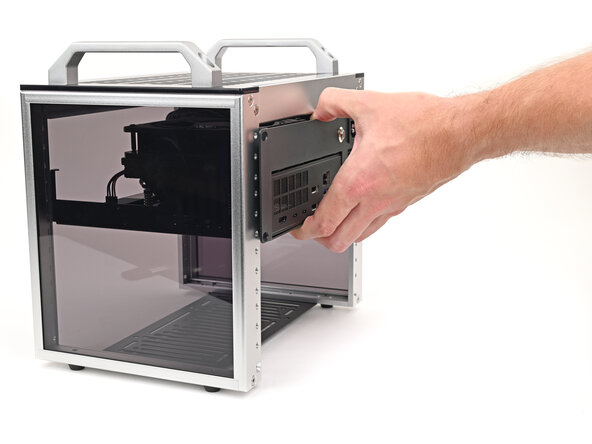
- Slide the Tray into your rack, making sure it rests properly on the rear brackets.
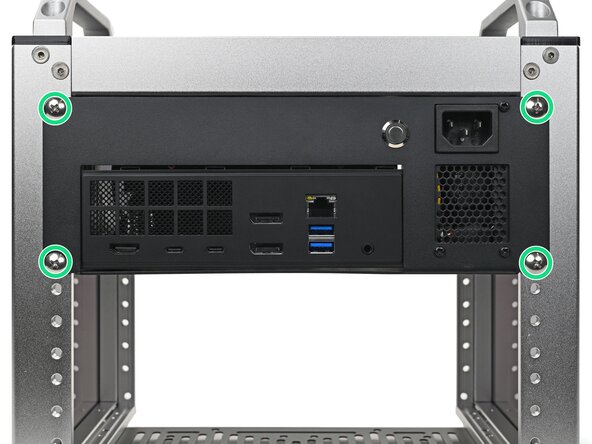
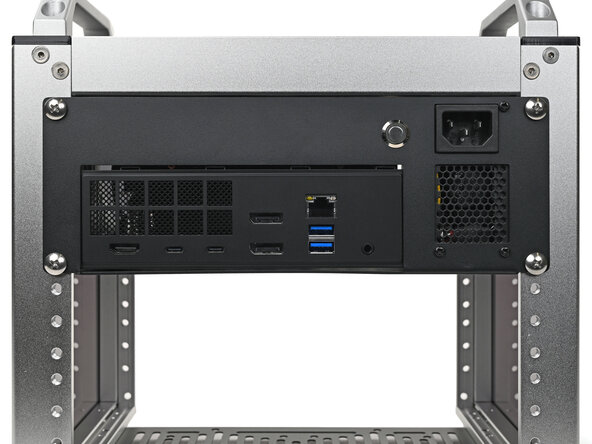
- Use your Framework Desktop Screwdriver to install the four 10.3 mm‑long screws—with the included washers—securing the Tray.
