Logitech MX Master 4 Battery Replacement
ID: 193900
Description: Follow this guide to replace a worn-out or dead...
Steps:
- Flip the mouse's power switch down into the OFF position and unplug any cables.
- The mouse's unique shape prevents it from laying flat. If you need to, lay it down on a soft towel to prevent wobble.
- Use a Phillips screwdriver to remove the six screws securing the two halves of the mouse together:
- Five 4.3 mm‑long screws
- One 6.3 mm‑long recessed screw
- Two strong, plastic clips still secure the front of the mouse.
- Insert the flat end of a spudger in the seam between the two halves of the mouse, near the power switch.
- Slide the spudger along the seam to the very front of the mouse.
- Gently pry the bottom half of the mouse away from the top half, until you feel and hear the first clip release.
- You should only have to pry a small amount. If the mouse doesn't unclip, remove the spudger and start over.
- Don't try to fully separate the two halves yet—a ribbon cable still connects them.
- Grip the top half of the mouse in one hand, and the bottom half in your other hand.
- Slowly pull the back of the mouse apart until you feel the last clip on the front release.
- During reassembly, firmly pinch the mouse together near the front to engage the two clips.
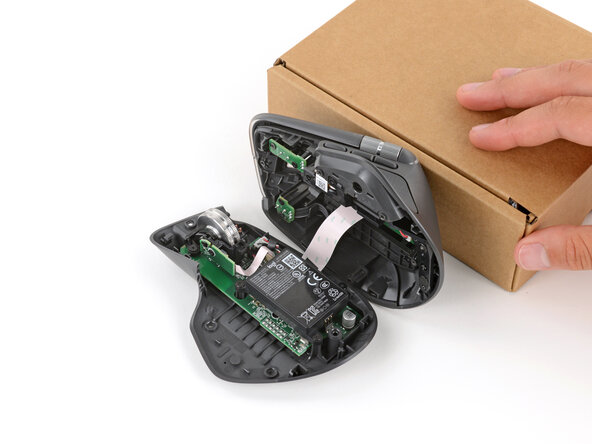
- Flip the top half of the mouse over the right side and use a sturdy object to prop it up, so you can access the battery.
- Use a Phillips screwdriver to remove the three 4.4 mm‑long screws securing the battery.
- Use your fingers to lift the battery straight up and remove it.
- During reassembly, press the battery into place until the connector on the bottom edge clicks into its socket.