Logitech MX Master 4 Feet Replacement
ID: 193902
Description: Follow this guide to replace worn‑out or...
Steps:
- Flip the mouse's power switch down into the OFF position and unplug any cables.
- The mouse's unique shape prevents it from laying flat. If you need to, lay it down on a soft towel to prevent wobble.
- Mild adhesive secures the mouse feet. Heating them will soften the adhesive, making it easier to cleanly remove the feet.
- Heat an iOpener and lay it on each of the mouse feet for one minute.
- Alternatively, you can use a hair dryer to soften the mouse feet adhesive.
- When using a hair dryer, don't heat the feet for more than a couple seconds at a time or you risk melting or warping the plastic case.
- Each mouse foot recess has a small notch. Insert your tool near the notch to cleanly remove the feet.
- If any of the feet feel stuck when removing them, apply more heat and try again.
- Slowly slide the tip of an opening pick under one of the feet.
- Make sure the pick slides under both the foot and its adhesive pad—the two layers can easily separate.
- Slide the pick farther under the foot and lift until you can grip the foot with your fingers.
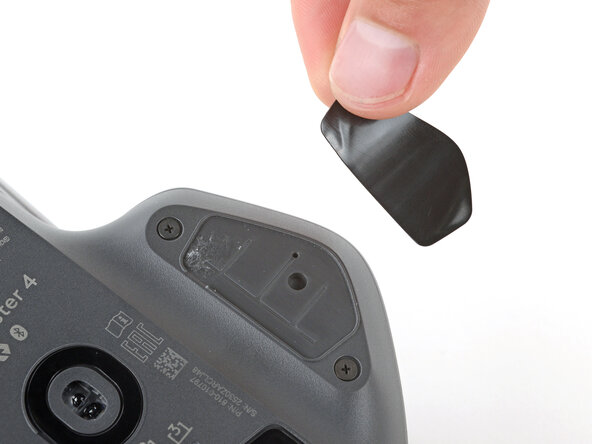
- Use your fingers to peel up and remove the foot.
- If the foot separated from its adhesive pad, use the same process to remove the pad.
- Repeat the previous step to remove the remaining mouse feet.
- To install new mouse feet:
- Thoroughly clean all the foot recesses with isopropyl alcohol and a lint‑free or microfiber cloth. Allow the surface to dry completely.
- Peel your new mouse feet off their adhesive liners and press them firmly into place.