Creality Ender 3 Pro Printing Head Cooling Replacement with mini Satsana
ID: 193972
Description: A friend of mine (who's into all this 3d stuff)...
Steps:
- Unplug your printer from power.
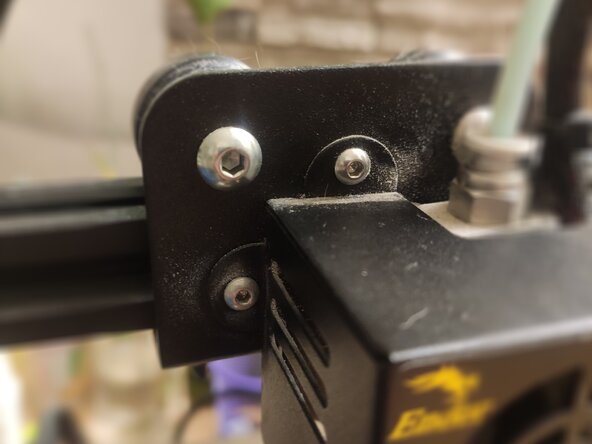
- Remove two smaller bolts, mine were screwed tightly, so I had to take a grippy driver, not a "precision" one. These are Torx 8.
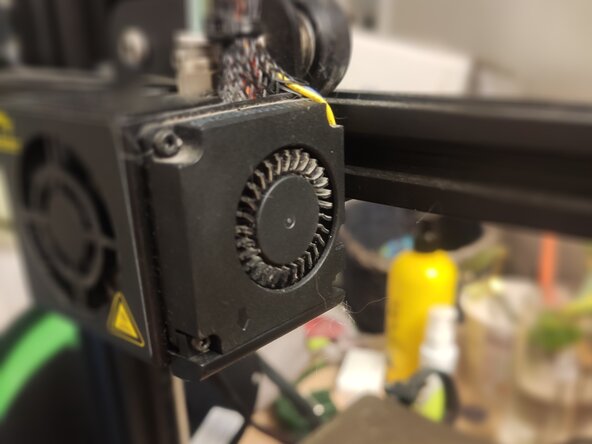
- From the side, remove four bolts holding the fan. Two top bolts are short, two bottom are long. These are Torx 6.
- I feel safer if my bolts are saved from running like this (not needed if you use any storage or magnetic pad)
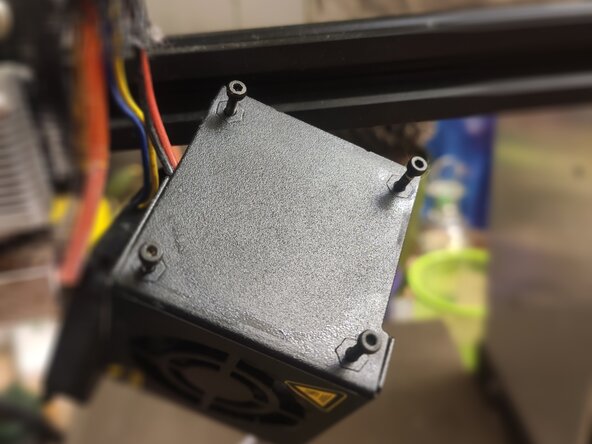
- Four more screws are holding the head cooler from the inside.
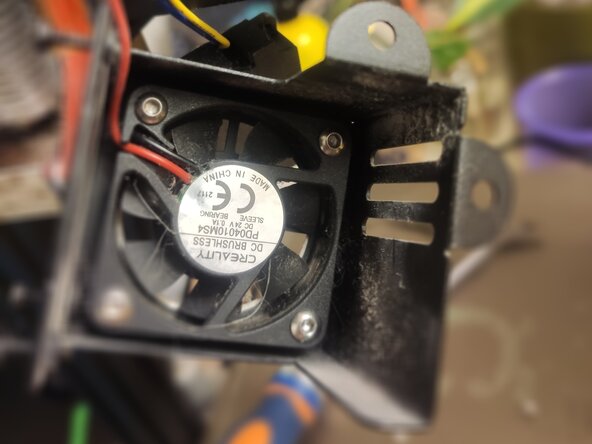
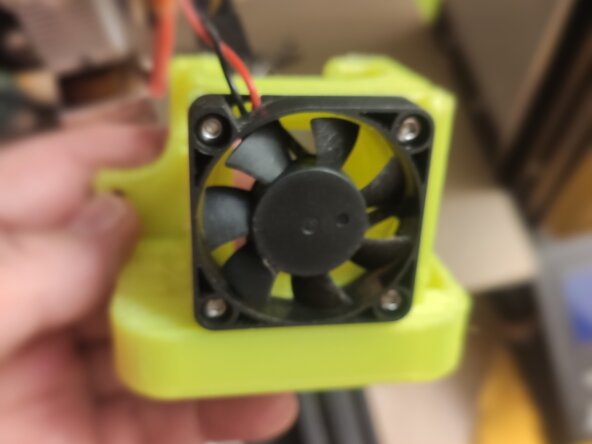
- Halfway through. The original one does not look very impressive, innit?
- Naked printing head looks like this, yep. Since we are already here, why not give the coolers a clean? Mine were nasty, cats, filament debris, and dust.
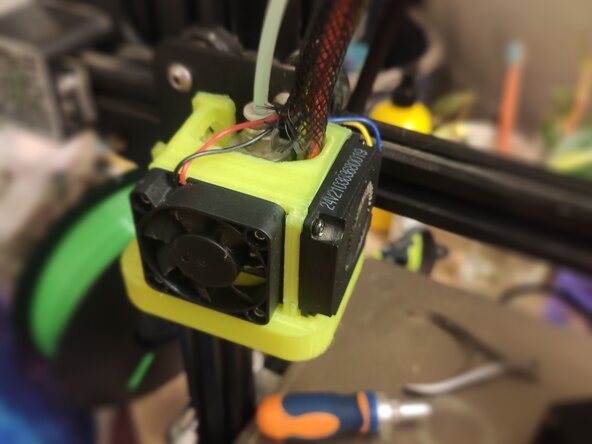
- Fix down your bigger cooler. Notice, the sticker was facing to hotend, so we put it the same way -- the sticker goes to the hotend.
- The smaller one, from the side, goes to the side, no turning or twisting required. (Don't forget to throw out the small duct that was on the bottom of the side cooler)
- Screw back Torx 8.
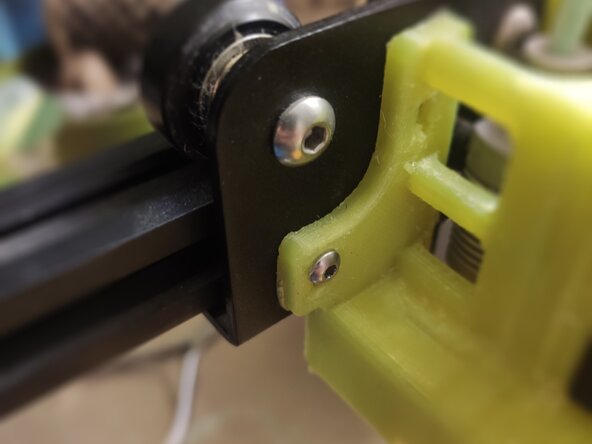
- DON'T DO THIS, IF YOU HAVE A SUITABLE SCREWDRIVER!!! I don't have a driver small enough to get to the second screw, so I just put it from the back. Not like it hold a lot, but it kinda restrains a frame from moving around. (I'll fix it next time, maybe better screwdriver\key, or longer bolt with nut?)