Nintendo Switch 2 Left Joy-Con 2 Connector Removal
ID: 194135
Description:
Steps:
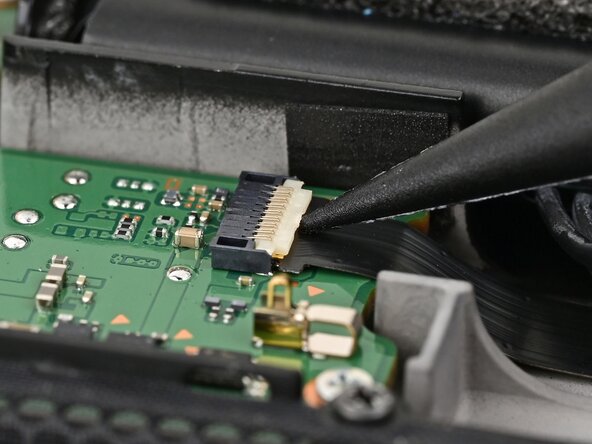
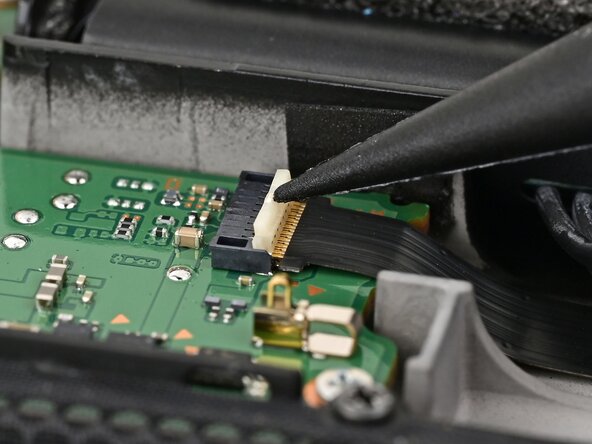
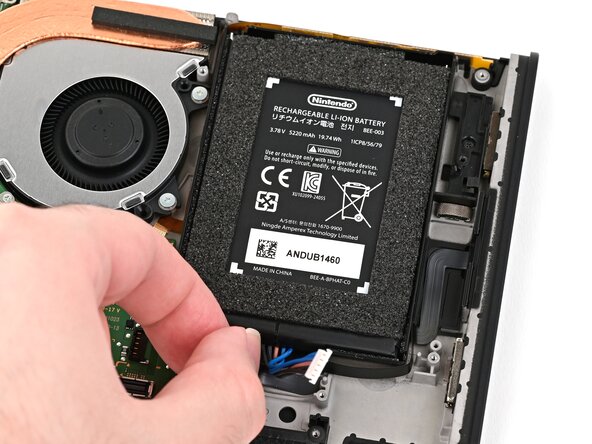
- Use the point of a spudger to flip up the locking flap on the left Joy-Con 2 connector cable ZIF connector, located beneath the battery on the console's board.
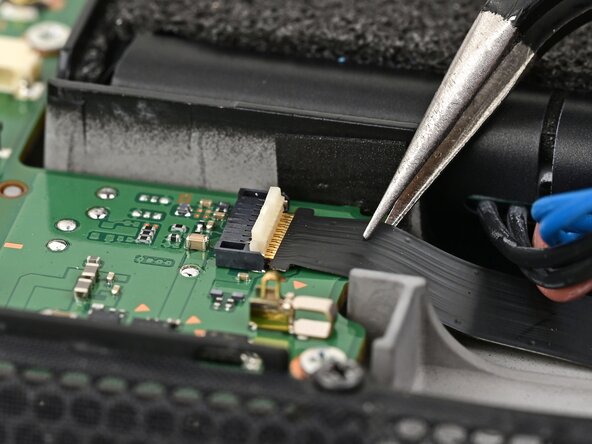
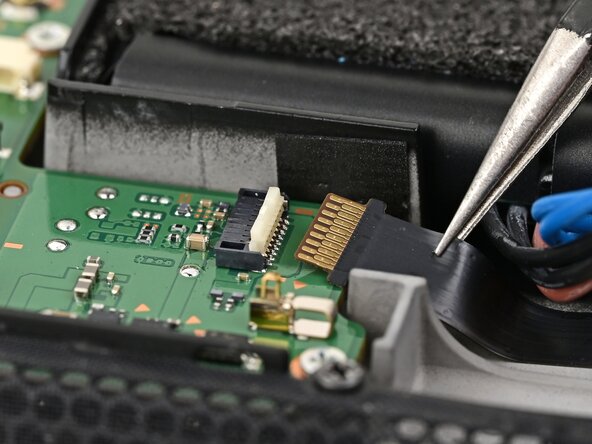
- Use tweezers or your fingers to gently pull the cable out of its connector.
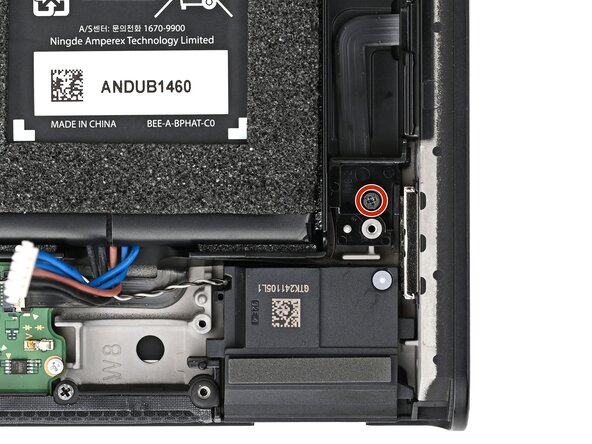
- Use a JIS 00 driver to remove the 2.3 mm‑long black screw securing the left Joy-Con 2 connector cable's bracket.
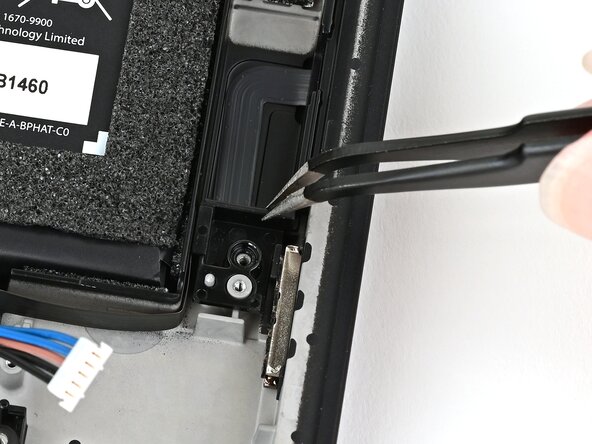
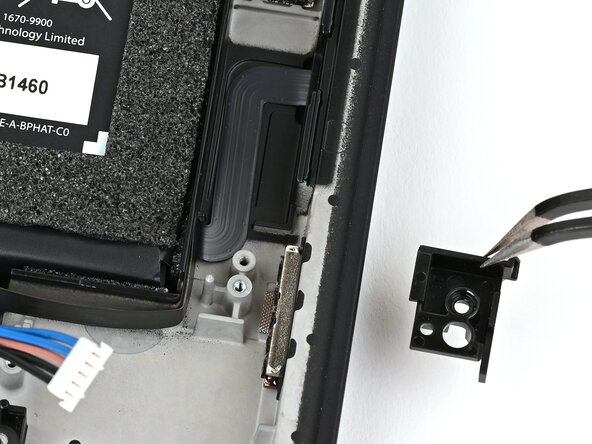
- Remove the bracket.
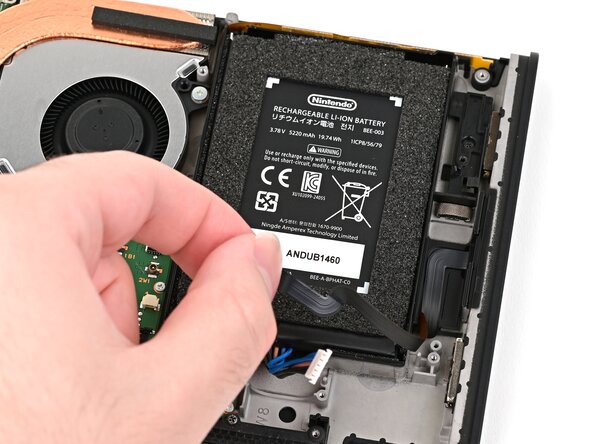
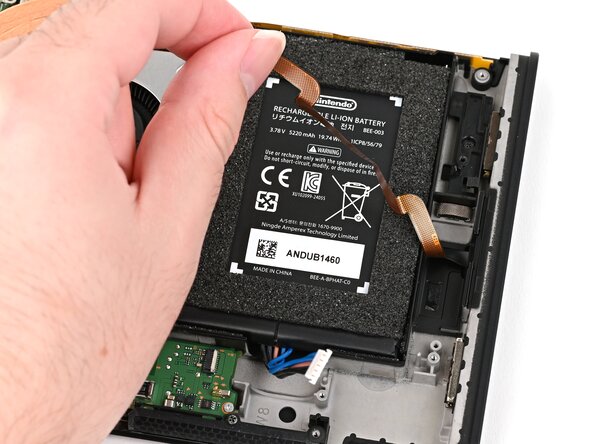
- Unroute the left Joy-Con 2 cable from around the battery well.
- The cable is secured to the frame with a small piece of adhesive.
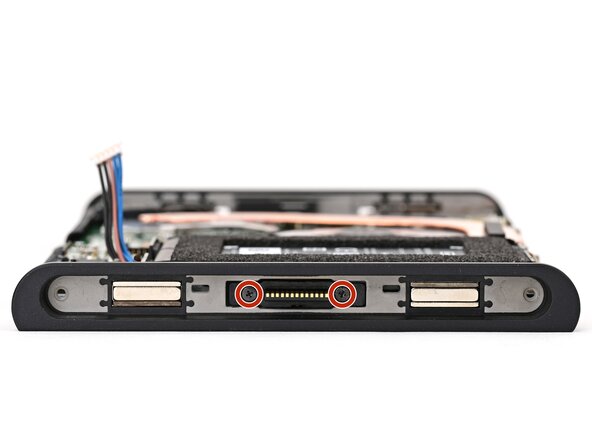
- Remove the two 3.2 mm‑long black screws securing the left Joy-Con 2 connector.
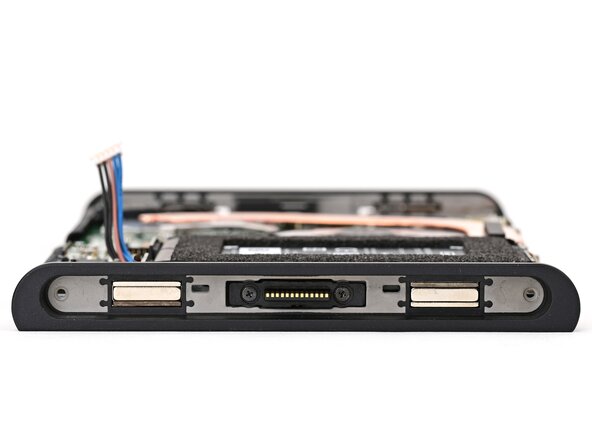
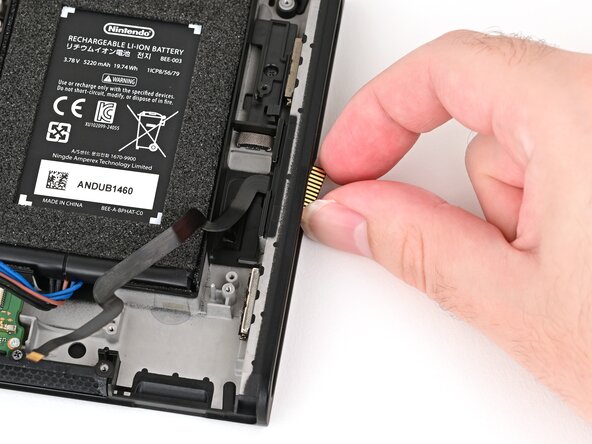
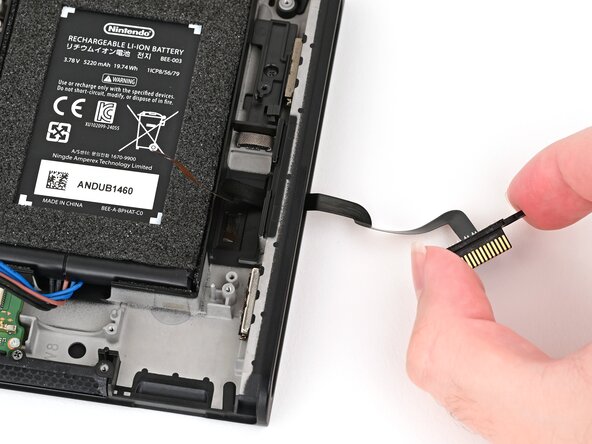
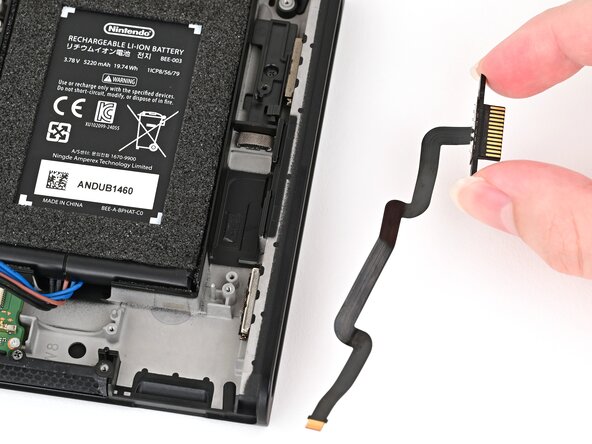
- Grab the left Joy-Con 2 connector and carefully pull its cable out of the frame.
- Remove the left Joy-Con 2 connector.
