Nintendo Switch 2 Heat Sink Removal
ID: 194183
Description:
Steps:
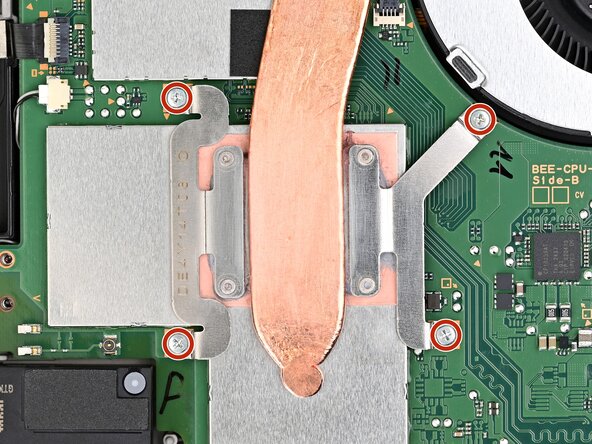
- Use a JIS 00 driver to remove the four 3.4 mm‑long silver screws securing the heat sink.
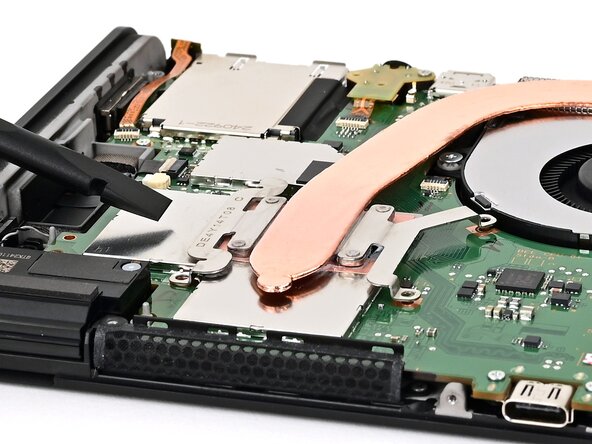
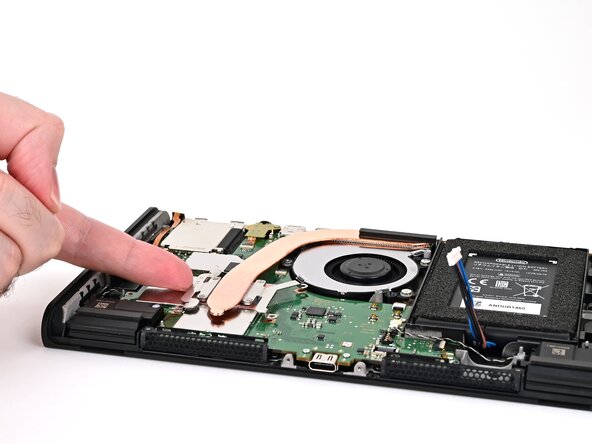
- Insert the flat end of a spudger between the heat sink and the processor's heat spreader.
- Twist the spudger to lift the heat sink and separate the thermal paste bonded to it.
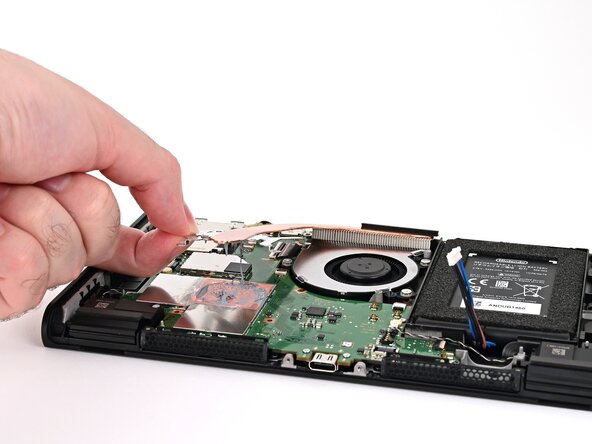
- Lift the heat sink slowly to avoid bending its thin copper heat pipe.
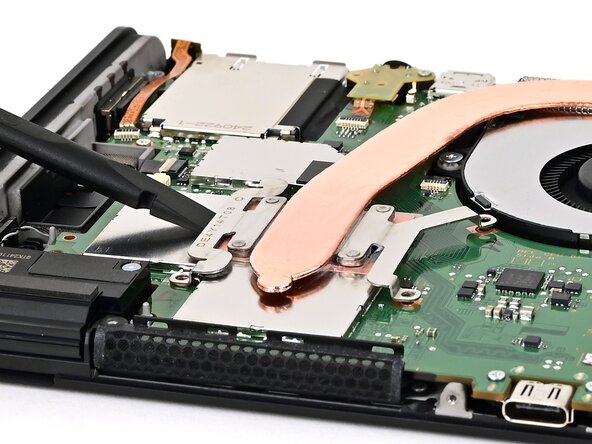
- Slowly lift the heat sink from the front, until the aluminum fin stack at the back is detached from the adhesive beneath it.
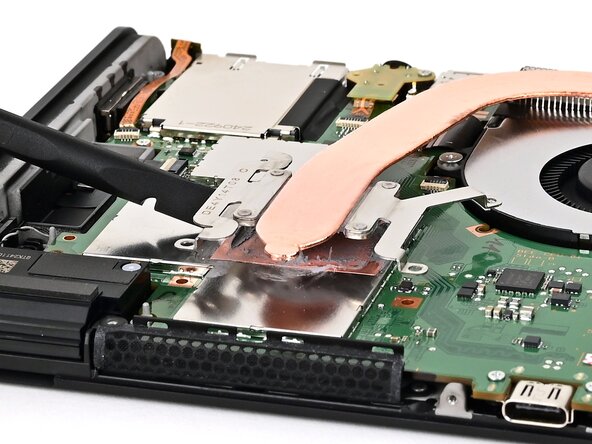
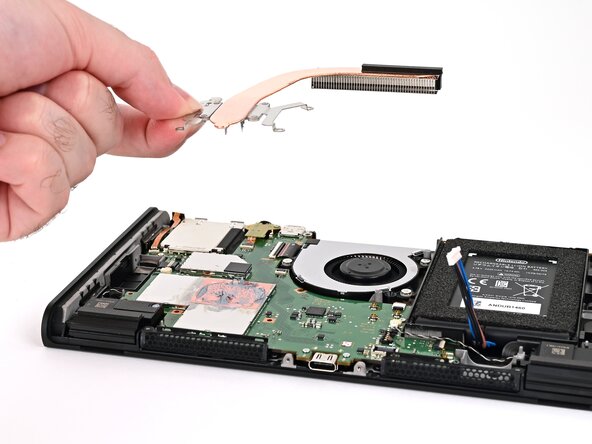
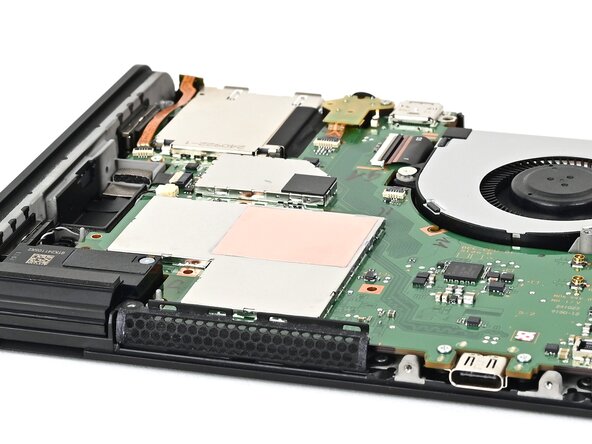
- Remove the heat sink.
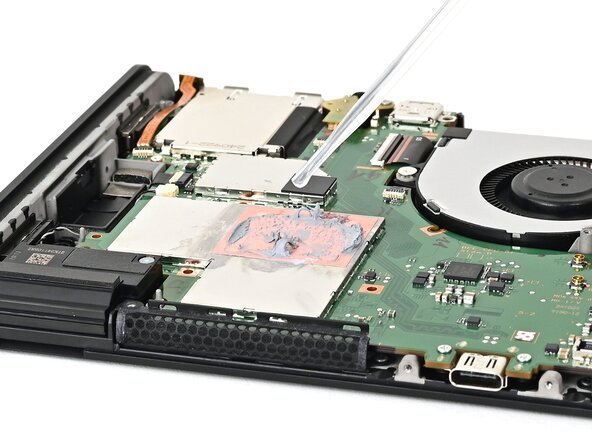
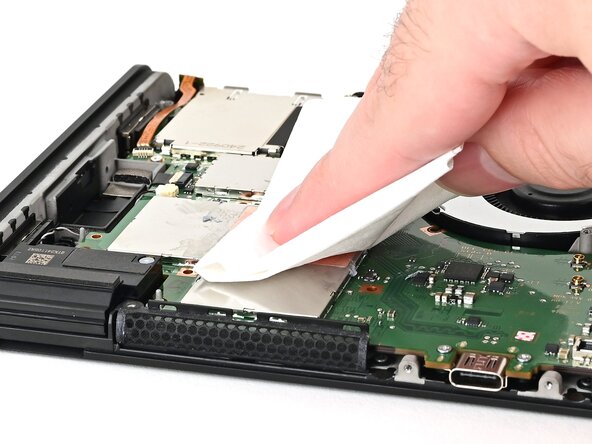
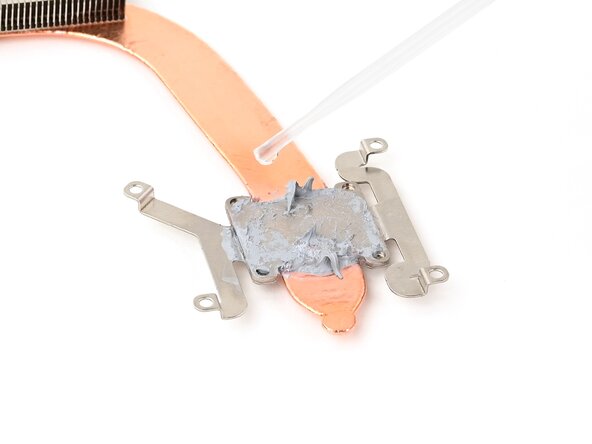
- Use high-concentration (90% or higher) isopropyl alcohol or thermal material remover to soak the thermal paste on the processor's heat spreader for one minute.
- Use a lint-free cloth or cotton swabs to wipe away the thermal paste.
- Repeat this process until the processor's heat spreader is clean.
- If you're replacing your heat sink, skip this step.
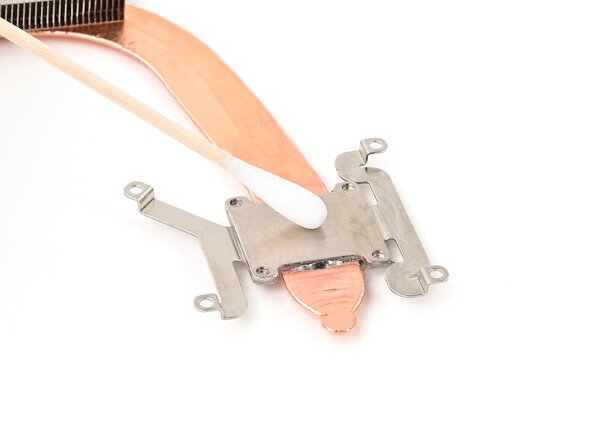
- Repeat this process to clean the thermal paste off the bottom of the heat sink.