Nintendo Switch 2 Heat Sink Installation
ID: 194184
Description:
Steps:
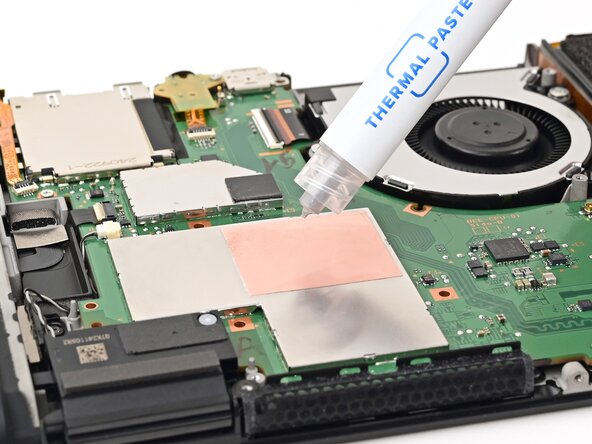
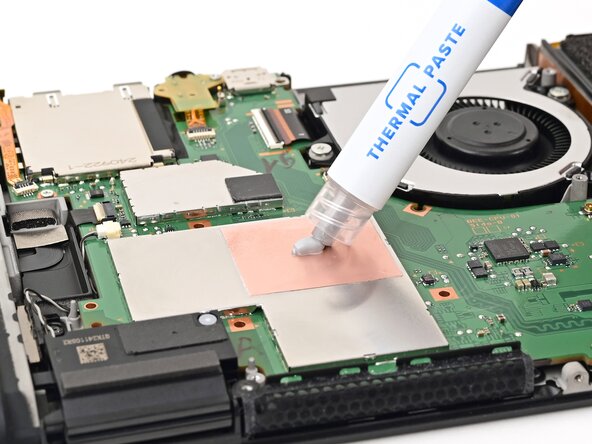
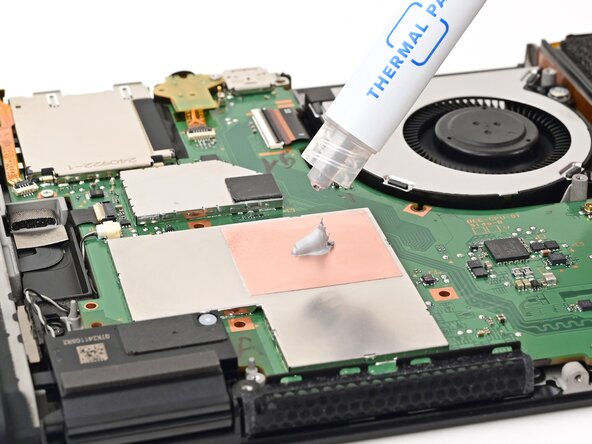
- Apply a bead of new thermal paste to the center of the processor's copper heat spreader, roughly the size of a pea.
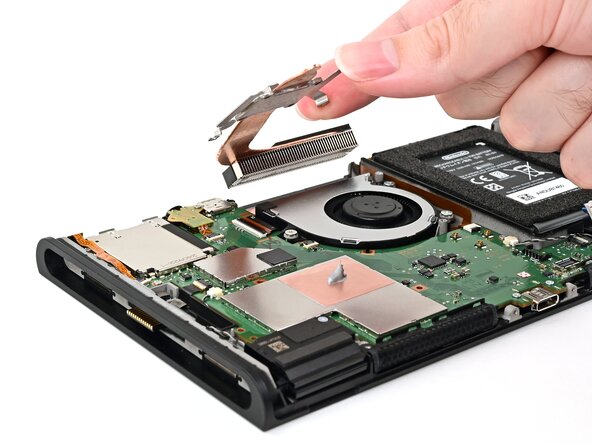
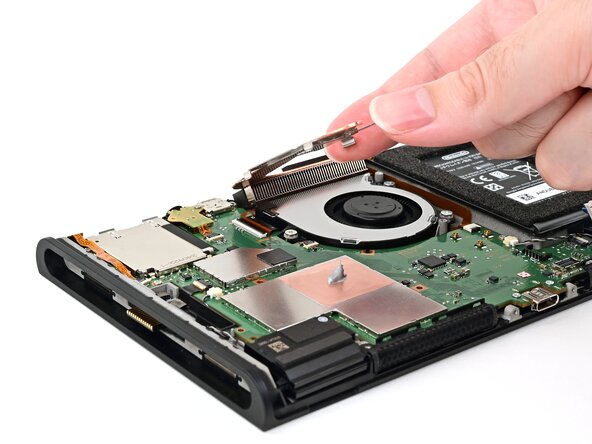
- Set the heat sink's aluminum fins into its recess behind the fan, then lower the heat sink onto the board.
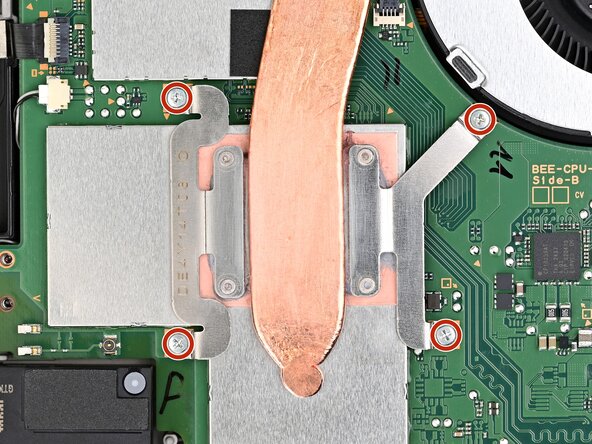
- Use a JIS 00 driver to partially install the four 3.4 mm‑long silver screws securing the heat sink.
- Tighten the screws in an X pattern. For example: bottom left, top right, bottom right, then top left.