Framework Desktop Heatsink / Thermal Pad Removal
ID: 194203
Description:
Steps:
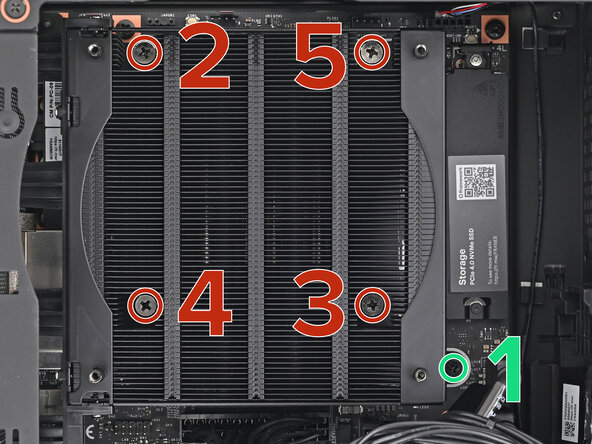
- Use your Framework Desktop Screwdriver to loosen the final captive Phillips screw jutting out under the Primary Storage.
- Use your Framework Desktop Screwdriver to loosen the four captive Phillips screws securing the heatsink in an "X" pattern starting with the top left screw.
- Only loosen the screws a few turns at a time to avoid applying uneven pressure to the APU.
- In order: top left→ bottom right→ bottom left→ top right
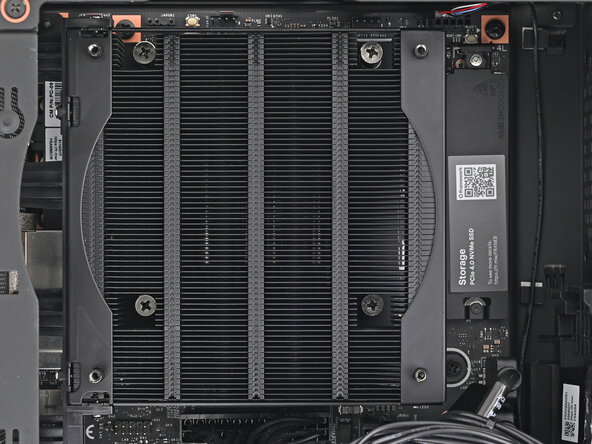
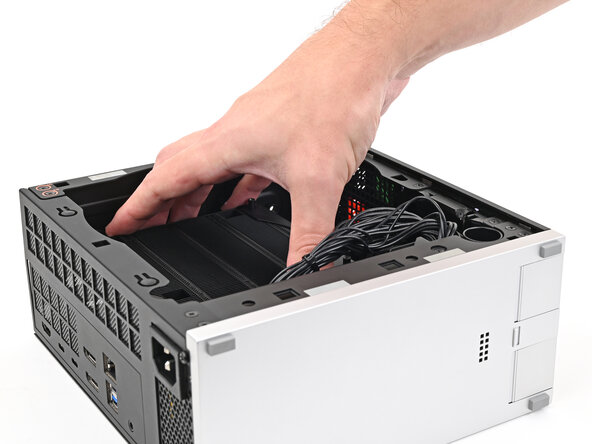
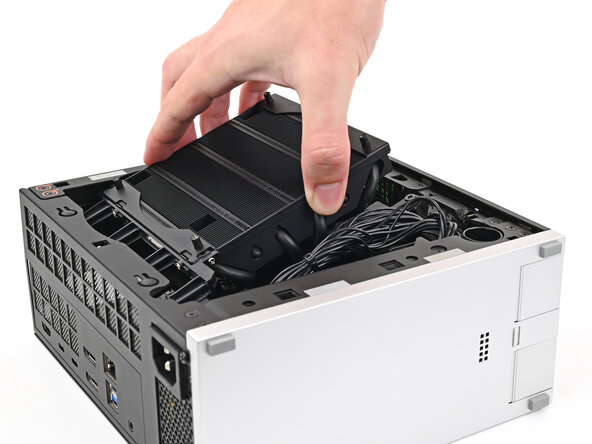
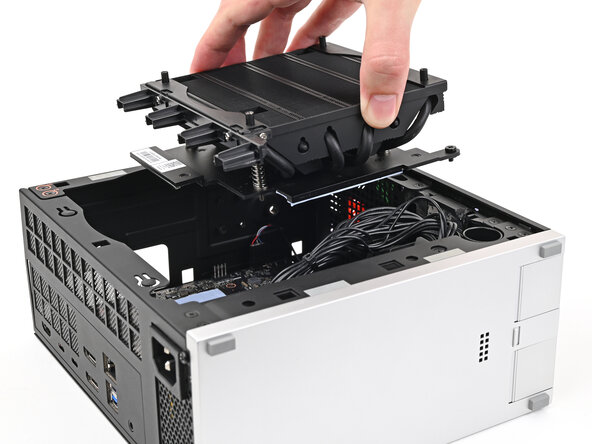
- Lift the heatsink and tilt it up towards the front of the Desktop to navigate it out of the chassis.
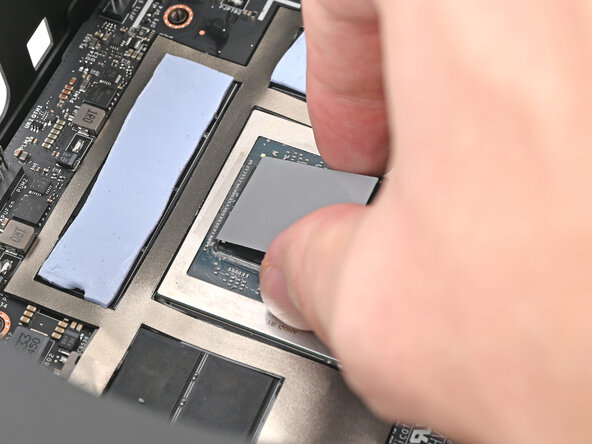
- Remove the heatsink and rest it on your work area upside down to avoid damaging the thermal pads.
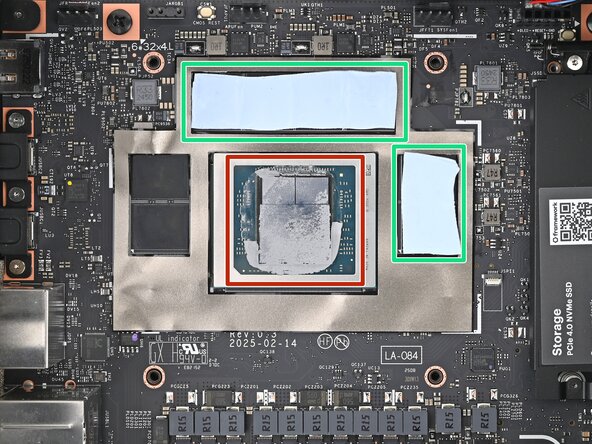
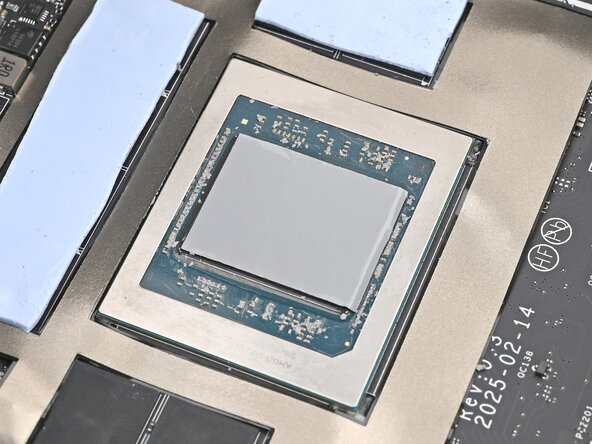
- There are two types of thermal pads in the Desktop:
- One thin, grey pad covering the back of the APU
- Four thicker, blue pads covering the memory and power management
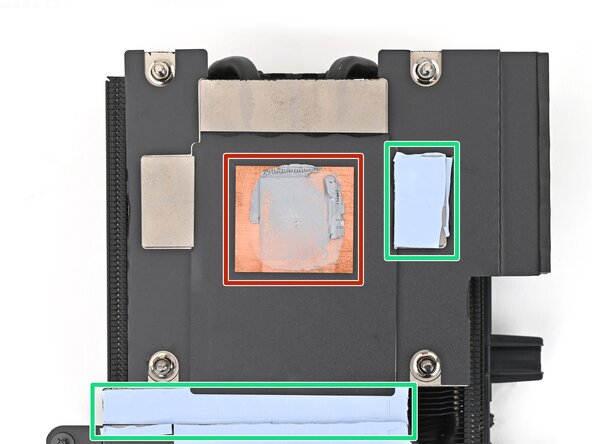
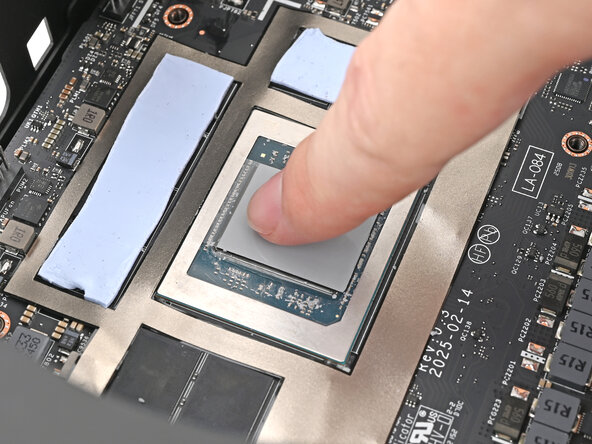
- Upon removing the heatsink, the thicker pads will stick to either the bottom of the heatsink or to the Mainboard. Keep them in place and use your fingers to reposition them over their slots if they got folded or partially moved.
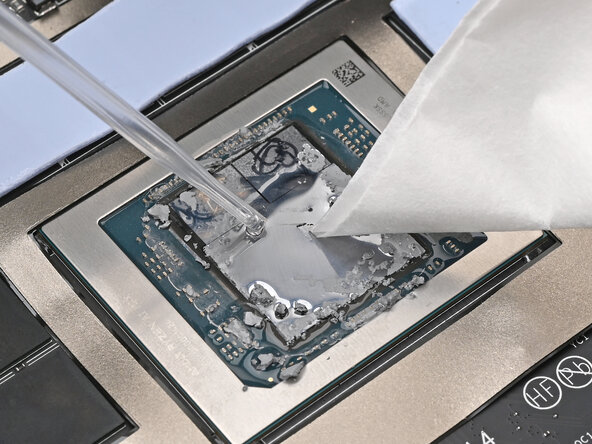
- Follow the remaining steps to remove the thin thermal pad and replace it.
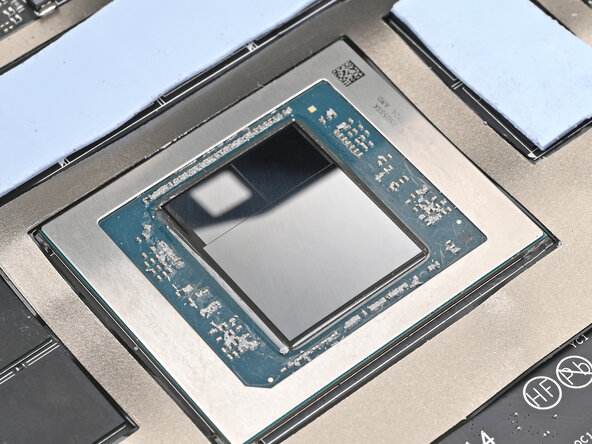
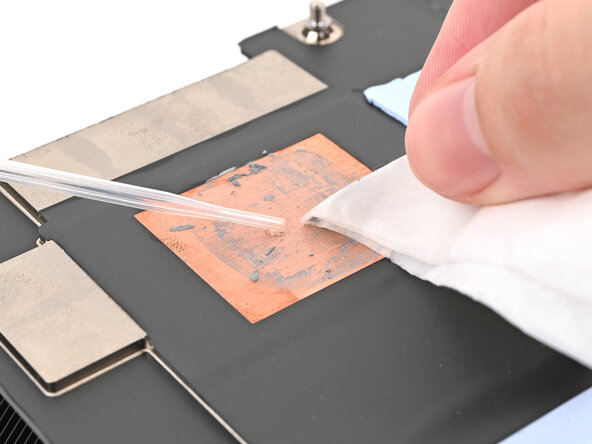
- Apply a few drops of isopropyl alcohol (>90%) to the APU and use a coffee filter or a lint-free cloth to wipe away any residue.
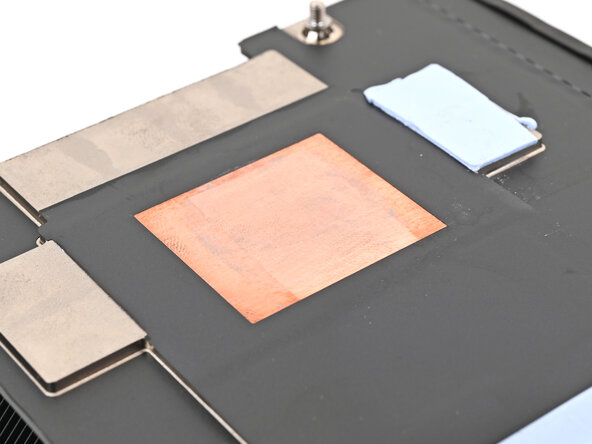
- Repeat the cleaning procedure on the heatsink.
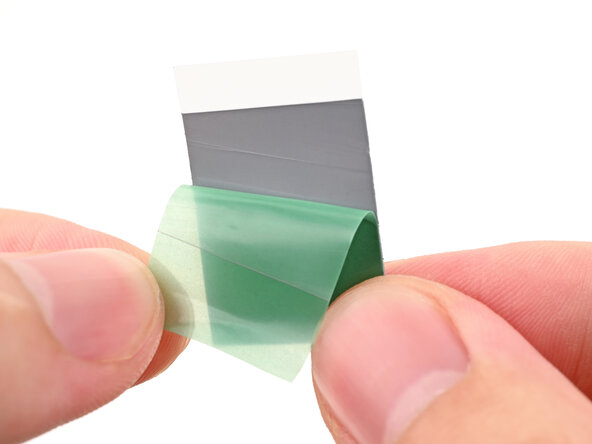
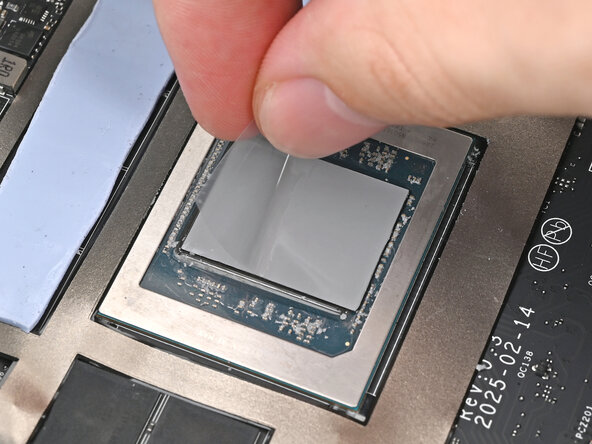
- Remove the green liner from the replacement thermal pad to expose one side of it.
- Place the exposed side of the thermal pad over the APU and press it into place.
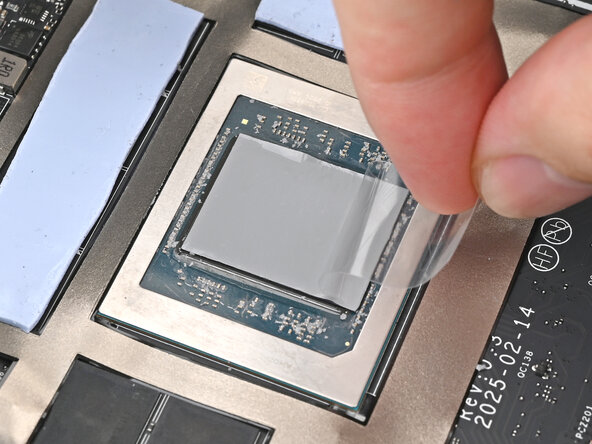
- If you have trouble handling your thermal pad, you can store it in your fridge for a few minutes to make it more rigid.
- Remove the clear liner from the thermal pad to expose its top side.