Nintendo Switch 2 Left Joy-Con 2 Connector Installation
ID: 194222
Description:
Steps:
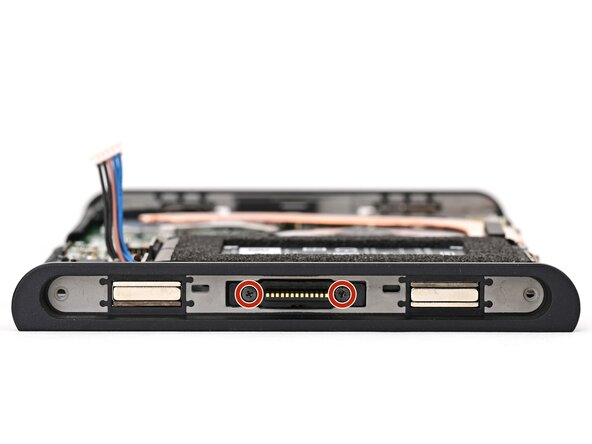
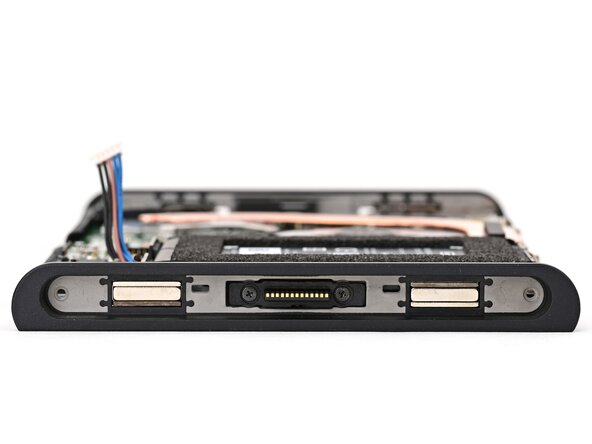
- Route the left Joy‑Con 2 connector cable through its slot in the frame until the connector itself is aligned with its screw holes.
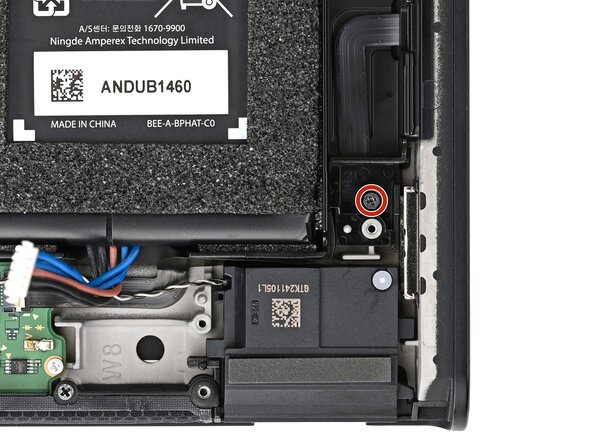
- Use a JIS 00 driver to install the two 3.2 mm‑long black screws securing the left Joy‑Con 2 connector.
- Stick the cable onto its adhesive securing it to the frame.
- If the adhesive got lost or damaged, replace it with a piece of thin, double-sided tape.
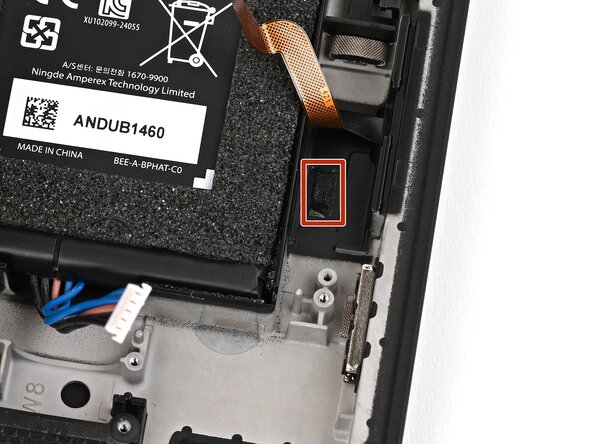
- Route the connector's cable beneath the battery cable.
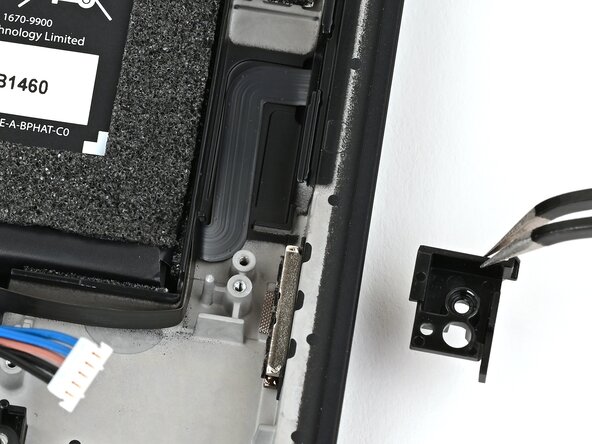
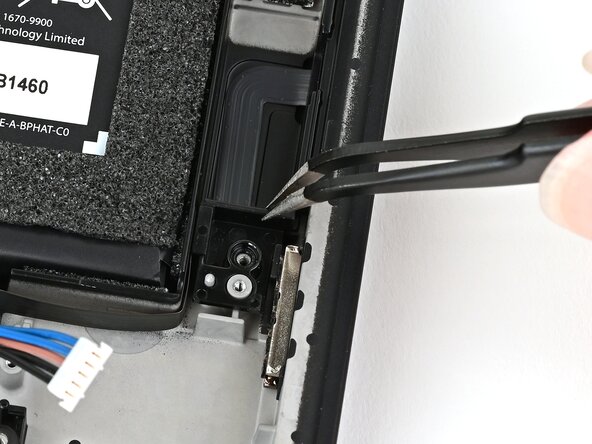
- Align the cable's bracket with its posts and set it into the frame.
- Use a JIS 00 driver to install the 2.3 mm‑long black screw securing the bracket.
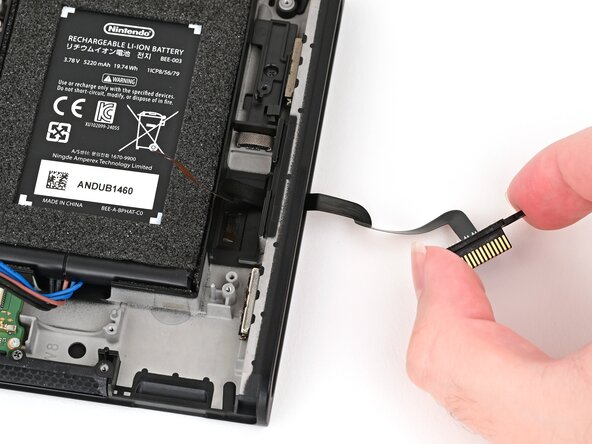
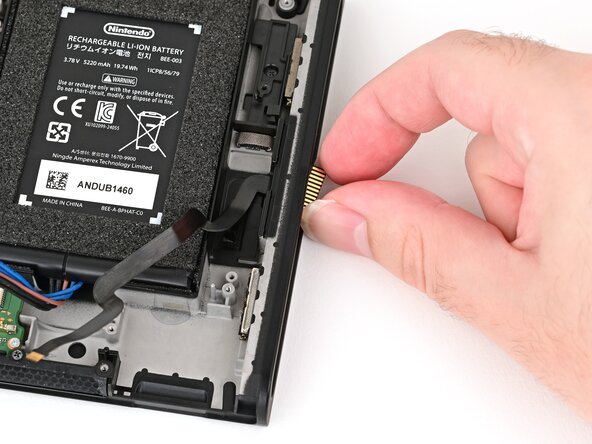
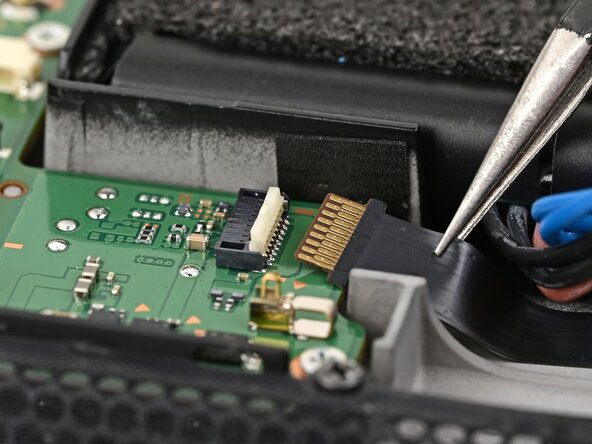
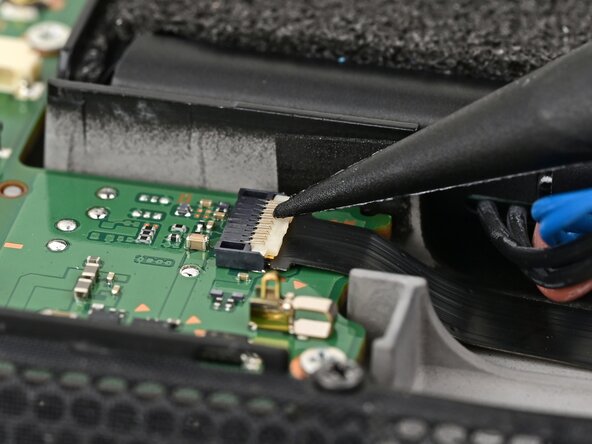
- Use tweezers to insert the left Joy‑Con 2 connector cable into its ZIF connector on the board until it's fully seated.
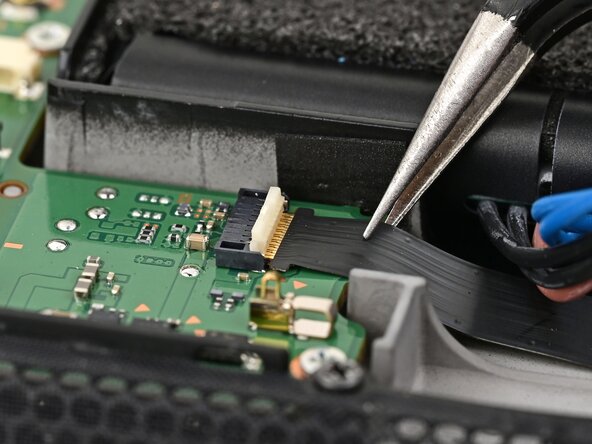
- Flip the hinged locking flap down to secure the cable.