Nintendo Switch 2 MicroSD Card Reader Installation
ID: 194237
Description:
Steps:
- Align the MicroSD card reader with its pegs on the shield plate and set it into place.
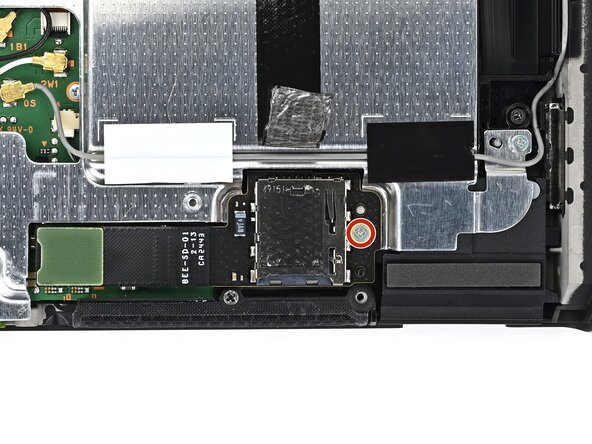
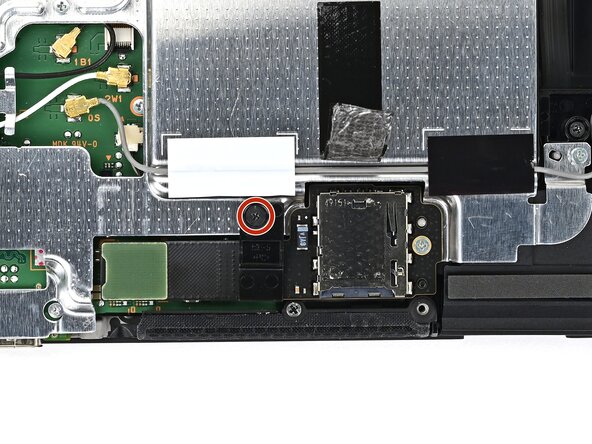
- Use a JIS 00 driver to install the 4.4 mm‑long silver screw securing the MicroSD card reader.
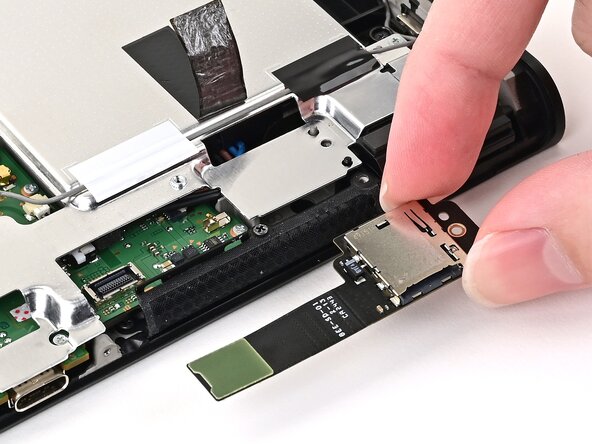
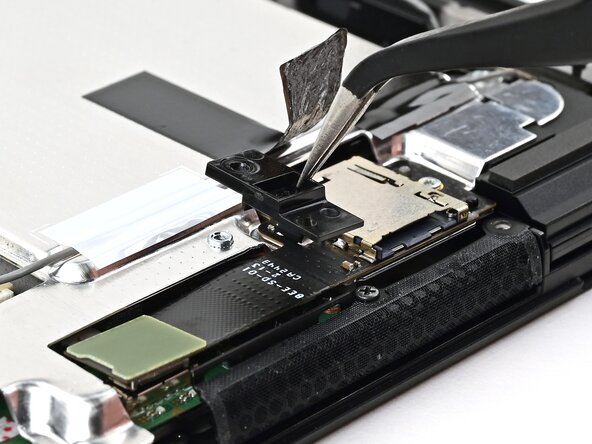
- Set the bracket on top of the MicroSD card reader's cable, aligned with its screw hole.
- Ensure the black tab on the bottom of the bracket sits between the shield plate and card reader's cable.
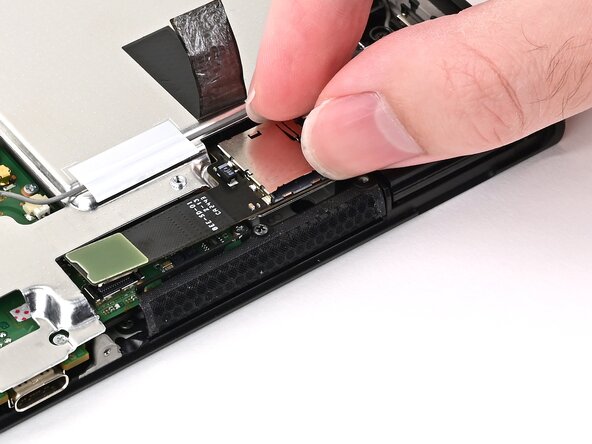
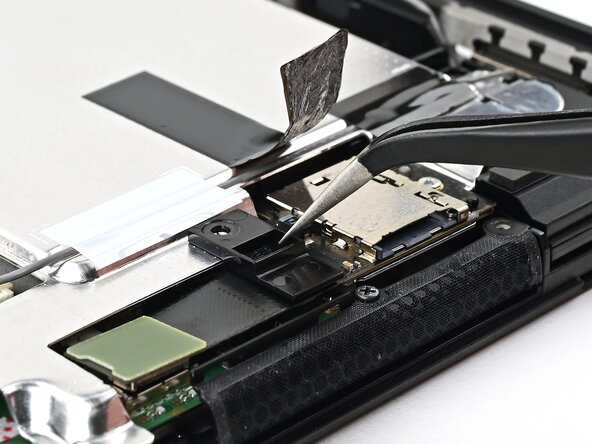
- Use a JIS 00 driver to install the 1.6 mm‑long black screw securing the cable bracket.
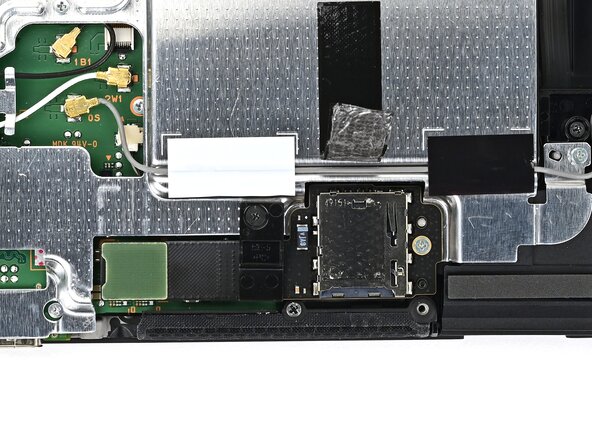
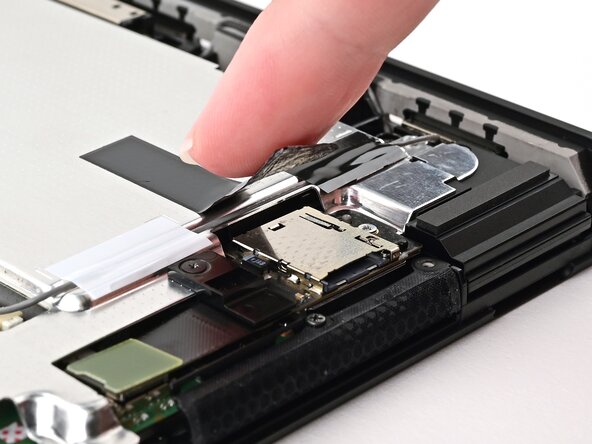
- Press the black tape onto the top of the MicroSD card reader.
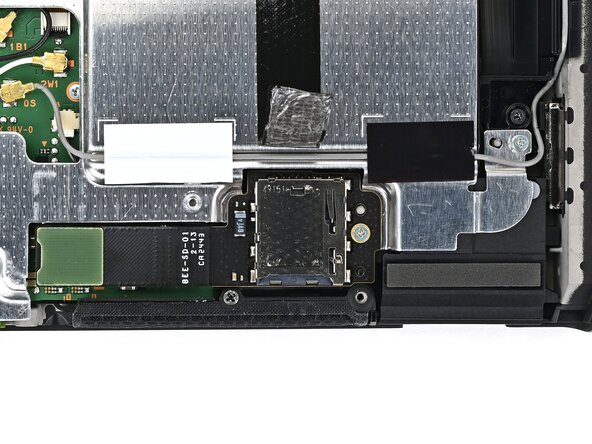
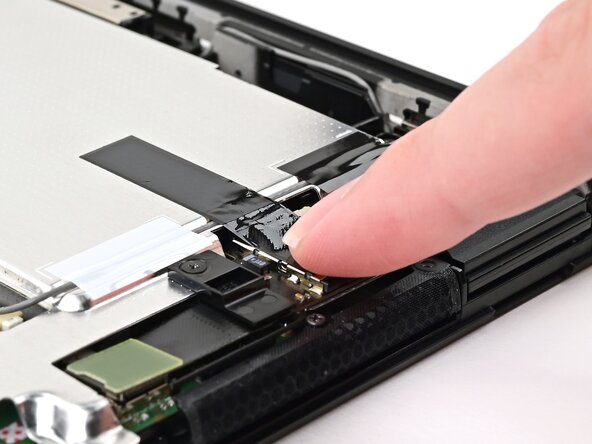
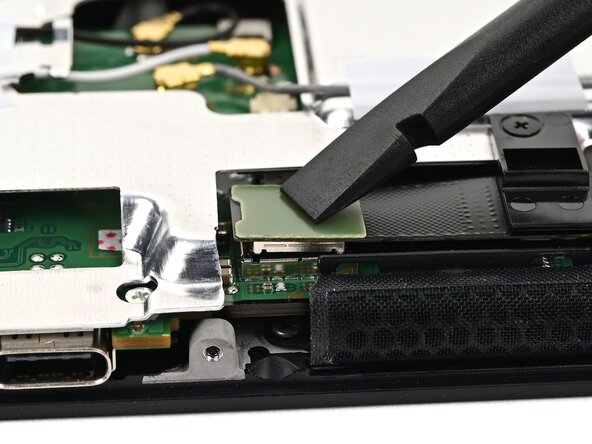
- Use your finger or the flat end of a spudger to press the MicroSD card reader press connector onto its socket on the board.
- Don't try to force the connector into place. If you're having trouble, lift it and try again.