LIDL & ALDI rechargeable LED torch Full disassembly and repair
ID: 194621
Description: The rechargeable LED torch sold by LIDL and...
Steps:
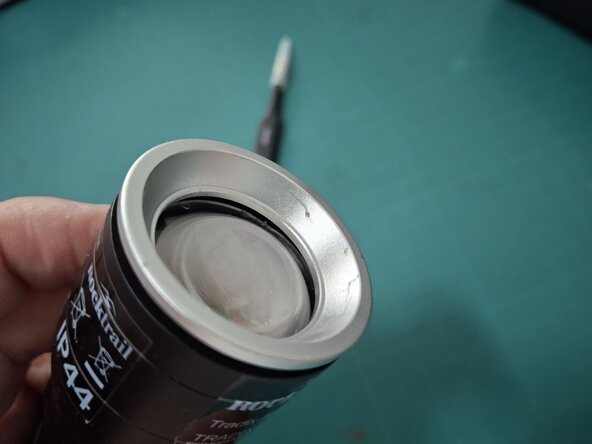
- The conic beauty ring in front of the lens is assemblesd with a thread. To unscrew it, use pliers with a cloth o a gummi sheet to protect the surface from scratches.
- After unscrew the beauty cover, the lens is free and we put it appart.
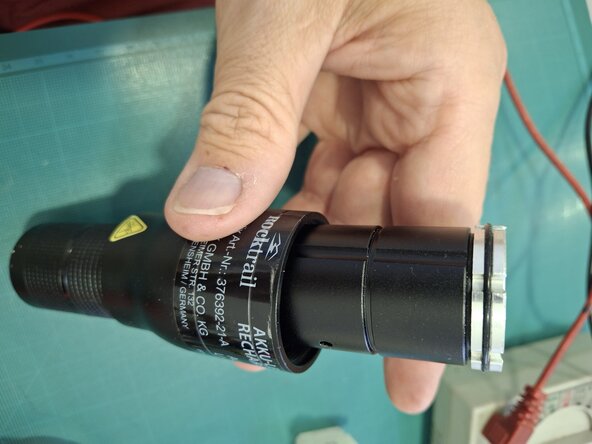
- Just slide it to the back to release it.
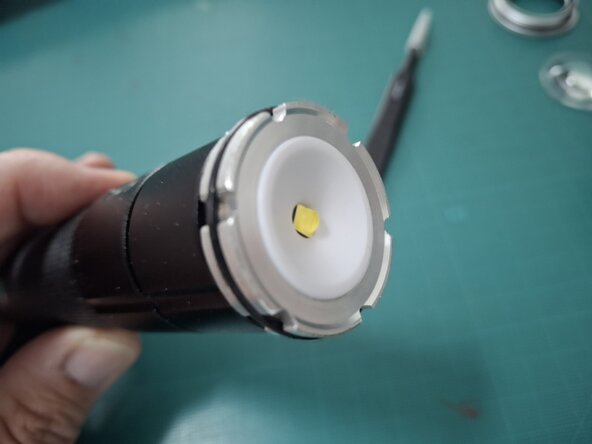
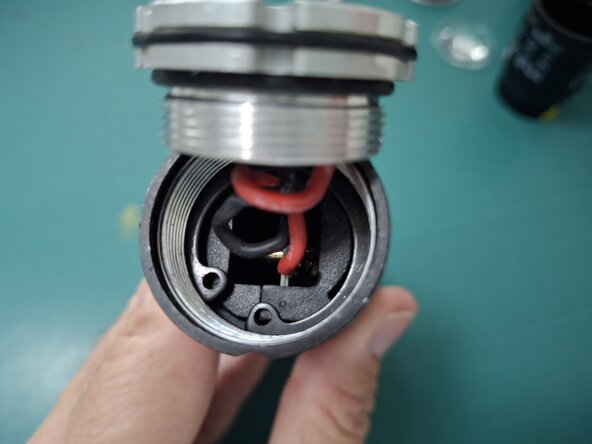
- The LED lamp holder is threaded to the main body. Just unscrew it. Be careful not to damage the sealing gasket.
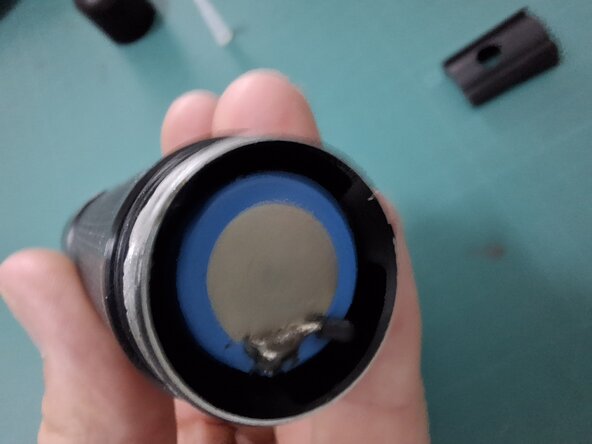
- At the back of the torch there is the main button. Just unscrew it and put it appart.
- With specific pliers release the inner elastic ring that fix the electronic board inside the torch. It is important to use the specific pliers in order to prevent damages in the elastic ring to reassemble it after the reapir. Pay attentiion to the LED lamp wires while removing the elastic ring.
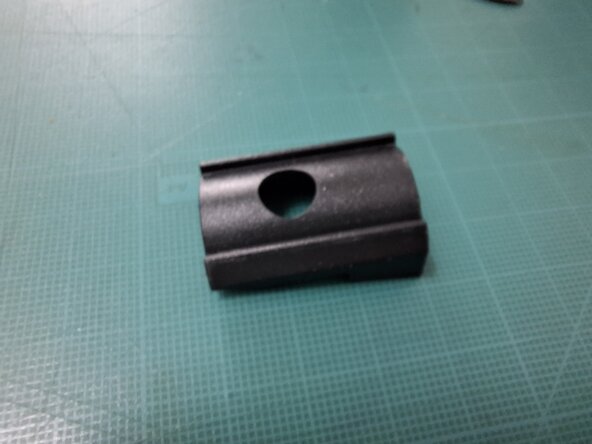
- The electronics are fixet with 2 plastic wedges. The first to remove is the one in the side of the red LED that is on while charging. Use tweezers to take it out.
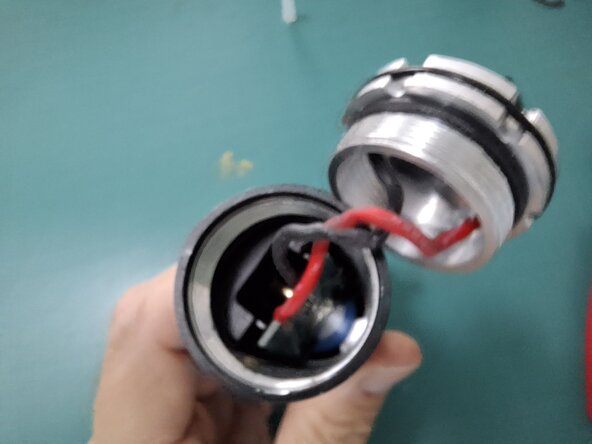
- After removing the first wedge, use plastic tweezers to move the second wedge to the centre in order to release it from the slot in the main body of the torch. Then you can take the whole electronic system out from the body.
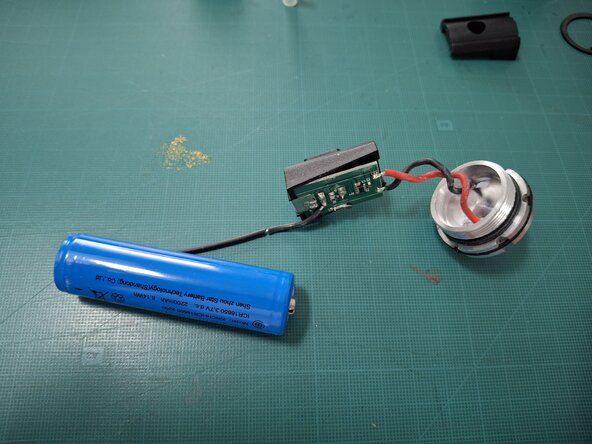
- After releasing the secong wedge, pull out the whole electronic system including the charging conectors, the electronic board and the rechargeable battery. Pay attention not to grasp with the tweezers by the electronic borad in order not to damage it.
- To asseble it back, follow these instructions in reverse order. Enjoy it.