Framework Laptop 16" Wi-Fi Card Installation
ID: 194931
Description:
Steps:
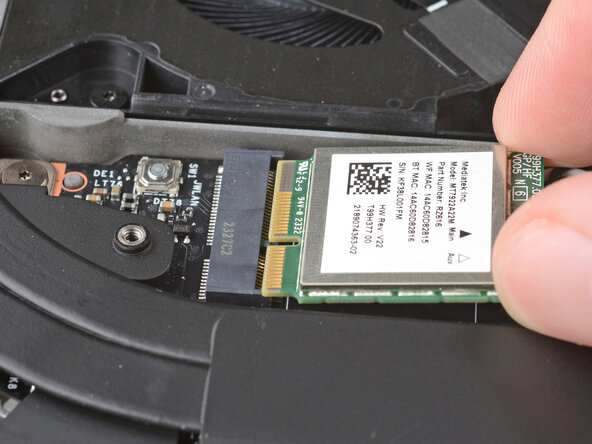
- Hold the Wi-Fi module by its edges. Don't touch the gold contacts with your fingers. If you do, wipe the contacts with a clean, lint-free cloth to remove any finger oils.
- Align the Wi-Fi module's gold contacts and notch with the socket on the Mainboard.
- Insert the Wi-Fi module into the socket at a shallow angle. The gold contacts should mostly be covered by the socket.
- The Wi-Fi module fits into the socket in one orientation. If it doesn't fit, try flipping the module.
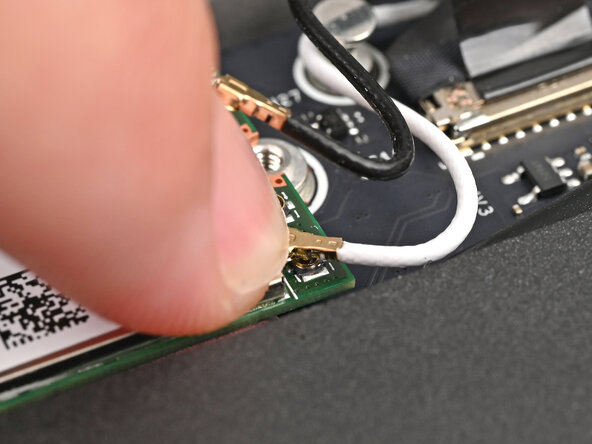
- Hold the Wi-Fi module down with your finger.
- Position the white antenna cable connector over the left Wi-Fi module's coaxial socket.
- If you're unsure which cable goes where, refer to the arrows on the Wi-Fi module for which color cable matches with its connector.
- Tweezers can help position the connector.
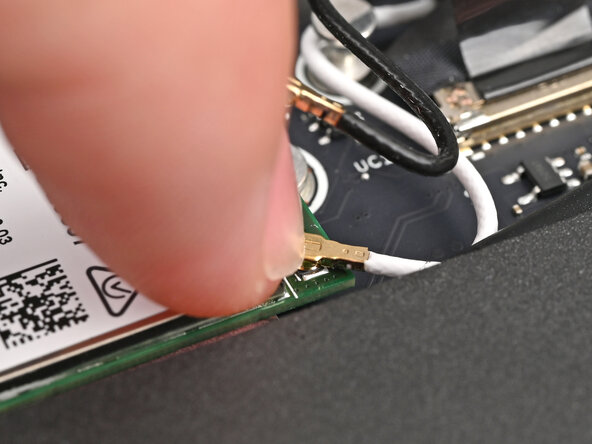
- Use your finger to press the connector into place. You should feel a faint click, and the cable will stay attached to the socket by itself.
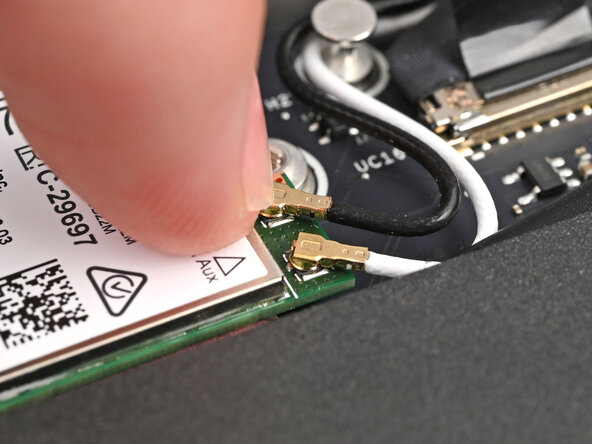
- These connectors are very delicate! If the connector doesn't feel like it's clicking in place, reposition the connector and try again.
- Repeat the procedure with the black antenna cable.
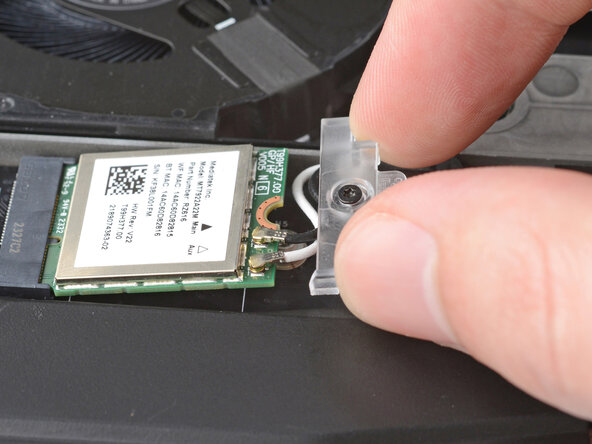
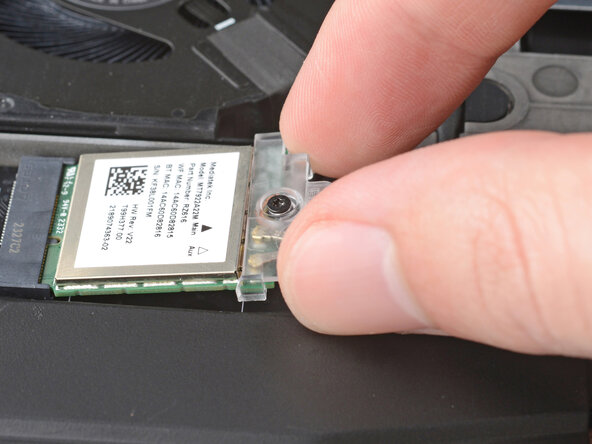
- Slide the clear plastic cover on the module and align its screw with the screw hole cutout.
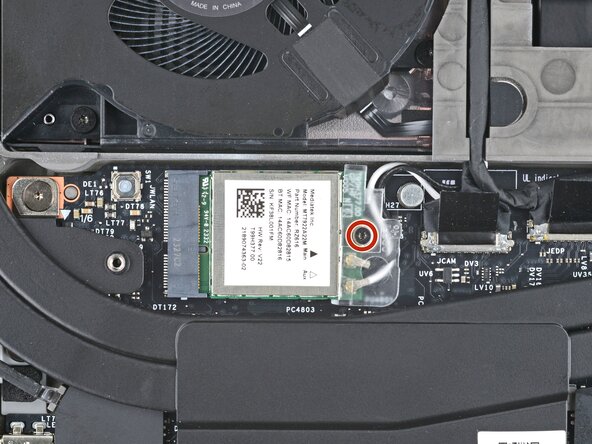
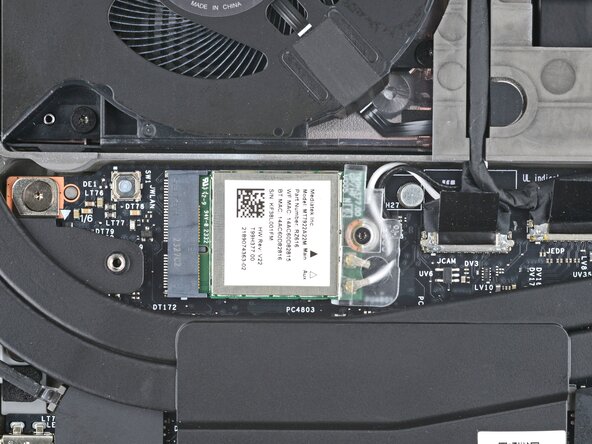
- Use your Framework Screwdriver to tighten the captive T5 Torx screw securing Wi-Fi module.