2007 Kia Spectra Rear Driver Side Exterior Handle Replacement
ID: 194990
Description: Have you ever tried to open your Kia Spectra's...
Steps:
- Make sure the door's window is all the way up.
- If the window is left down the handle will be difficult to replace and you run the risk of breaking the window while performing the repair.
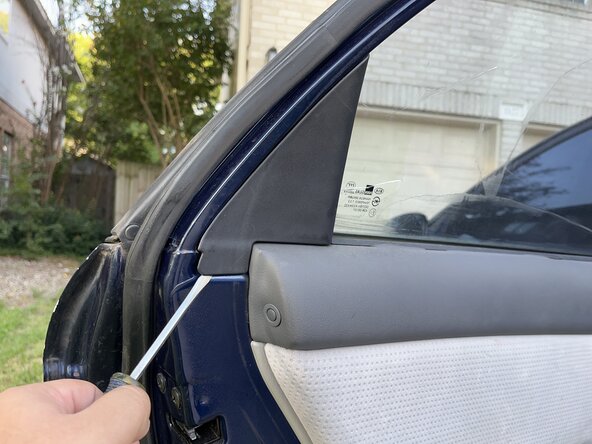
- Pry the small triangular plastic cover on the left side of the window interior with a spudger or trim tool.
- Work clockwise from the bottom edge to release the clips and remove the cover.
- This will make it easier to take off the door cover.
- Use a spudger or trim tool to pry off the plastic and foam armrest from the door interior.
- Work from the left edge inward until you are near the center of the door, then lift up the piece from there.
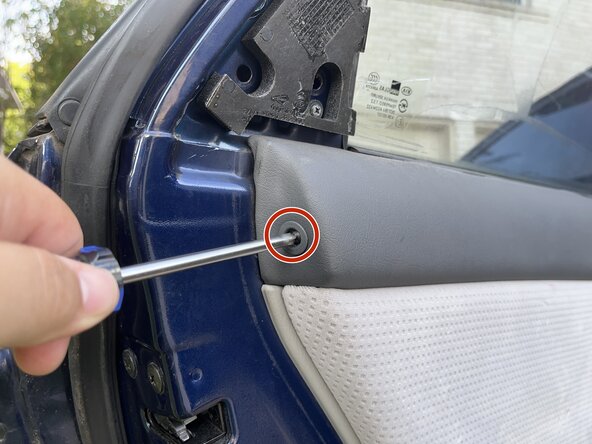
- Pry off the small screw covers near the left edge of the door and the bottom edge.
- Pry off the hinged screw cover near the handle using a spudger on its left edge.
- Use a Phillips #2 screwdriver to remove the three screws that were just uncovered.
- Two 19.1 mm-long screws on the edges of the door interior
- One 15.9 mm-long screw securing the handle assembly cover
- Remove the two 25.4 mm Phillips #2 screws at the sides of the armrest console box.
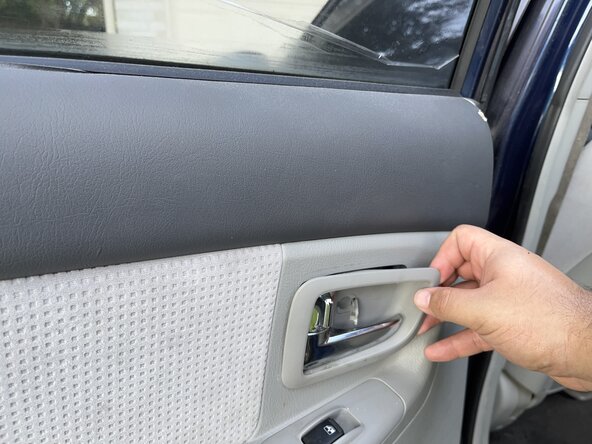
- Use a spudger or trim removal tool to release the clips and remove the plastic cover around the handle.
- Move the cover off to the right while threading the handle through.
- Work around the door’s interior cover with a spudger and your hands, prying up the snap-in hooks that hold it in place.
- The cover should now be loose.
- Reach under and disconnect the cable that powers the door's window controls.
- Squeeze the tab on the cable and gently wiggle the cable from side to while lightly pulling down to remove it without damaging the connector.
- The plastic on the connector may be brittle, so don't apply too much pressure.
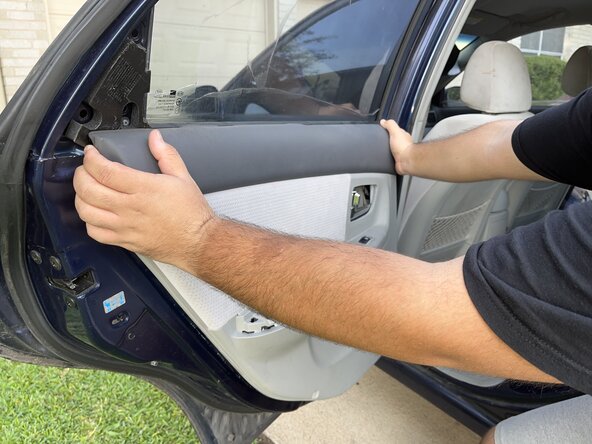
- Hold the door cover at the left and right edges, lift, and pull it off the door.
- Carefully remove the plastic splash guard, keeping the black adhesive attached if possible.
- Avoid tearing it so it can be reused during reassembly.
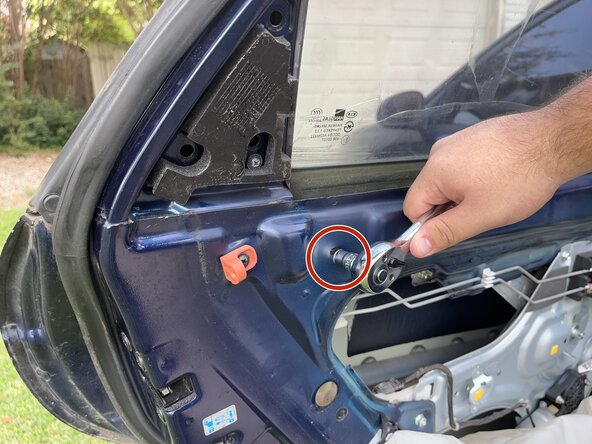
- You will need to remove the window track, a thin piece of plastic inside the door, to proceed. Use your 10mm socket wrench to do so.
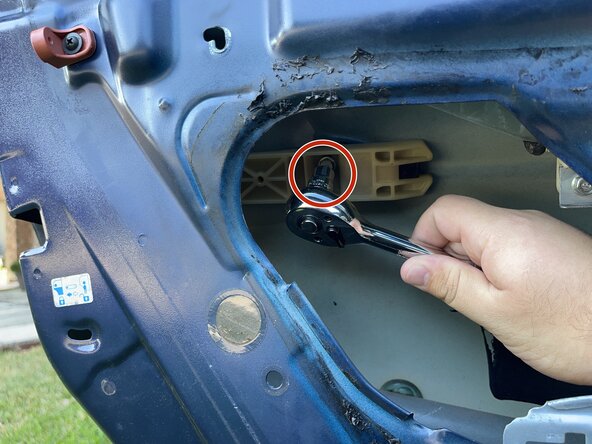
- Use a 10 mm socket wrench to remove the following bolts:
- The bolt below the left edge of the window
- The bolt at the bottom of the outer edge of the door
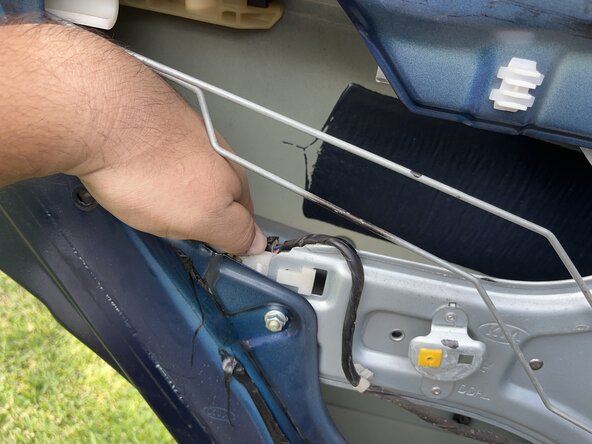
- Remove the window track from the interior of the door.
- The panel should come off easily. If it doesn’t, check for any remaining bolts or connectors and make sure it isn’t caught on anything.
- Use a Phillips #2 screwdriver to remove the 15.9 mm screw securing the handle assembly to the door.
- Unhook the plastic pins attaching the metal latches to the handle assembly.
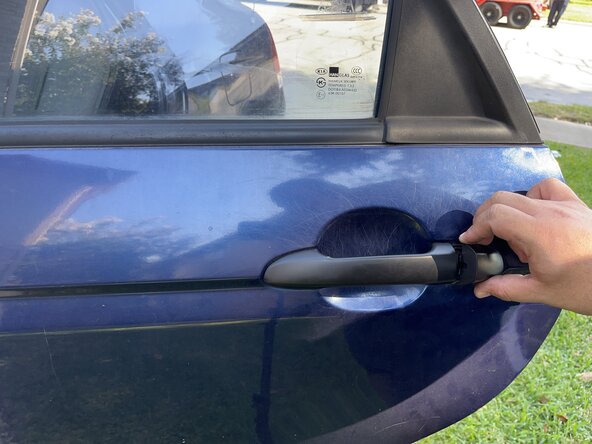
- Slide the handle assembly to the left and off the door, rotating the lock and handle as needed. Then remove the latches from the handle assembly.
- Release the latches from the plastic hooks midway along the door and let them hang to the side.
- Remove the door actuator at the end of the latches to access the handle assembly.
- Use a Phillips #2 screwdriver to remove three 22.2 mm screws from the middle of the outside edge of the door, just above the child lock switch.
- Press the tab near the cable connector to unplug the cable, then pull it out and to the right.
- There is a white clip holding in the actuator near the cable at the bottom left of the door. Push it inwards and slide the actuator to the right to unhook it.
- Take out the actuator and set it aside with its screws.
- The handle assembly should now be visible.
- The small plastic piece beside the exterior handle is called a handle cover.
- Use a socket wrench to remove the bolt inside the door cavity and the bolt accessible through the hole above the child lock.
- Remove the door handle cover and any broken pieces from the handle assembly.
- Snap the assembly back into place on the interior of the door when finished.
- Slot the new handle in from the left side first, then position the right side.
- Slide the handle to the left until you hear a click, indicating it is properly hooked in place.
- Snap the handle cover back on.
- Hook it in by its right side first, then push down on the left to click it into place.
- It's good practice to test a device's functionality before reassembly. Make sure to test out the window's control, the interior and exterior handles, and the child lock on the door.