Cleaning & lubricating a Zeiss Sonnar Carl Zeiss Jena Sonnar 1:2 f=5cm T (LTM)
ID: 195070
Description: This guide is for a full overhaul of a 1940...
Steps:
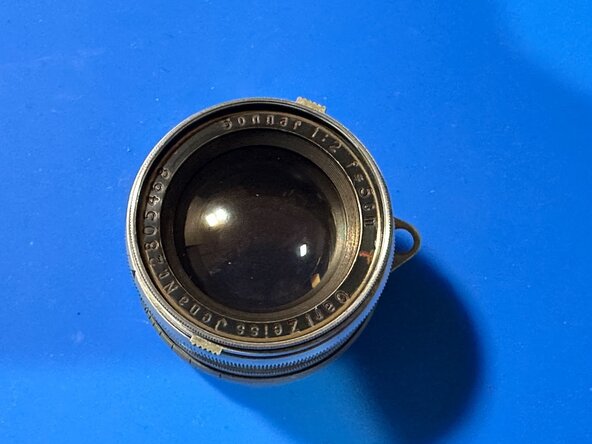
- This guide focuses on the Leica Thread Mount (LTM) version of the 5cm f/2 Sonnar, labeled [v3b ZJ LT ac] in the Sonnar overview.
- Unlike other Contax mount Sonnar, this one has a focus mechanism. It is also collapsible.
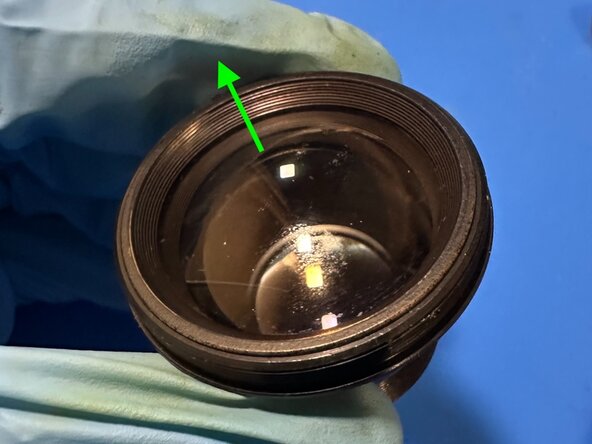
- Remove the optical assembly by simply unscrewing the the front of the lens.
- Record the number of turns to remove the assembly.
- There can be multiple points where the threads can engage. Record the relative positions at which the two assemblies separate.
- Watch out for thin metal shims between the lenses. Do not lose them and make sure to assemble them the same way later on.
- This step is for the optical block.
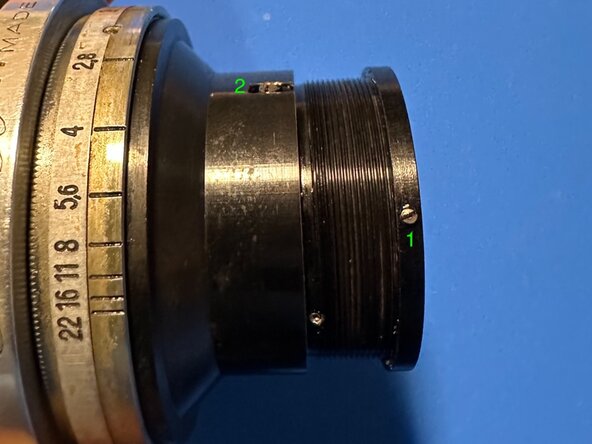
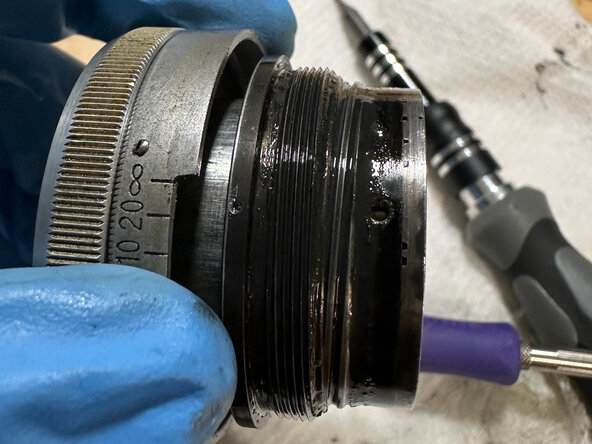
- Loosen the set screw (#1) on the retainer ring. Unscrew the ring.
- Again, remember to record the number of turns and where the two parts separate.
- Remove the aperture coupling screw (#2).
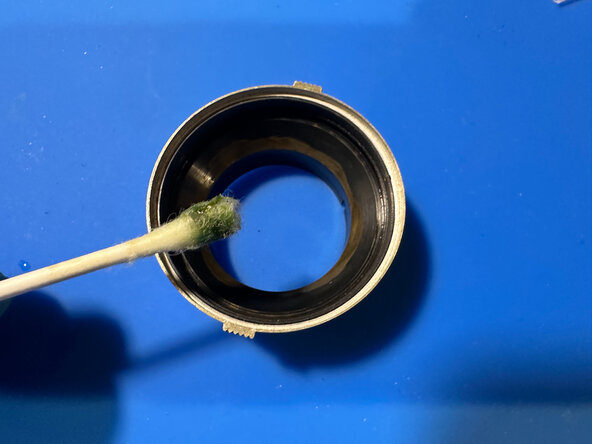
- The entire collar should now slide off. Clean off the old grease and re-lubricate with helicoid grease.
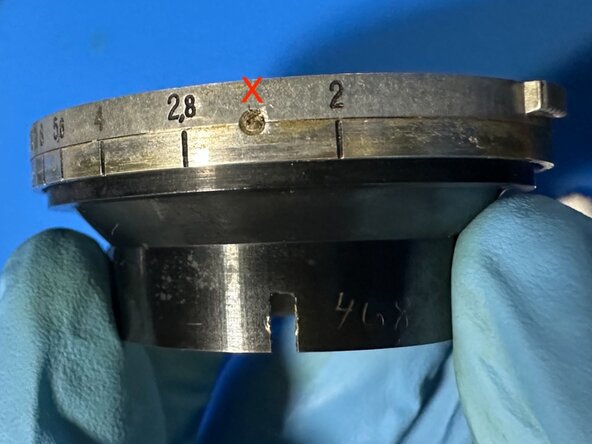
- The 3 grub screws (red X) around the aperture ring do NOT need to be removed.
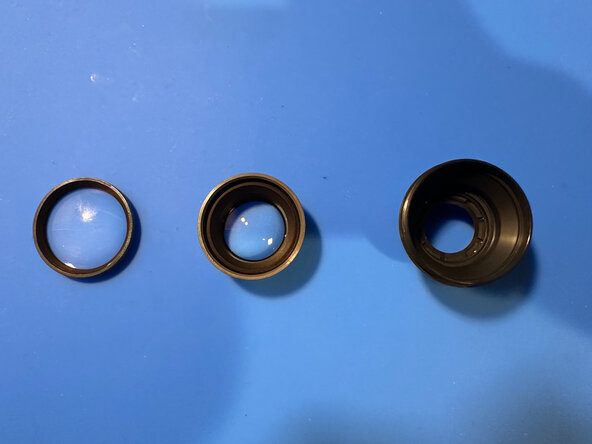
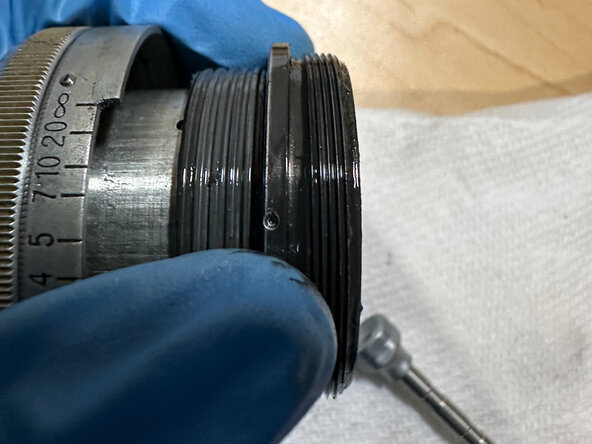
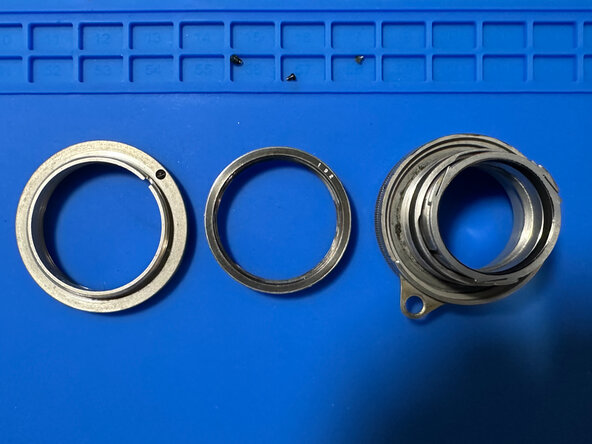
- Remove the rear optical group (behind the aperture) by simply unscrewing it.
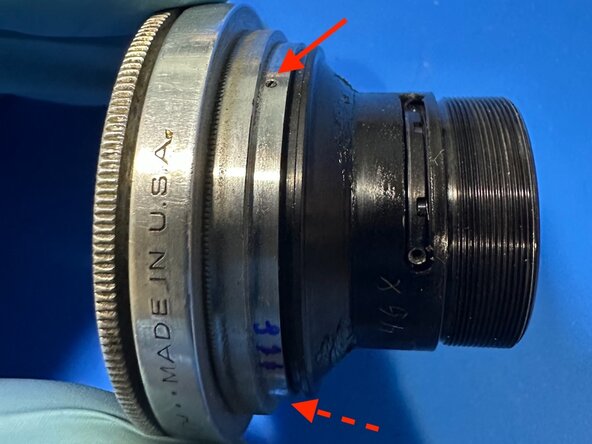
- Loosen the 2 grub screws (red arrows) on the front ring.
- Unscrew the front ring.
- Extract the front optical groups (ahead of the aperture) carefully in the direction of the green arrow.
- The f/2 Sonnar is a 6-element, 3 group lens: 2 ahead of the aperture, 1 behind the aperture.
- Clean the optics with Pancro lens cleaner (or equivalent) and lens tissue.
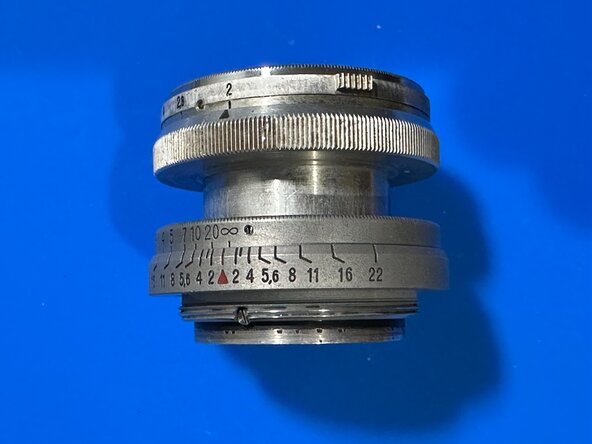
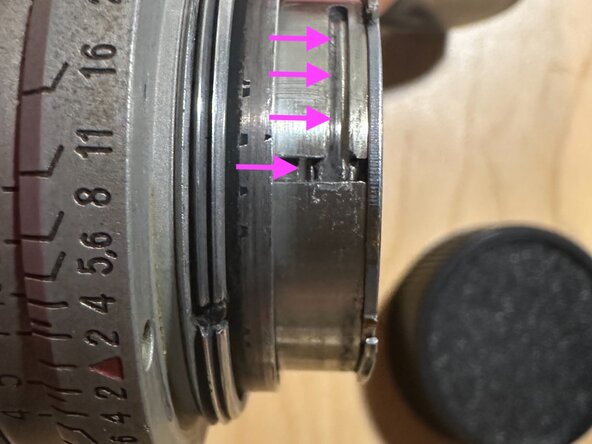
- Set the focus to infinity.
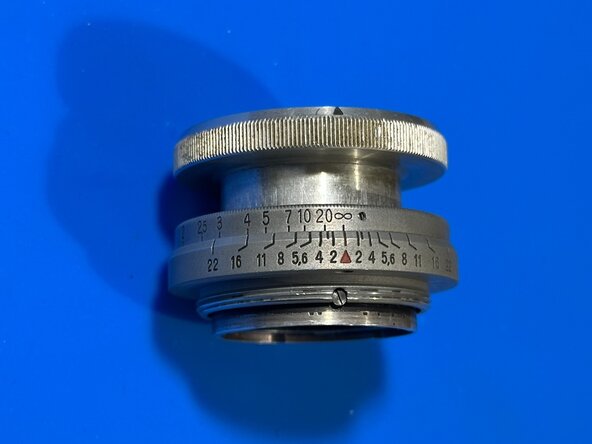
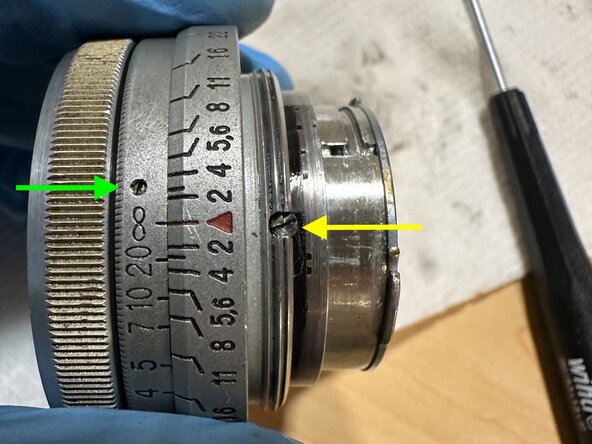
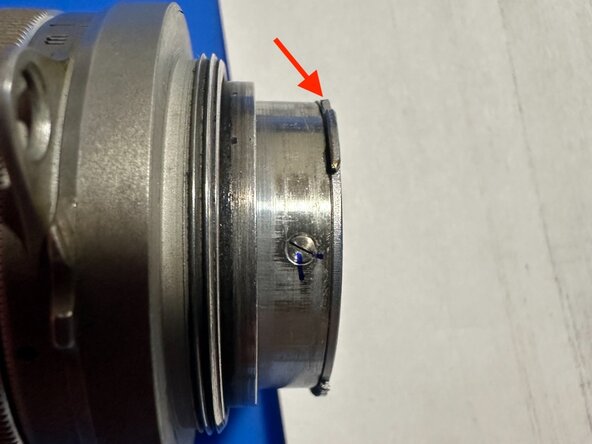
- Loosen the 3 grub screws (green arrow) around the focus ring. Lift up the focus ring.
- Remove the helicoid securing screw (yellow arrow).
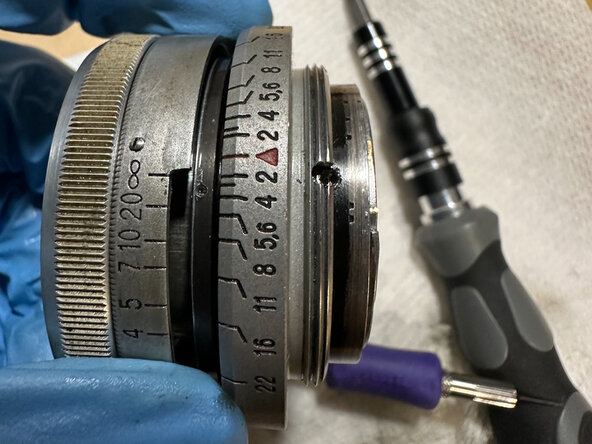
- Unscrew the outer helicoid.
- Important: count the number of turns and record the relative positions of the helicoids at disassembly!
- Unscrew the middle helicoid. Note that this is reverse threaded.
- Important: count the number of turns and record the relative positions of the helicoids at disassembly!
- Notice that there are 2 screws on the innermost helicoid. #1 is for the helicoid securing screw in step 5. #2 is the collapsing mechanism guide screw. No need to touch #2 unless you are disassembling the collapsing mechanism.
- Clean all helicoids and lubricate them with helicoid grease.
- Caution: this step is strictly optional. The parts involved are aluminum and can be completely seized or deformed. You do NOT need to perform this to access the focus, optics, or aperture.
- I never successfully completely this procedure so take it with a grain of salt. Proceed at your own risk.
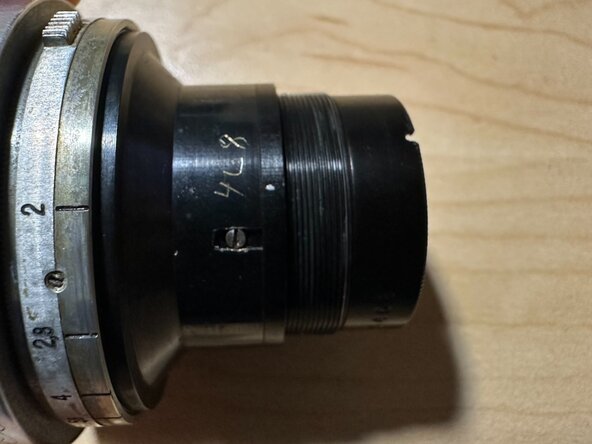
- Remove the light baffle securing screw.
- Be extremely careful not to strip the head. Refer to the screws best practices for tricks on how to remove stuck screws.
- Unscrew the light baffle (red arrow) from the lens barrel.
- The baffles on my copy is completely stuck. The aluminum threads are deformed (pink arrows).
- Remove screw #2 on the inner helicoid (see step 6).
- Everything should slide out toward the rear of the lens once the baffle is removed. I never successfully completely this procedure so take it with a grain of salt. Proceed at your own risk.