Rewriting corrupted firmware on Digitech JamMan Solo
ID: 195105
Description: This tutorial shows how to connect to the...
Steps:
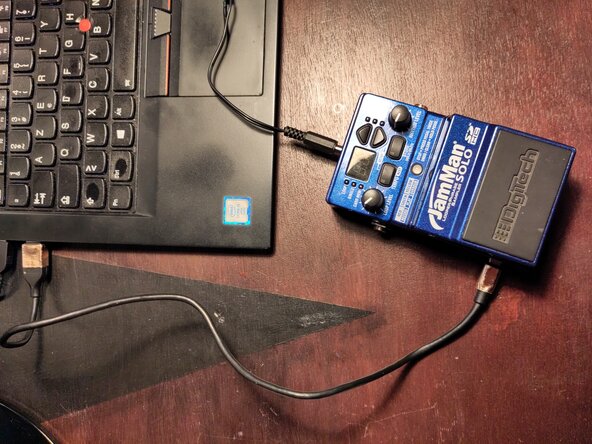
- Before starting, plug your pedal to a computer using an USB mini B cable.
- If your device is detected (for instance in Peripheral Manager for Windows users, with "lsusb" for Linux users)
- Install the JamManager software from here
- Try updating the firmware using JamManager
- If your device is not detected, or if the firmware update fails, carry on with this tutorial
- The following procedure is risky and may render your device more definitely bricked than it already was.
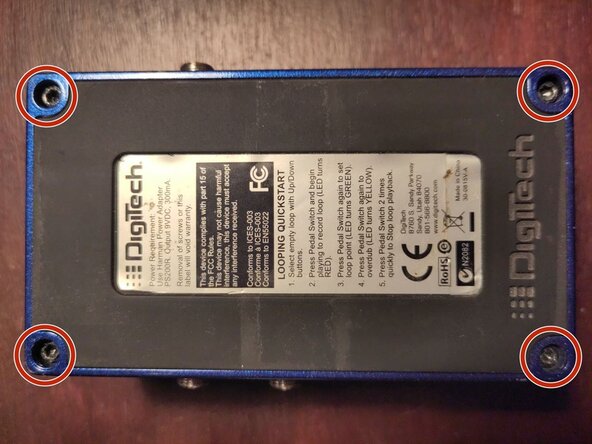
- Unscrew the 4 Torx T15H holding the bottom plate
- Free the bottom plate
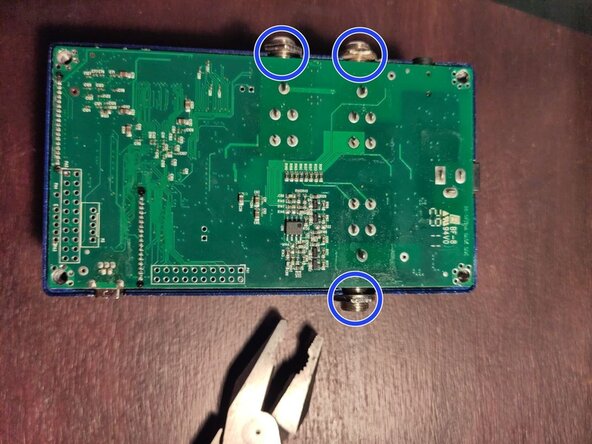
- Unscrew the 3 jack connectors bolts
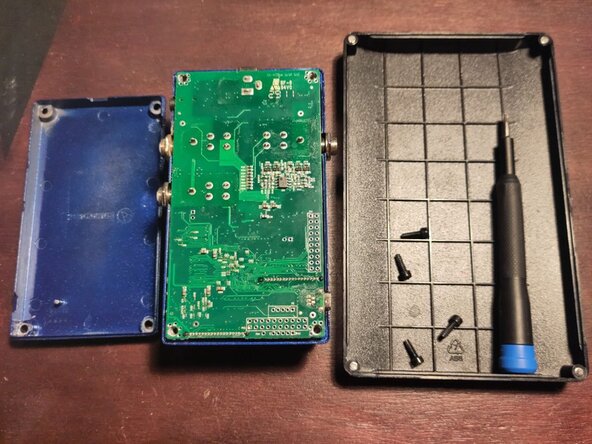
- Lift the board from the top of the pedal
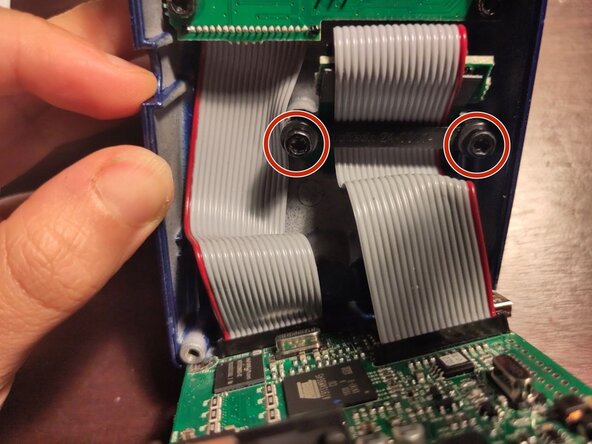
- Unscrew the 2 Torx T15H holding the SD card
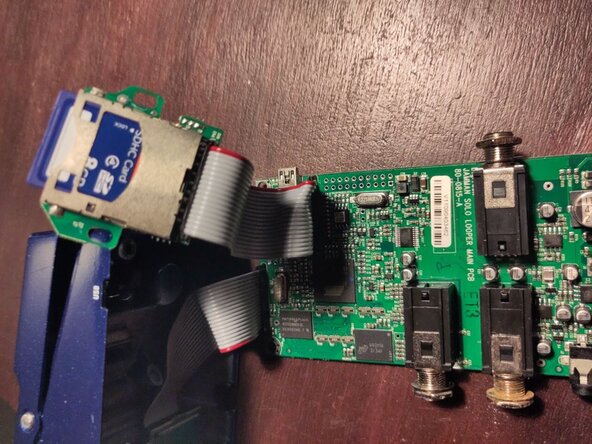
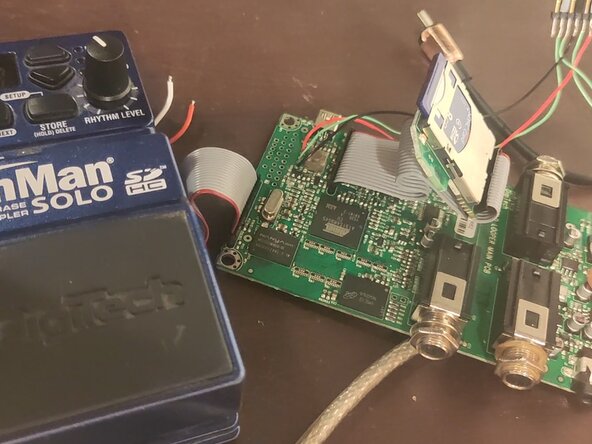
- The board can be moved out of the pedal
- There is no need to unmount it further to access the debug port
- Connectors to the display and button boards and to the SD card slot are soldered, do not try to disconnect them
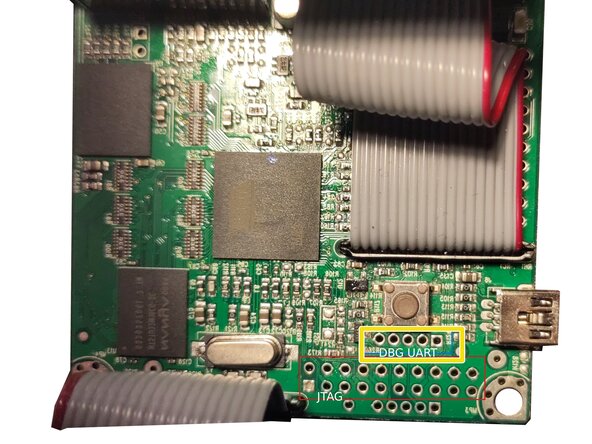
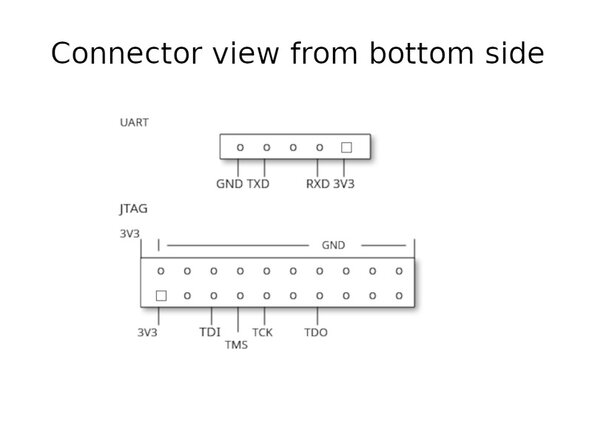
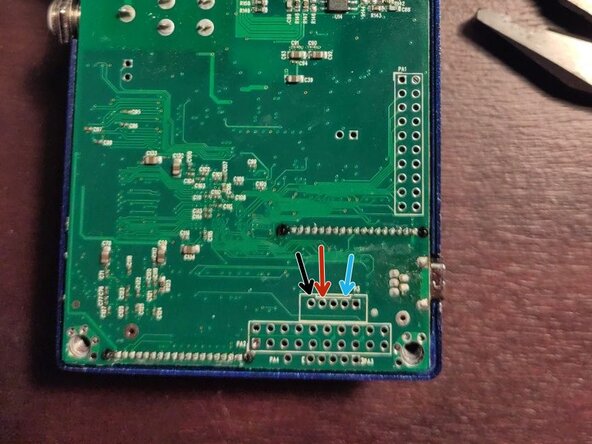
- Spot the debug UART port
- Under the button when looking from the top
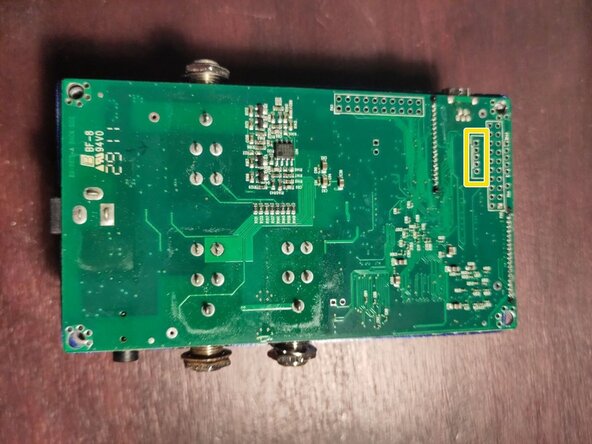
- Marked as "P3" when looking from the bottom
- UART connection requires to connect TXD, RXD and GND
- Solder a 3V3 USB-UART adapter to the pins by following this pinout
- GND connected to the adapter GND
- TX connected to the adapter RX
- RX connected to the adapter TX
- You can also solder an intermediate 2.54mm DuPont-style header connector and use DuPont debug cables
- No need to connect 3V3, RTS and CTS
- Connect to the USB-UART adapter using an appropriate software
- PuTTy on Windows machines
- Screen or Minicom on Linux machines
- The serial parameters are: 115200, 2N1, no flow control
- Once everything is connected, you can plug the 9V power supply to the pedal
- It should display startup messages
- Afterwards, it should give you a prompt with the possibility to interact with it
- Try typing "ls"
- If possible, ask a friend to do the same with a working pedal
- On the working pedal, with the USB-UART probe and with an SD Card inserted, type:
- etfsctl -d /dev/etfs2 -r /mnt/sdfs/etfs2.structured.bin
- cp -r /mnt/nandfs/* /mnt/sdfs/nandfs_copy
- Otherwise, recover the files from the Internet
- My copy of a working JamManSolo firmware
- Copy them from your computer to the SD card
- Make sure you have the exact same model, JamMan Solo, do not use for the JamMan Solo HD or any other product!
- Insert the SD card with the working files in the device and run:
- etfsctl -d /dev/etfs2 -S -e -w /mnt/sdfs/etfs2.structured.bin -c
- Once it is done, power cycle the device and checks if it works
- If it is still missing files, run:
- cp -r /mnt/sdfs/nandfs_copy/* /mnt/nandfs
- Power cycle and verifies the device is working