How to Remove and Install Input Modules for your Framework Laptop 16
ID: 195147
Description: This guide shows how to remove and install...
Steps:
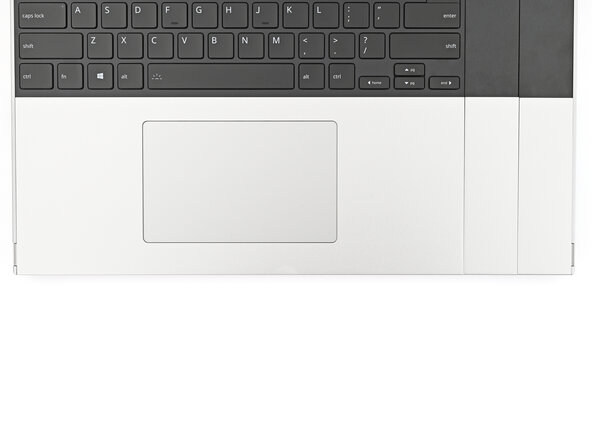
- The bottom row of Input Modules includes the Touchpad Module and Touchpad Spacers.
- The Touchpad Module can be placed either on the left, center, or right edges of the laptop. The Touchpad Spacers fill in the empty spaces.
- Note: for the Touchpad Module to be on the left, the keyboard can't be installed in the center.
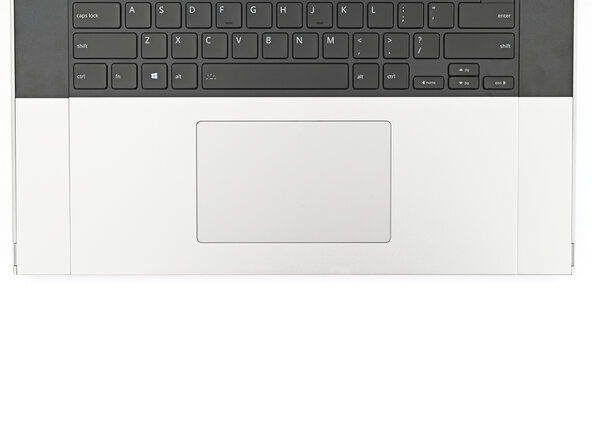
- The next four steps show how to remove the Touchpad Spacers and Touchpad Module.
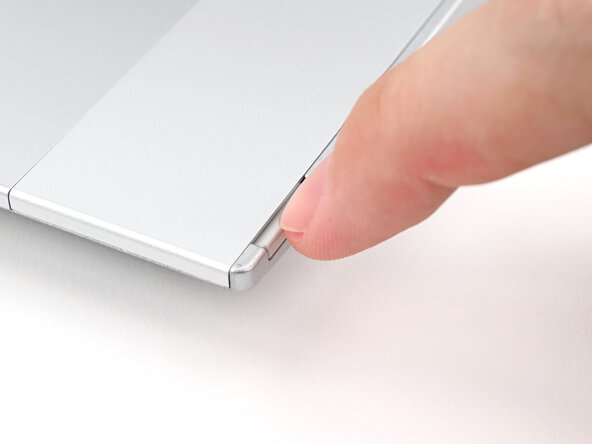
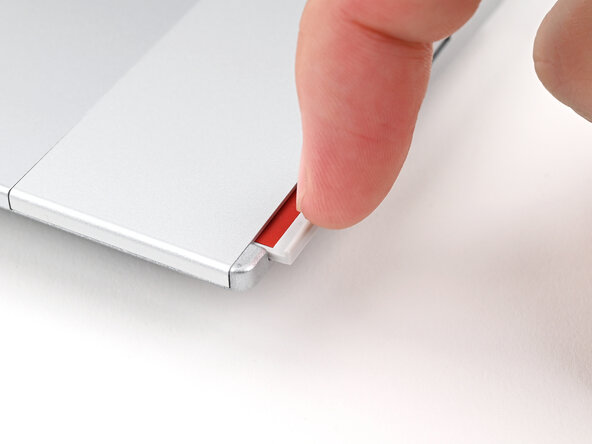
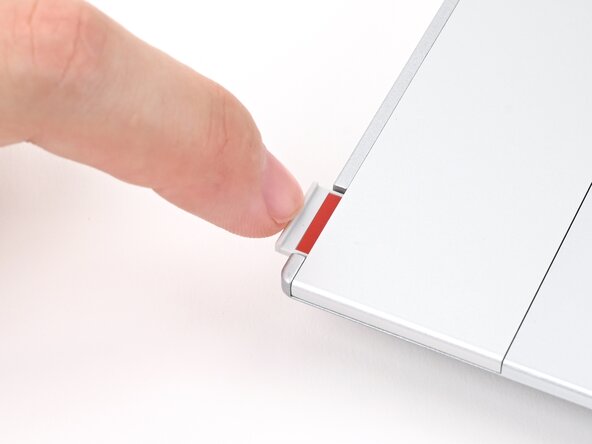
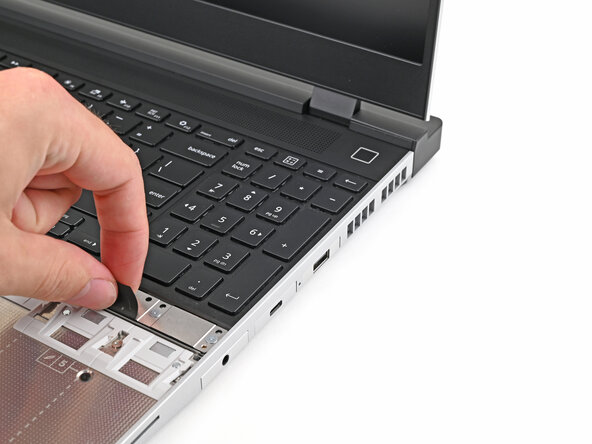
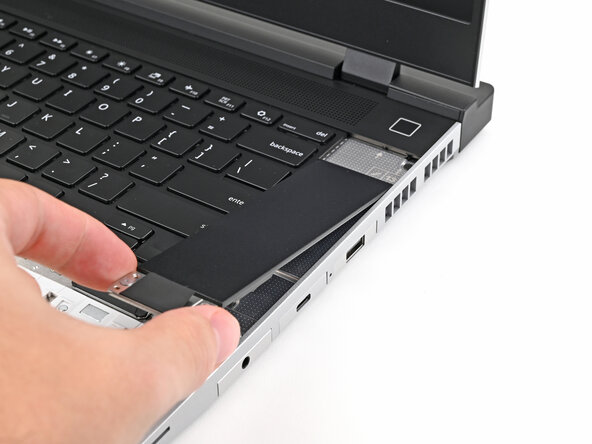
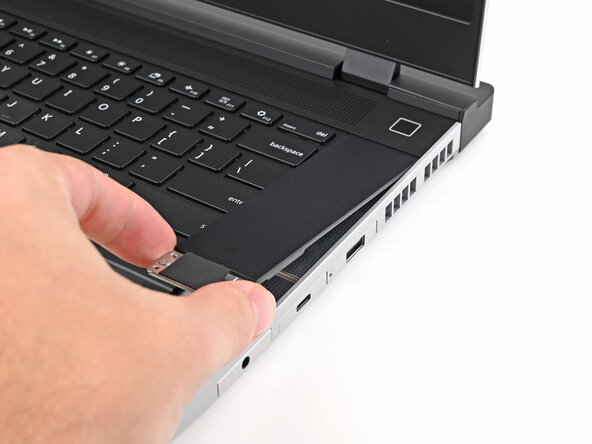
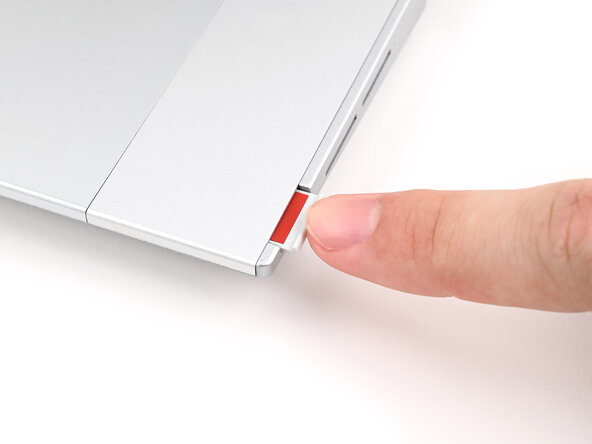
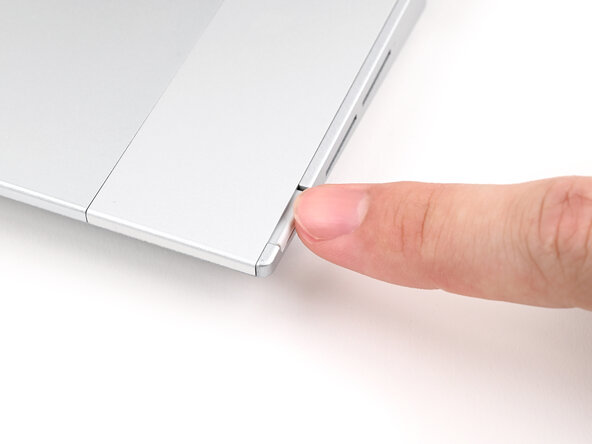
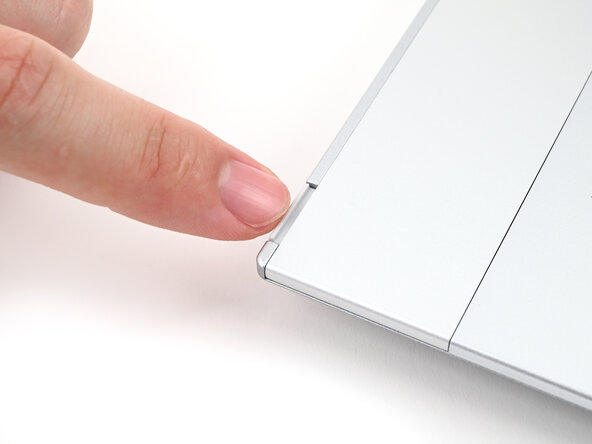
- Use your fingernail to pull out the two Input Module latches and unlock them.
- This unlocks the bottom row of Input Modules, i.e., the Touchpad Module and Touchpad Spacers.
- The latch will show red if it's unlocked.
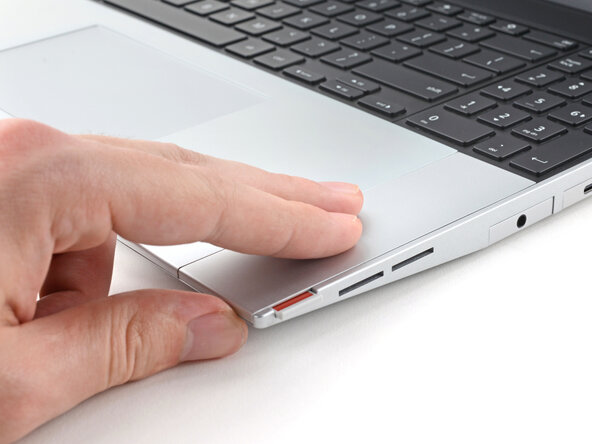
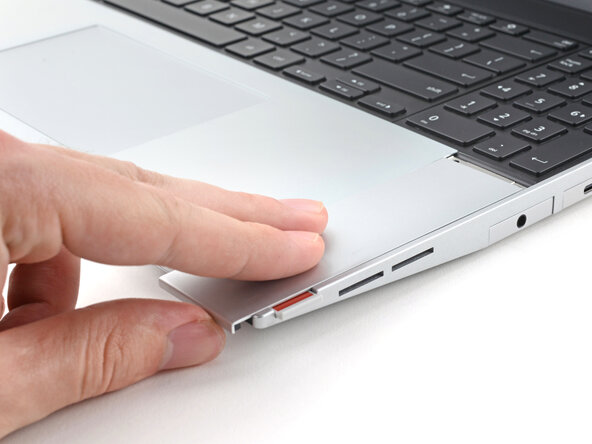
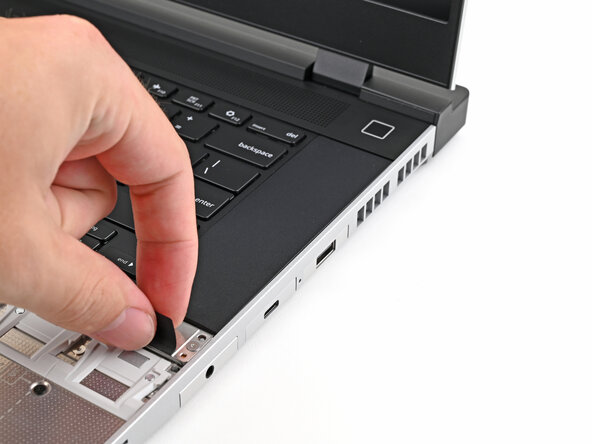
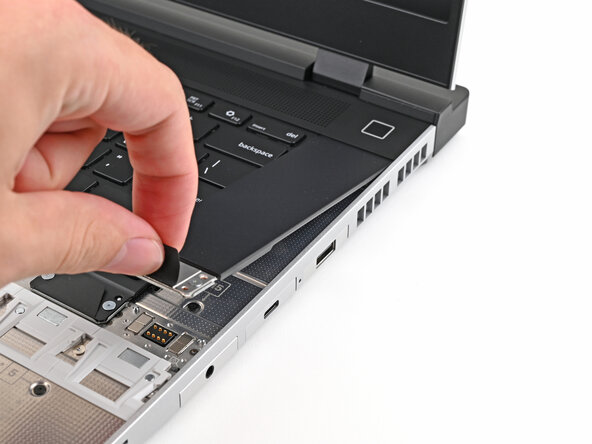
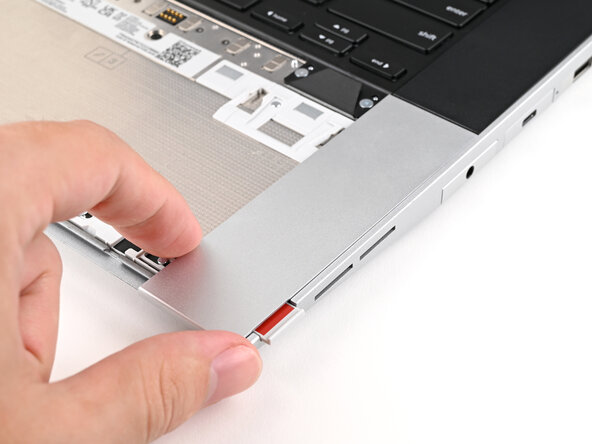
- Use your fingers to slide the Touchpad Spacer toward the bottom edge of the laptop and unclip it.
- If you're having trouble, check if the corresponding Input Module latch is properly unlocked.
- Lift the Touchpad Spacer off the laptop and remove it.
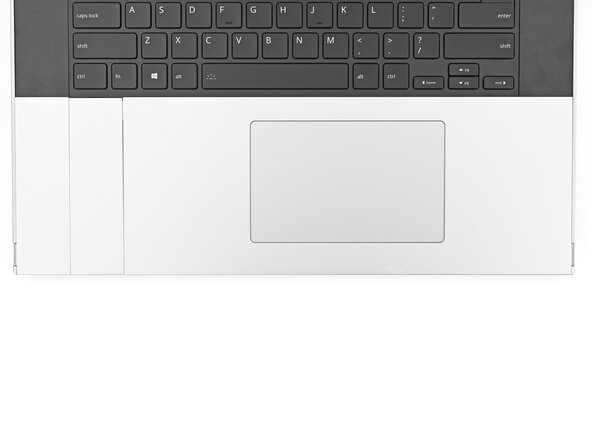
- Repeat the previous step for the other Touchpad Spacer.
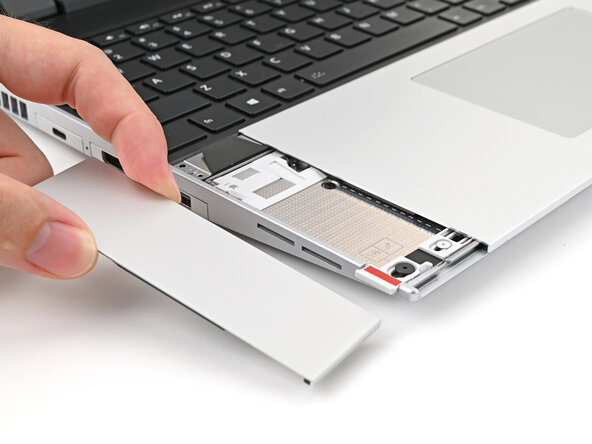
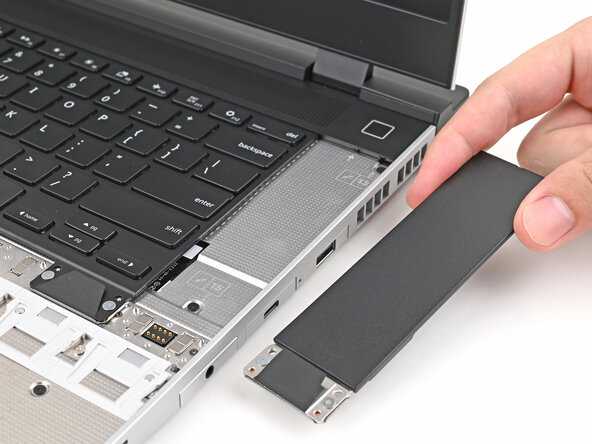
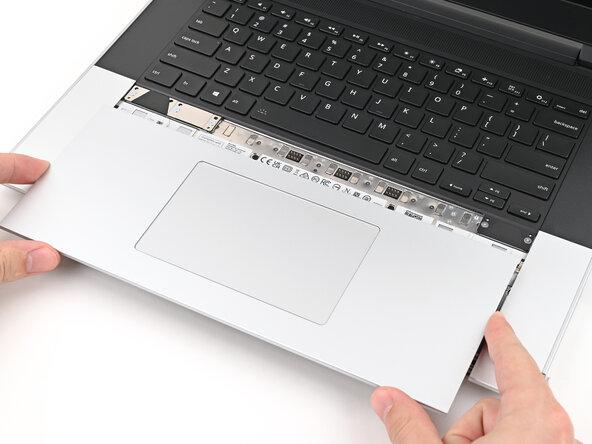
- Use your fingers to slide the Touchpad Module toward the bottom edge of the laptop and disconnect it.
- If you're having trouble, check if the Input Module latches are properly unlocked.
- Lift the Touchpad Module and remove it.
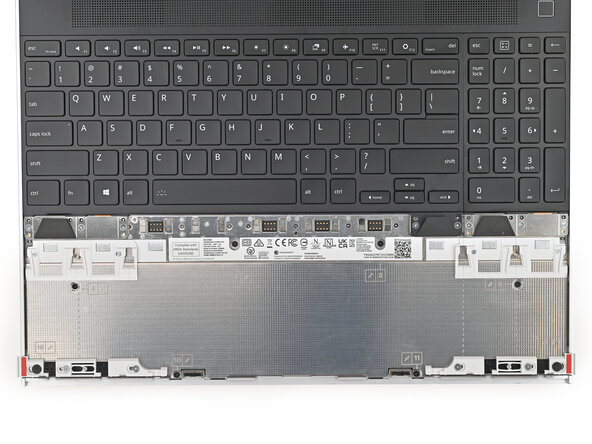
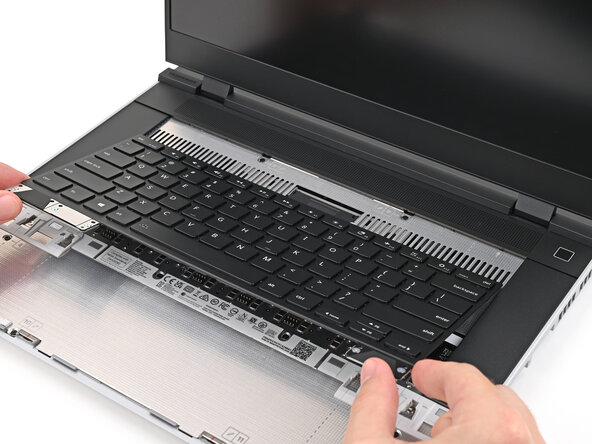
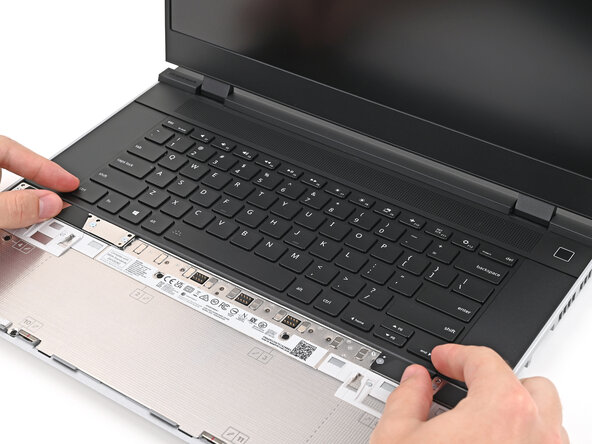
- The top row of Input Modules can include a combination of a keyboard and two spacers or a keyboard and a numpad.
- The keyboard can be placed either on the left, center, or right edges of the laptop. Two spacers or a numpad can fill in the empty spaces.
- The next three steps show how to remove the numpad, spacers, and the keyboard.
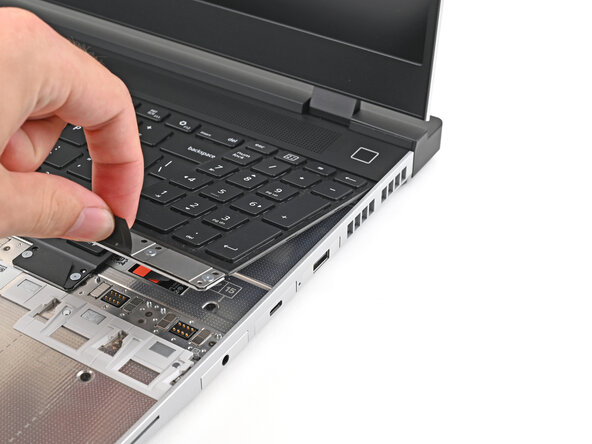
- The numpad is held in place with strong magnets. Apply gradually increasing force to avoid having the numpad violently eject.
- Grip the pull tab at the bottom of the numpad.
- Lift the pull tab until the numpad magnets release.
- Remove the numpad.
- To remove a spacer, follow the same removal procedure as the numpad.
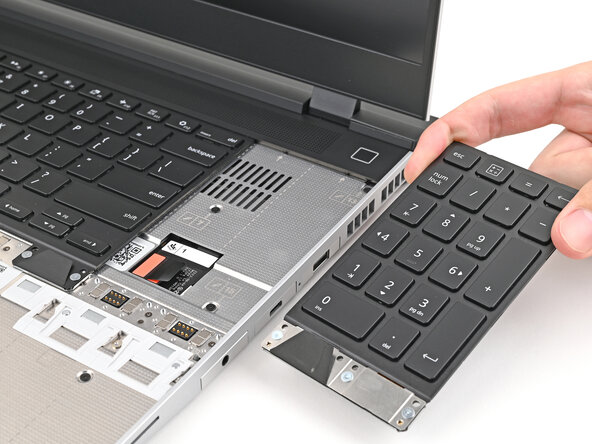
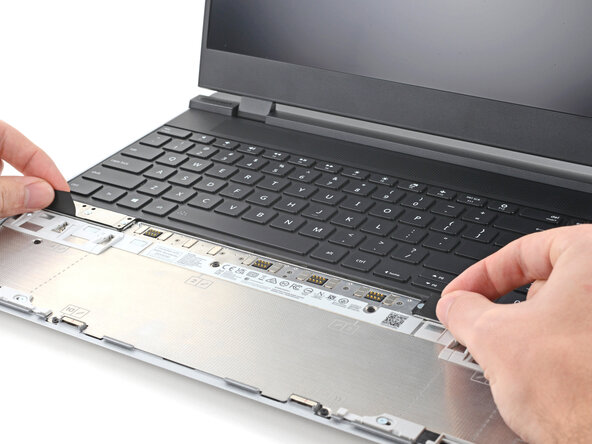
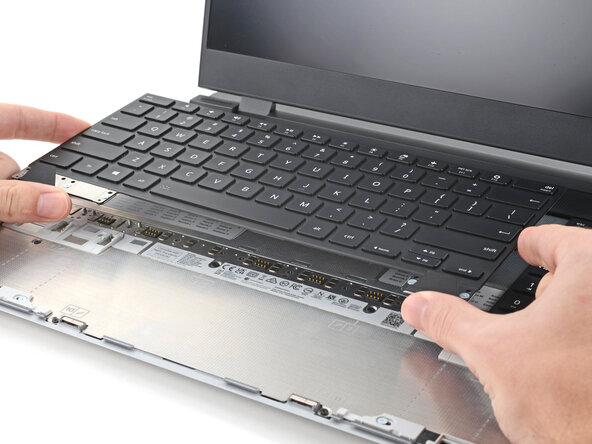
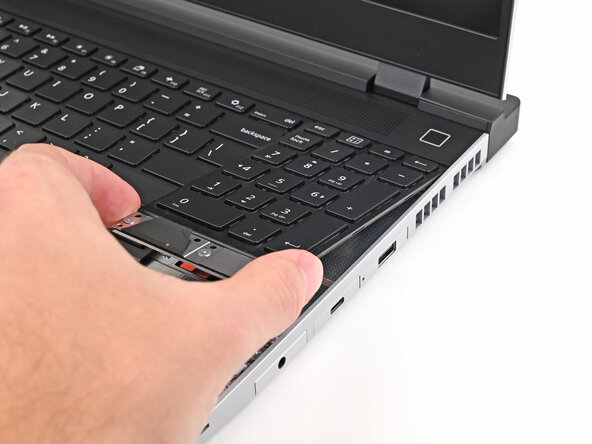
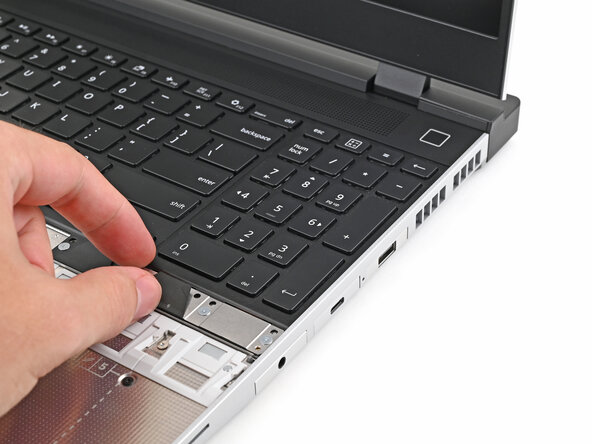
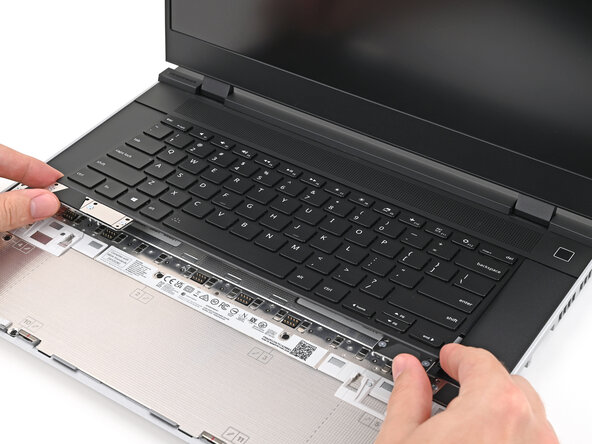
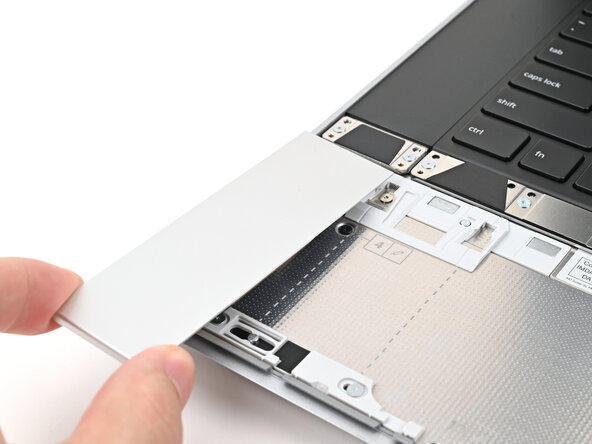
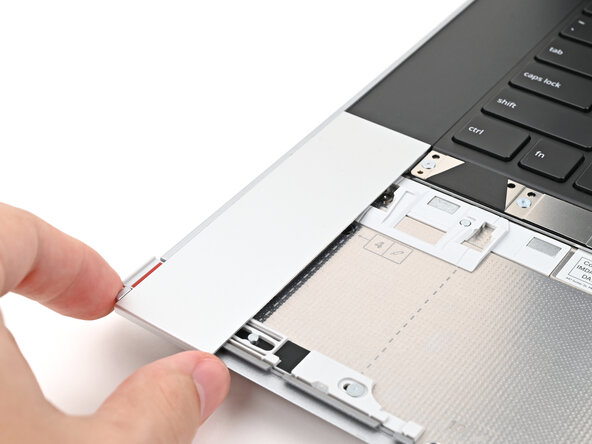
- The keyboard is held in place with strong magnets. Apply gradually increasing force to avoid having the keyboard violently eject.
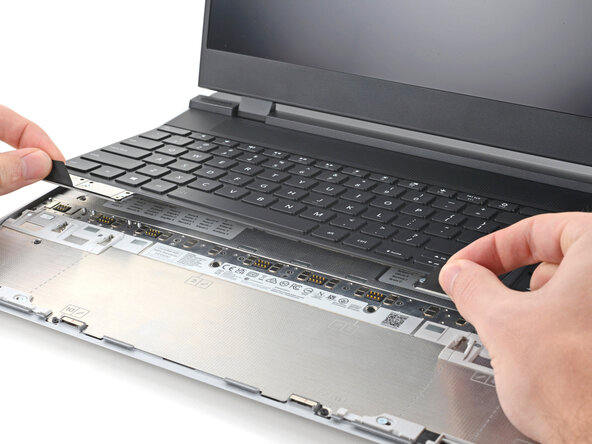
- Grip the two pull tabs along the bottom of the keyboard.
- Lift the pull tabs until the keyboard magnets release.
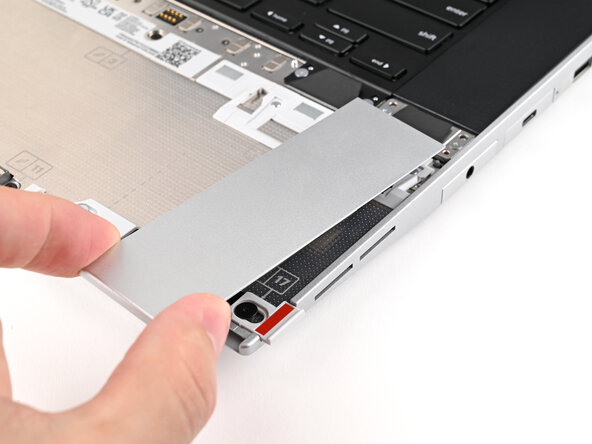
- Remove the keyboard.
- The next three steps show how to install the top row of Input Modules.
- Hold the Input Module at a slight downward angle and align it with one of the dotted lines on the Mid Plate.
- Slide the top lip of the Input Module underneath the ventilation plate and lay the module down flat to let the magnets pull it into place.
- Make sure the alignment pegs are slotted into the Input Module and that it sits flat. Otherwise, pull the module off the Laptop and readjust it.
- To install a numpad, follow the same procedure—except it'll require twice the amount of free space.
- Hold the keyboard at a slight downward angle and align it with two of the dotted lines on the Mid Plate.
- The keyboard can be placed either on the left, center, or right edges of the laptop.
- Slide the top lip of the keyboard underneath the ventilation plate and lay the keyboard down flat to let the magnets pull it into place.
- Make sure the alignment pegs are slotted into the keyboard and that it sits flat. Otherwise, pull the keyboard off the Laptop and readjust it.
- The next four steps show how to install the bottom row of Input Modules.
- Place the Touchpad Spacer over its spot on the laptop with the bottom edge overhanging slightly.
- Slide the Touchpad Spacer towards the top of the laptop to secure it.
- Repeat the previous step for the other Touchpad Spacer.
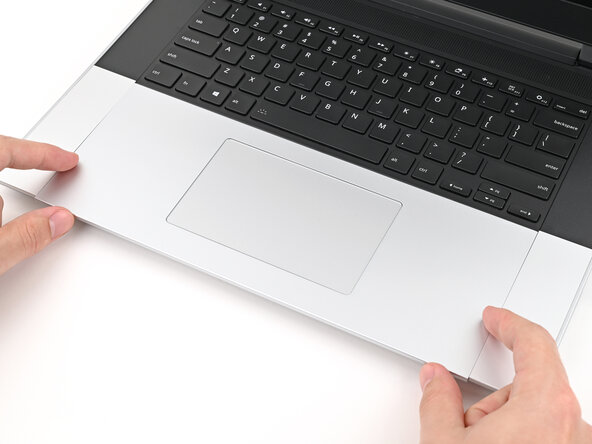
- Place the Touchpad Module flat on its cutout so its clips are properly aligned.
- Press the Touchpad Module down and slide it into place so it lines up evenly with the bottom edge of the laptop.
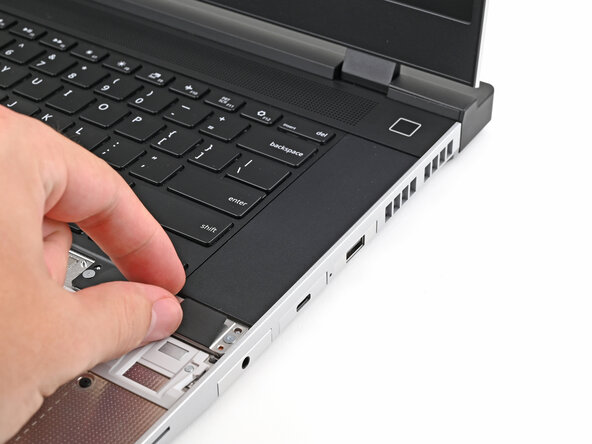
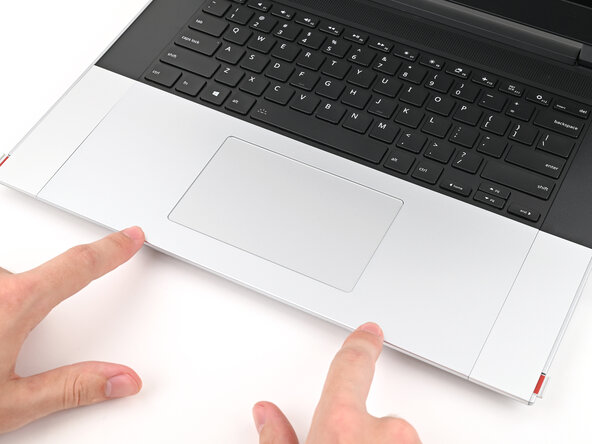
- Push the Input Module latches back into place to lock them.