Turtle Beach Stealth Ultra Bumpers Replacement
ID: 199150
Description: The bumpers on the Turtle Beach Stealth Ultra...
Steps:
- Use tweezers to pull out rubber pieces in front of the screws.
- Remove the 10 mm screws using a Phillips #00 screwdriver.
- Remove the sticker on the back of the plate.
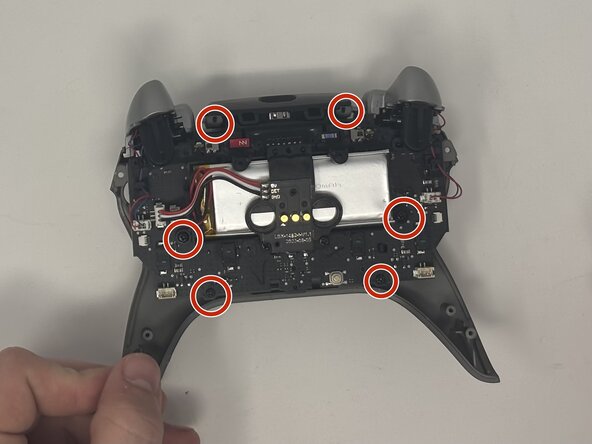
- Remove the 10 mm screws from the back plate using a Phillips #00 screwdriver.
- Use an iFixit opening tool to pry the front button plate and analog stick plate off.
- Use a Phillips #00 screwdriver to remove the screws from the front plate on both sides of the controller.
- Be cautious not to break the LCD screen while you move the opening tool around.
- Use an opening tool to detach the front plate from the back.
- You may need to work the opening tool all the way around the seam between the two plates.
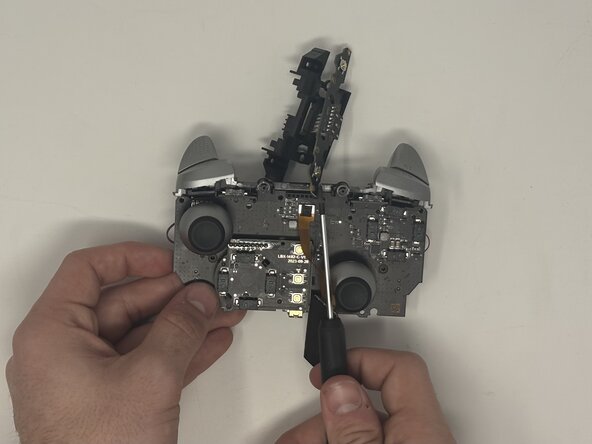
- Use a Phillips #00 screwdriver to remove the 10 mm screws connecting the handles to the controller frame.
- Detach the cables from the motherboard.
- Remove the yellow ribbon cable from the handle.
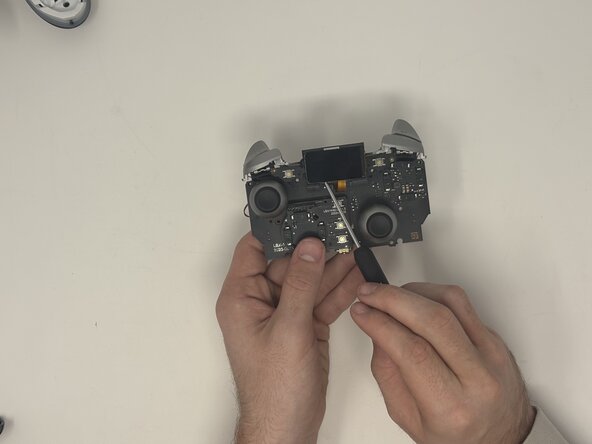
- Remove the six 10 mm screws connected to the motherboard using a Phillips #00 screwdriver.
- Gently pull the motherboard away from the frame.
- Remove the two 10 mm screws from the motherboard that keep the screen attached using a Phillips #00 screwdriver.
- Flip the motherboard over to the front side.
- Use an opening tool to gently pull the LCD screen off of the motherboard.
- Remove the six 10 mm screws from the motherboard.
- Pull the latch down that connects the bumper buttons to the motherboard.
- Pop the bumper buttons off.