2018 Toyota Highlander Key Fob Battery Replacement
ID: 199175
Description: This guide will show you how to replace the...
Steps:
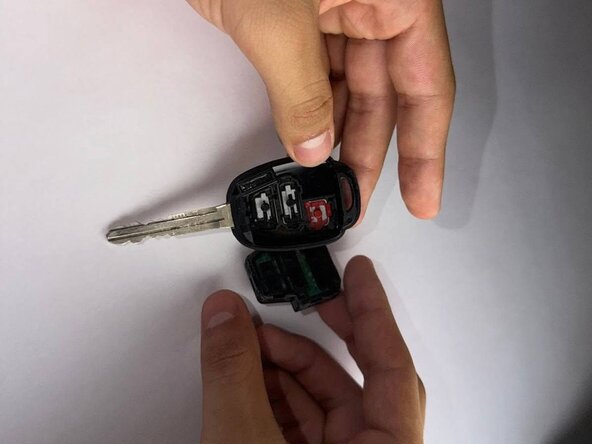
- Insert a spudger into the gap in the casing.
- Gently twist or wiggle the tool to separate the two halves of the casing.
- Remove the battery casing from the key fob.
- Use a spudger to gently lift the battery casing.
- Slide the pointed end of a spudger tip under the circular battery and carefully lift it out.
- Carefully remove the motherboard connected to the battery.
- Hold the edges of the board to avoid touching any electronic components.
- Set the motherboard aside on a clean, static-free surface.
- Remove the old battery. If needed, gently open the metal holder securing it in place.
- Use your finger to slide the battery out of the compartment.
- If the battery is difficult to remove, use a pair of tweezers to lift it out carefully.
- Insert the new battery into the holder. If needed, close the metal clip to secure it in place.
- Use a pair of tweezers if necessary to help position the battery.
- Ensure the battery slides smoothly back into place.
- Snap the battery casing back together, ensuring both halves align properly.
- Press the battery and internal components firmly into the key fob casing.
- Ensure the casing halves are properly aligned before closing.
- Snap the key fob back together — you should hear a click when it’s securely closed.
- Make sure the buttons are properly aligned before snapping the key fob casing closed.
- Ensure the casing halves are correctly aligned to avoid pinching any internal parts.
- Snap the casing back together until you hear a click.
- Check that all buttons are in place and respond smoothly when pressed.