Framework Laptop 16 Bottom Cover Removal
ID: 199508
Description:
Steps:
- While supporting the Top Cover with one hand, use your Framework Screwdriver to remove the four 3.9 mm‑long screws on each hinge connected to the Bottom Cover (8 total).
- Lift the Top Cover from the Bottom Cover and remove it.
- Lift up the interposer door to reveal the screw underneath.
- The Mainboard screws are ordered from 1–6. You don't have to follow the order, but you can use it to help keep track of the screws you've removed.
- Use your Framework Screwdriver to remove the six 2.0 mm‑long T5 Torx screws securing the Mainboard.
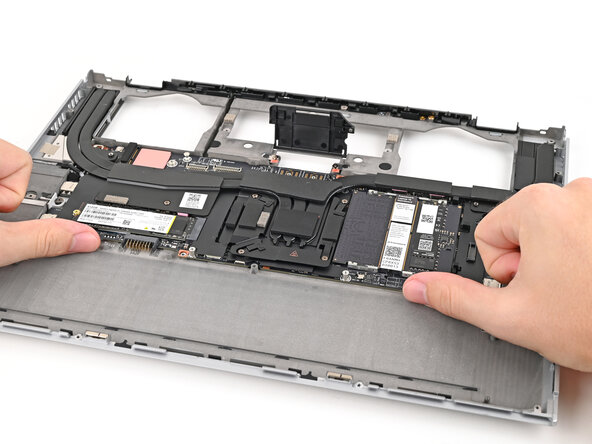
- Use your fingers to lift the bottom edge of the Mainboard enough to grip its edges.
- Lift the Mainboard off its alignment pegs and remove it.