HP ProBook x360 11 G5 EE Motherboard Replacement
ID: 199558
Description: Use this guide to replace the motherboard on a...
Steps:
- Remove the 4.1 mm screws with a T5 Torx screwdriver.
- Remove the 4.1 mm screws using a JIS #0 screwdriver.
- Use an opening pick to pry the corners of the keyboard deck.
- Use an opening pick or opening tool to pry around the sides of the keyboard assembly.
- Lift the keyboard assembly to expose two ribbon cables.
- Lift the two plastic tabs that hold the cables in place on the motherboard
- Slide the ribbon cables out of each connector.
- Remove the keyboard assembly from the rest of the computer.
- Remove the four 3 mm screws from the battery with the JIS #0 screwdriver.
- Pry the battery up from the laptop using an opening pick.
- Lift the battery out of its place.
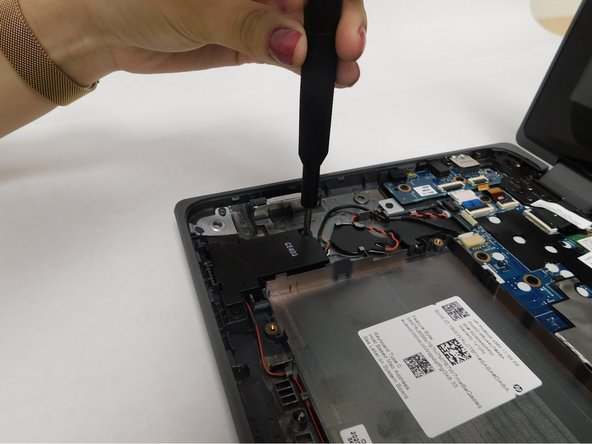
- Remove the four 5 mm screws holding the speakers in place using a JIS #0 screwdriver.
- Disconnect the speaker wire from its socket on the motherboard.
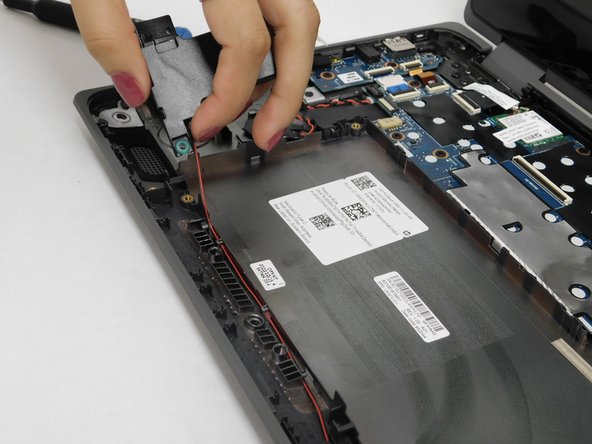
- Remove the left speaker gently.
- Remove the cable that connects both speakers together from the notches that hold it in place. Be careful when pulling the wire to avoid damaging it.
- Remove the right speaker gently.
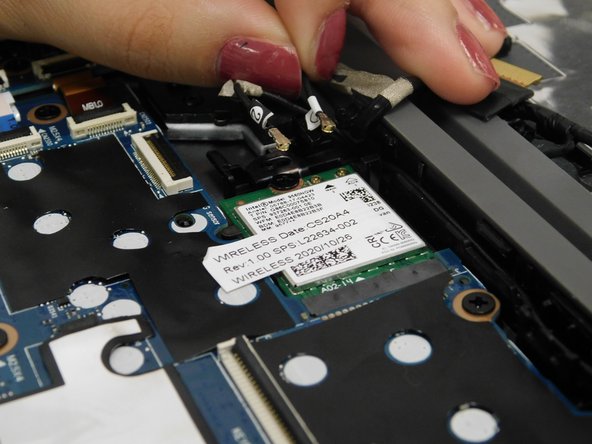
- Disconnect the ribbon wire from the motherboard by lifting the small flap that holds it in place.
- Remove both antenna cables that are attached to the wireless card.
- Remove the 3 mm screw that secures the wireless card using a JIS #0 screwdriver.
- Slide the wireless card out of the slot gently.
- Make sure not to pull it directly up as it can break.
- Lift the locking flaps securing the three ribbon cables.
- Disconnect the ribbon cables.
- Use a Phillips #1 screwdriver to remove all nine 3 mm-long screws securing the motherboard.
- Carefully remove the silver electrical tape.
- Shimmy the motherboard out.