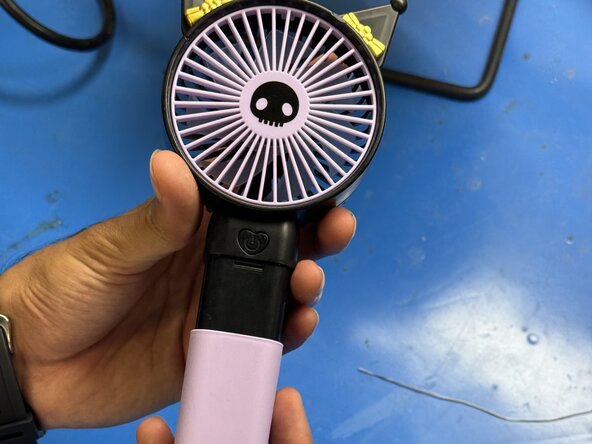
How to Solder a Loose Cable in a Kuromi XJD-181 Mini Handheld Fan
ID: 199576
Description: This guide will show you how to fix a Kuromi...
Steps:
- Remove the pink plastic holder from the fan.
- Remove the battery to prevent accidental short circuits.
- Caution: Always disconnect the battery before working with wires or soldering.
- Use a Phillips #00 screwdriver to remove the 6 mm screws from the bottom of the fan.
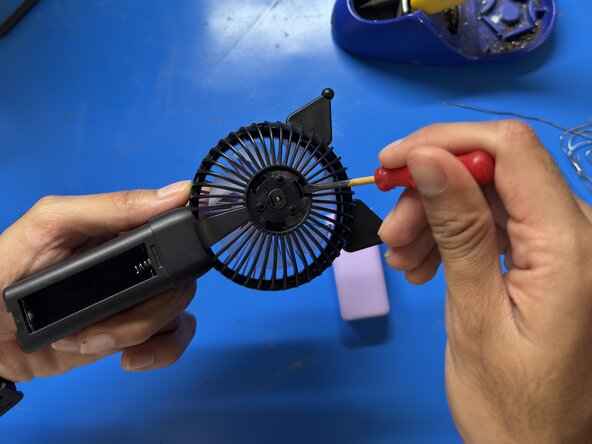
- Remove the plastic clips on the back of the fan using a spudger.
- Gently lift off the plastic cover to expose the internal wiring.
- Using wire pliers, cut off any damaged part of the wire to expose a clean section.
- Tin both the wire end and the solder point with a small amount of solder.
- Carefully solder the white wire back to its original connection point.
- Reinsert the battery and charge the fan briefly.
- If the LED indicator or circuit lights up, the connection was successful. If it does not power on, remove the battery and recheck your solder joint before trying again.
- Work in a well-ventilated area or use a fan to disperse fumes.
- Caution: The soldering iron is very hot. Handle it carefully and avoid touching the tip.
- Reattach the back plastic housing and secure it with the 6 mm Phillips screws.
- Snap the pink plastic cover back into place. Your fan should now be fully repaired and functional!