Framework Laptop 16 Top Cover Installation
ID: 199819
Description:
Steps:
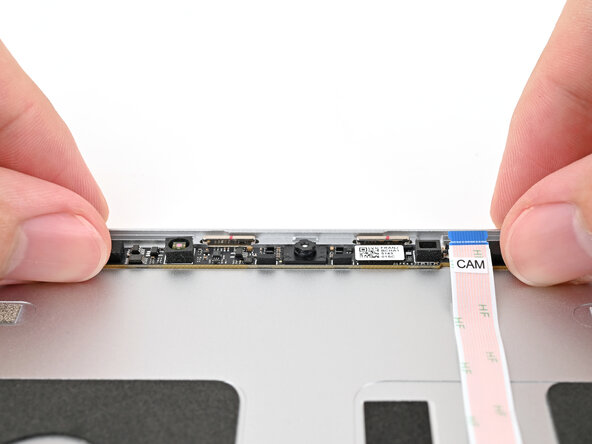
- Place the webcam into its spot on the Top Cover.
- Use your fingers to place the washers into their spots on the Top Cover.
- The washers only fit one way. If they're aren't fitting properly, flip them over.
- Use your Framework Screwdriver to install the two 2.0 mm‑long T5 Torx screws securing the webcam.
- Use your fingers to slide the webcam cable into its socket.
- Use the flat end of your Framework Screwdriver, or a clean fingernail, to press down the locking tab on the webcam ZIF connector.
- Place the Bottom Cover over the Top Cover, making sure the hinges are slotted into their alignment pegs.
- While supporting the Bottom Cover with one hand, use your Framework Screwdriver to install the five 2.4 mm‑long screws on each hinge connected to the Top Cover (10 total).
- Tilt the laptop forwards and let it rest on its Bottom Cover.