Lenovo Yoga C740-14IML Fan Replacement
ID: 200039
Description: The fan in a Lenovo Yoga C740-14IML provides th...
Steps:
- Before dealing with internal components, make sure the device has been turned off completely and its power adapter is unplugged.
- Place the laptop bottom-side up on a flat surface.
- Use a Phillips #00 screwdriver to remove the nine 3 mm screws from the bottom cover.
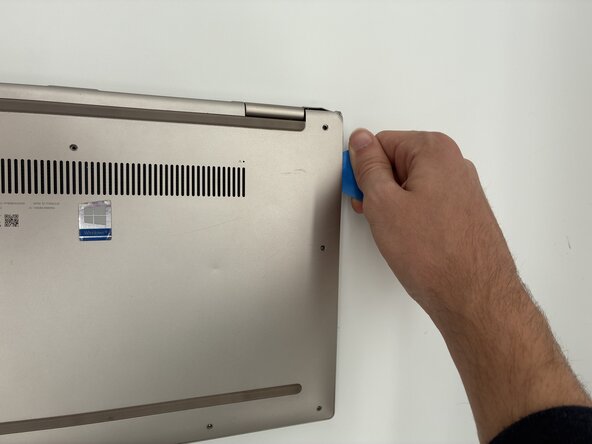
- Insert an opening pick or opening tool between the top and bottom covers, then slide it around the perimeter to release the clips.
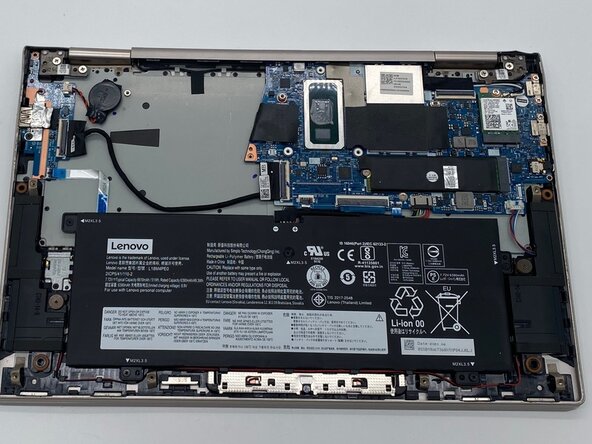
- Use a Phillips #00 to remove the five 3.5 mm screws securing the battery.
- Use the point of a spudger to push on alternating sides of the connector to "walk" it out of its socket.
- It may take a lot of alternating before the connector comes out.
- Be patient, and don't pull on the cables.
- Remove the battery from the laptop.
- Disconnect the fan connectors from the Input/Output board.
- When disconnecting the cable connectors, avoid pulling or tugging at the cables, as it may damage them.
- Remove five 3.5 PH#00 screws along the perimeter of the fan and heat sink.
- Gently disconnect the wiring to the motherboard that rests under the edge of the fan.
- Remove the fan assembly.
- Before you replace the fan and heat sink, replace the thermal paste under the CPU.