Motorola Moto G Power (2020)/G8 Power Display Replacement
ID: 200075
Description: This guide is applicable to the American...
Steps:
- Drain the phone battery to 25% to reduce the risk of a severe thermal runaway in case that the battery gets punctured.
- Backup the phone's files to avoid data loss in case of damage during repair.
- Fully power the phone off before opening it.
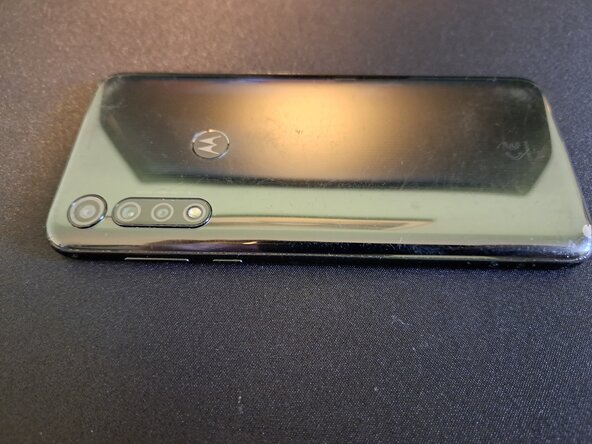
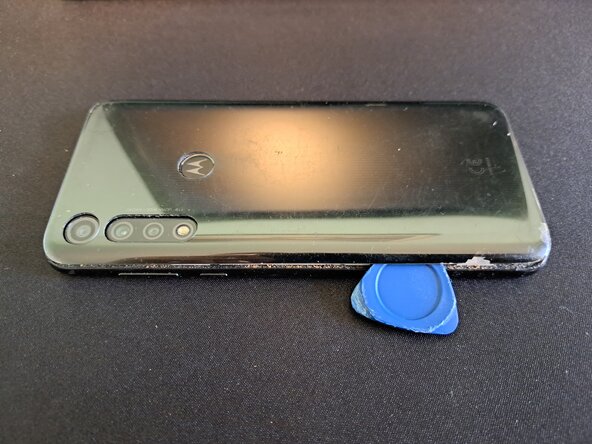
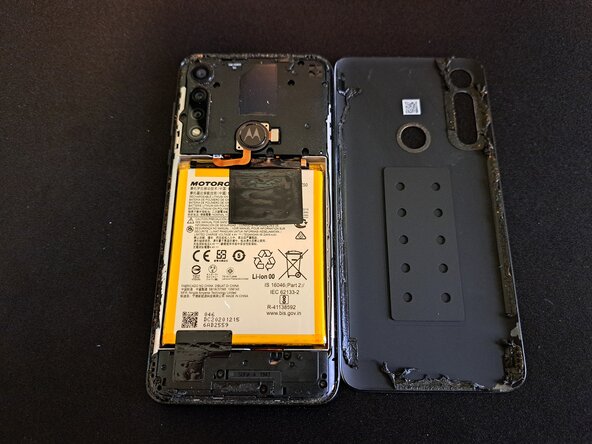
- Insert a thin tool between the back panel and the rear part of the plastic frame. When a big enough gap is made, insert a plastic tool (like a plastic pick) to avoid damaging the soft plastic frame/back panel.
- Run the plastic tool around the perimeter of the phone to loosen the adhesive all around, there is adhesive around the cameras as well. Be careful to not damage the phone's back panel's paint as I did (bottom left corner of phone, bottom right from picture angle).
- Heat can aid in weakening the adhesive holding the back panel in place. A heat plate or iOpener can be used along with a suction cup to pull the back panel up to create a significant enough gap.
- Do not use too much heat as the phone's plastic can easily melt, along with potential battery damage.
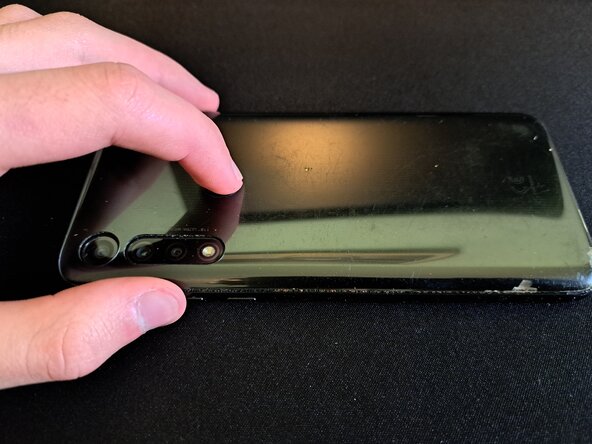
- DO NOT pull up the back panel after separating it from the frame. There is an extremely short fingerprint sensor cable connecting to the fingerprint sensor that is adhered to the back panel. Hold a finger on the fingerprint sensor while pulling the back panel up to avoid stressing the cable.
- Feel free to clean the phone. It can be done now or during reassembly. Take note of how short the fingerprint sensor cable is (I was warning you about it!).
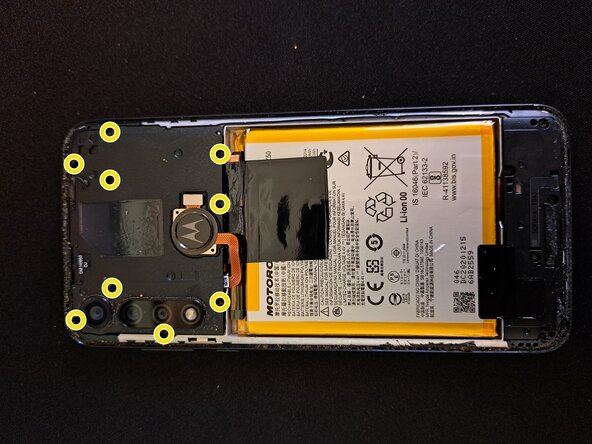
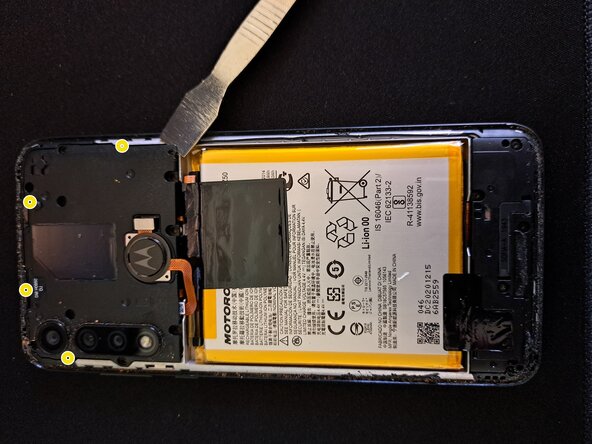
- Unscrew the 9 highlighted Torx T3 screws (T4 might also work apparently? I used T3) from the motherboard's plastic cover.
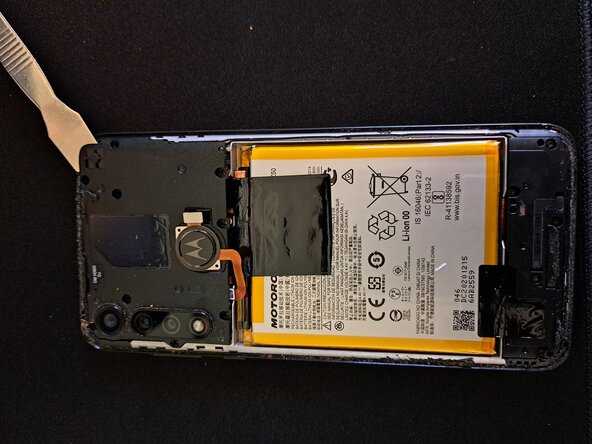
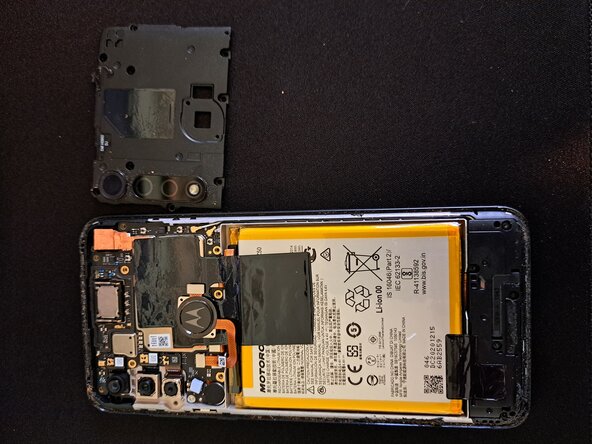
- Use a prying tool (preferably a plastic spudger) and pry out the motherboard tray, focusing on the highlighted clips. I'd advise against using a metal tool as shown in the pictures in case it slips.
- Do not pry down on the motherboard, do not insert the pry tool deep into the plastic frame. Insert it just enough so that it's using the frame as leverage and twist it.
- You can also use your hands if that makes you feel more comfortable.
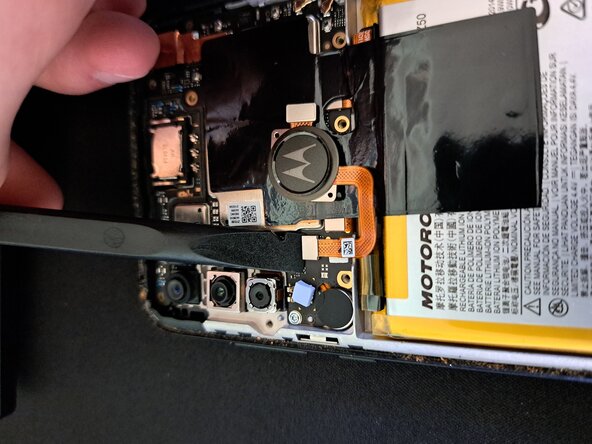
- Be careful to not damage the fingerprint reader's sensitive cable.
- Use a spudger or carefully use a fingernail to remove the fingerprint reader's connector to the motherboard to avoid damaging it during the repair.
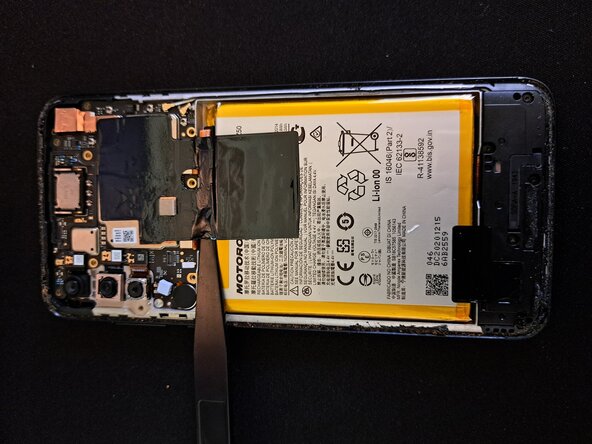
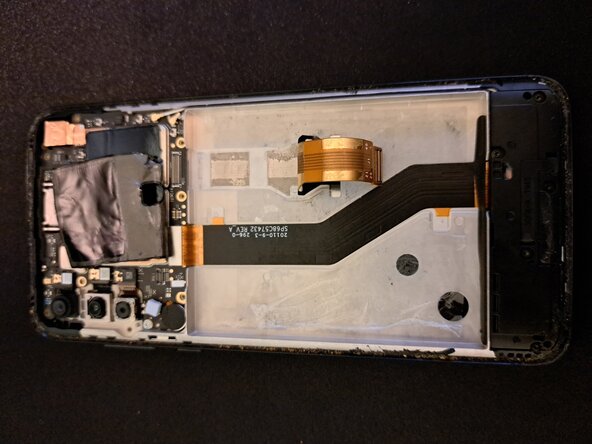
- Use a dull tool to pull up on the black graphite film adhered to the motherboard and battery. It can be removed from just the battery and left to hang on the motherboard if preferred.
- Remove the bottom graphite film as well. I stuck this one to the battery for the time being.
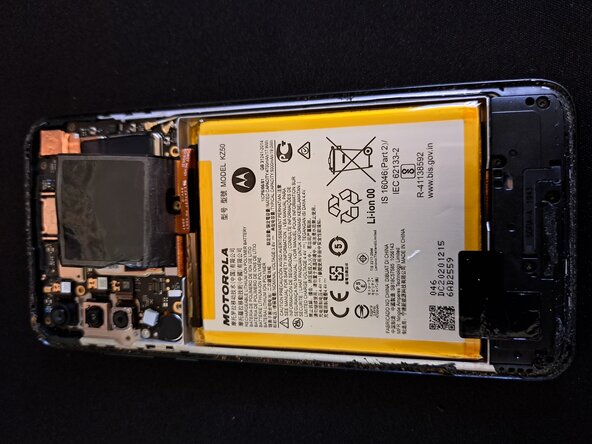
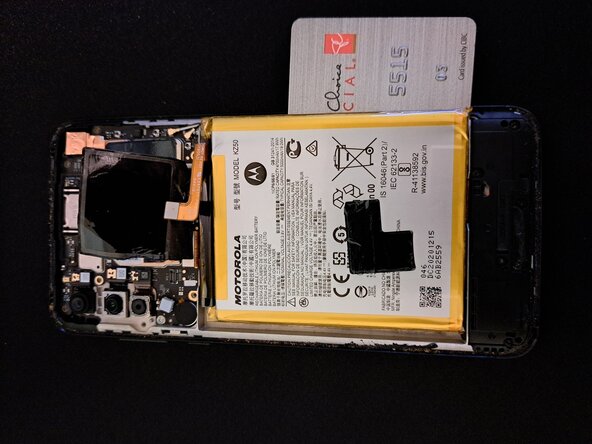
- Use a spudger or carefully use a fingernail to disconnect the battery's connector from the motherboard.
- Be careful to not damage the various surrounding components
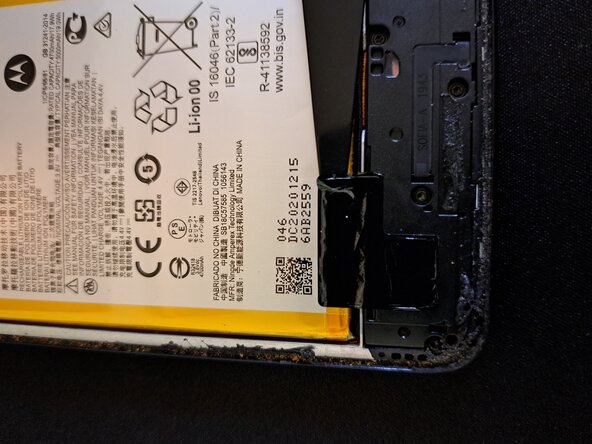
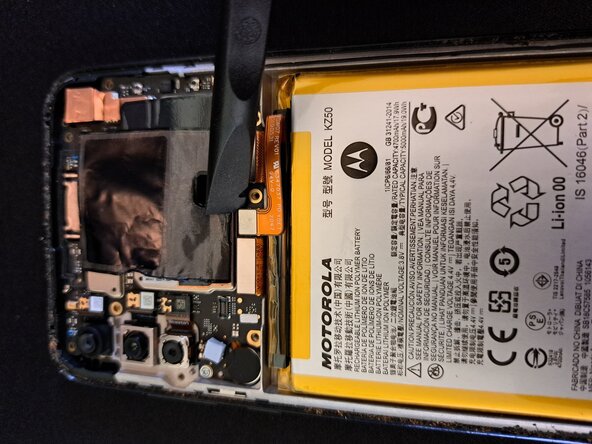
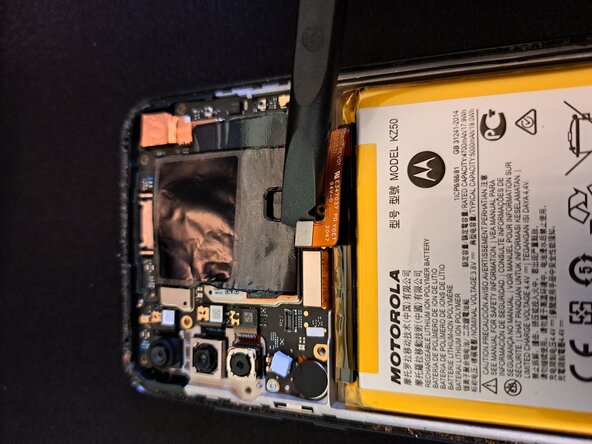
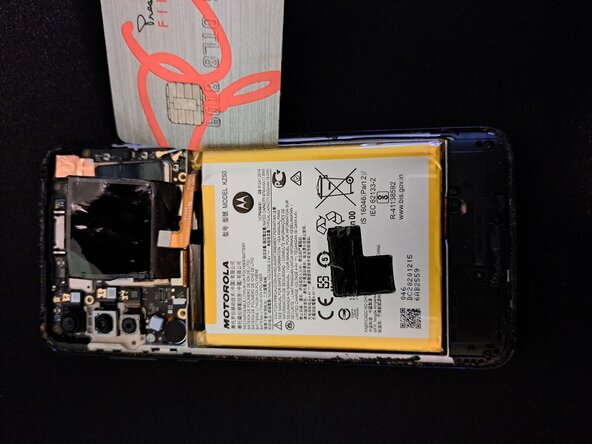
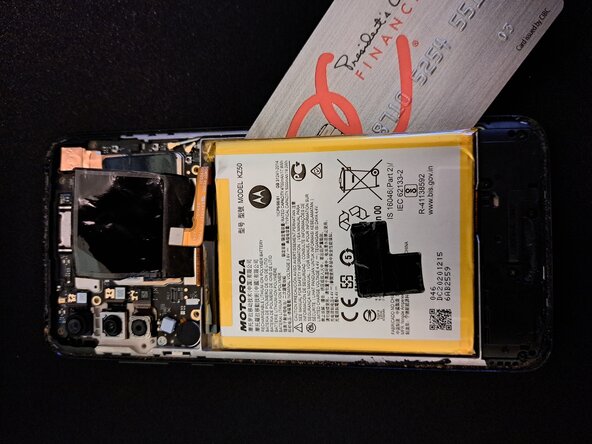
- Heating and isopropyl alcohol application is recommended. Use a soft, dull tool to pry up on the battery. Be extremely patient during this process.
- Do not use excessive force, do not bend or puncture the battery. The battery is the only thing (other than screen glass shards) in your phone that can potentially cause harm if mishandled.
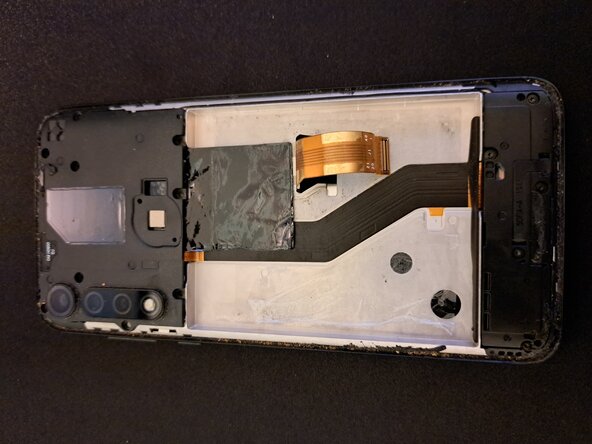
- Beware of the flex cables lying beneath the battery, do not scrape on the base of the frame.
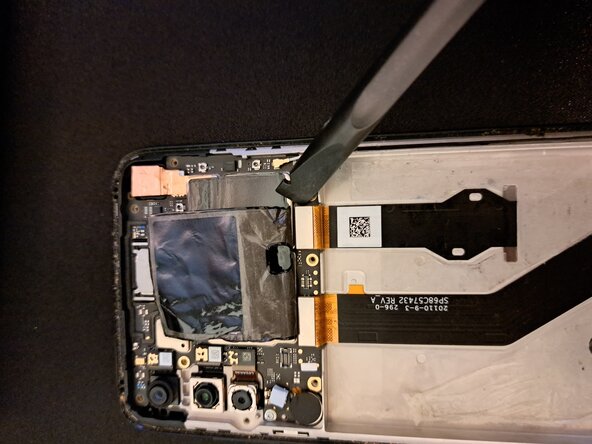
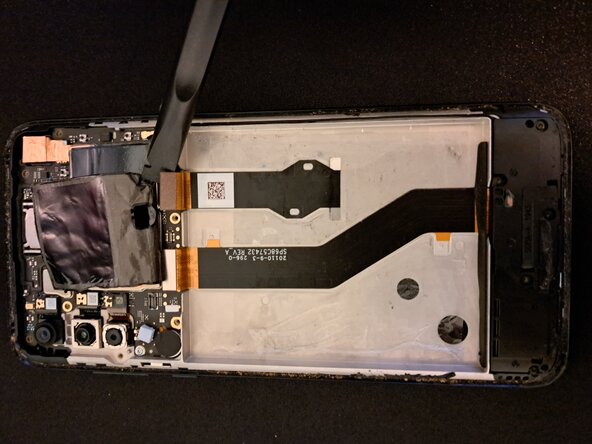
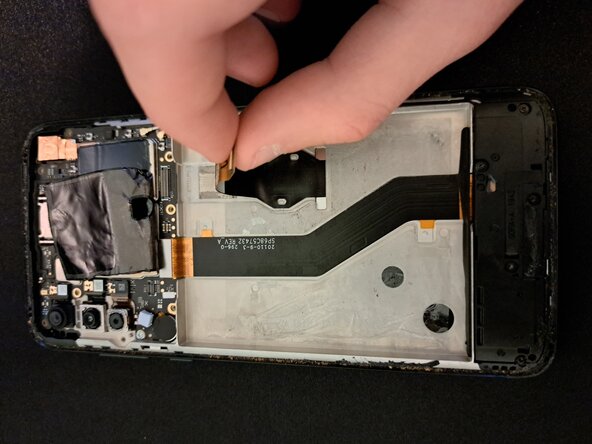
- Use a plastic tool like a spudger, or carefully use your fingernail to disconnect the display ribbon cable.
- Pull up on the ribbon cable to unadhere it from the frame.
- To prevent any motherboard or camera damage from the display removal, I recommend temporarily reclipping the plastic cover into place.
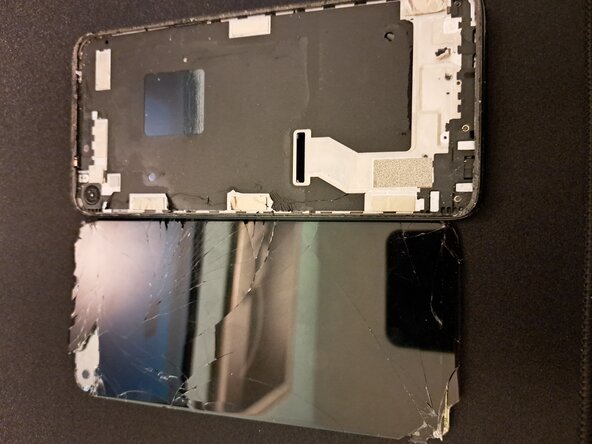
- I struggled quite a bit with the display removal and glass shards all over my desk prevented me from taking many pictures.
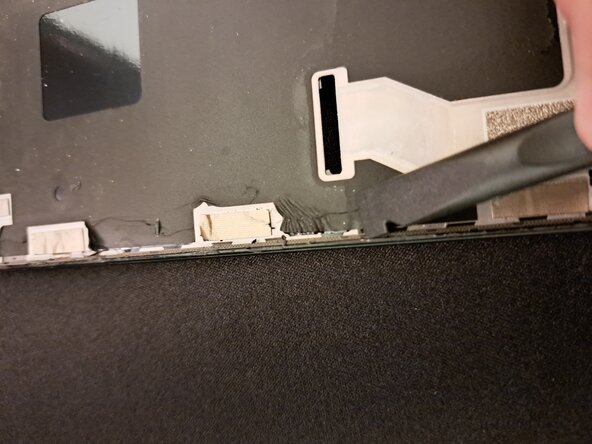
- I highly recommend heating the phone (you can be a little bit more liberal with the heat now that the battery is removed). If the display is cracked, add strong packing tape to create a surface that a suction cup can adhere to and pull the display up to create a gap.
- Use a fairly steep angle when prying into the display as there are two layers (can be seen around the camera area), so it's easy to remove the top layer by accident and create a big mess with glass shards.
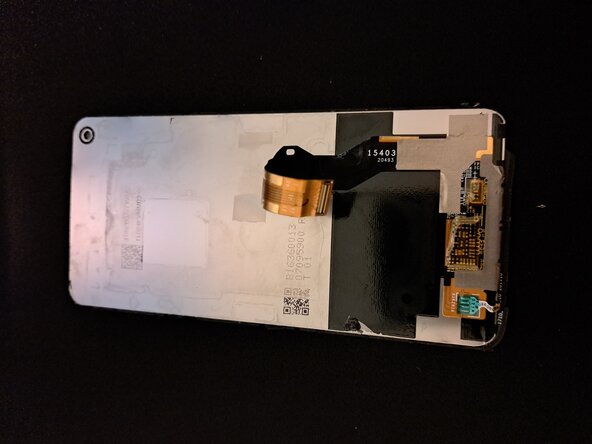
- If your replacement display does not include some parts/tapes/gaskets/stickers, transfer them over from the original display.
- For replacement, be sure to remove all remaining glass shards and adhesive from the frame's perimeter. The new display can be punctured/damaged by them if they aren't removed.