Framework Laptop 16 Expansion Bay Shell Installation (Dual M.2 Adapter)
ID: 200150
Description:
Steps:
- Align the Expansion Bay Shell with its slot in the laptop.
- Check that the shell sits evenly with the rail on the outside edges of the slot.
- Check that the two center rails are threaded between the fans.
- While keeping the shell level with the laptop, slide it into its slot.
- The shell should slide in easily. If you feel any resistance, pull the module out and realign it.
- You should hear an audible "click" when the shell's clips snap into place.
- Flip over the laptop and open it.
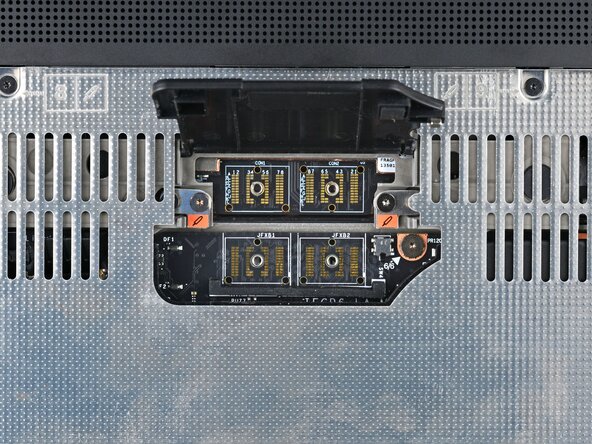
- Lift the interposer door by its black pull tab and let it rest upright.
- Use your Framework Screwdriver to tighten the two captive T5 Torx screws securing the Expansion Bay Shell.
- Place the interposer over its spot between the Mainboard and the Expansion Bay.
- Use your Framework Screwdriver to tighten the three captive T5 Torx screws securing the interposer.
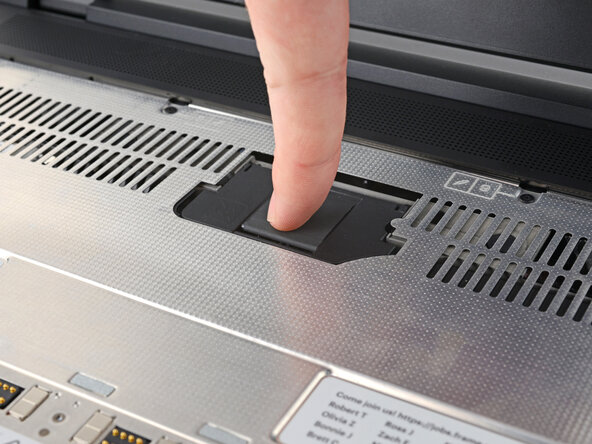
- Close the interposer door.