2019 Chevrolet Traverse Driver Side Trunk Taillight Replacement
ID: 200167
Description: Replacing the trunk taillight on a 2019 Chevy...
Steps:
- Use a spudger to remove the cap for the screw.
- Use a socket wrench with an 8mm (5/16) socket to remove the first screw.
- Use a spudger to pry open the multiple clips on the trunk liner.
- Repeat the process until the liner is entirely removed.
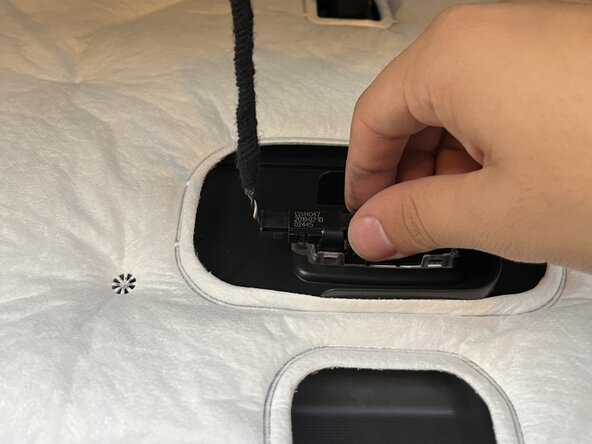
- Squeeze and pull the clip away to disconnect the electrical wire from the trunk liner.
- Pull down the red lock piece to disconnect the head light to the electrical.
- Use a small pin to push down and pull the two parts apart.
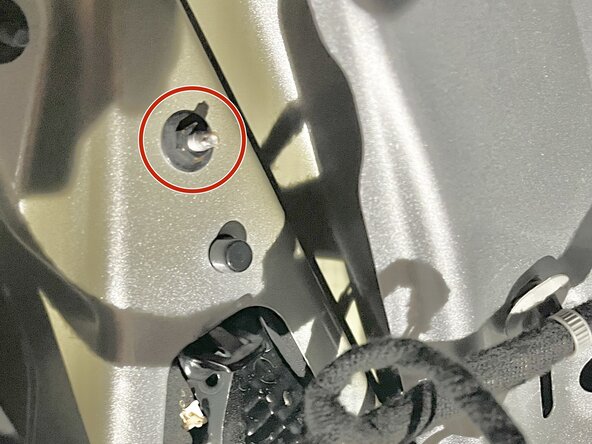
- Remove the bolts that are holding the taillight in place with a socket wrench that has an 8 mm (5/16) socket attachment.
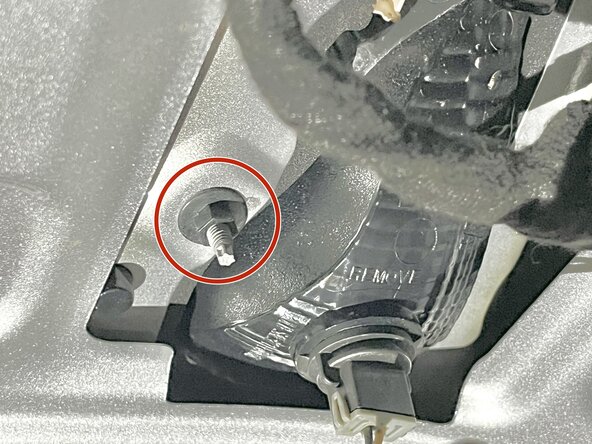
- Remove the second bolt holding down the taillight with a socket wrench that has an 8mm (5/16) socket attachment.
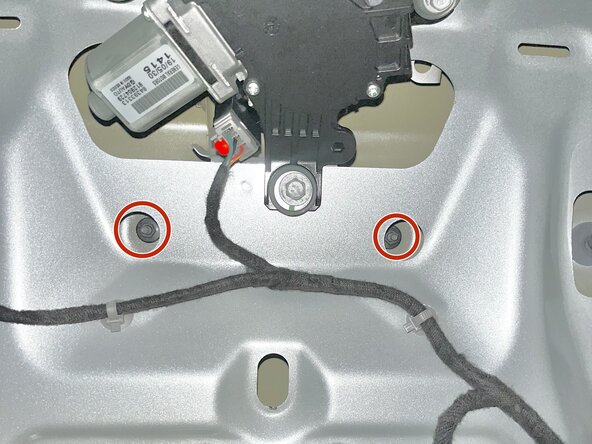
- Remove the two bolts located in the middle of the trunk. This allows the taillight to be removed by using a socket wrench with an 8 mm (5/16) socket attachment.
- To make even more room for the taillight, use a pair of pliers to squeeze the tab and push out the white cap.
- Unclip the headlight by using a spudger to pry the clip back.
- Apply gentle pressure upward and wait until you hear a suctioning sound.
- When you hear the sound, push up and slide the taillight out simultaneously.
- Insert the new taillight, then connect it to the electrical wire and push up the red lock.