iPad Pro 13" Front Camera Installation
ID: 200182
Description:
Steps:
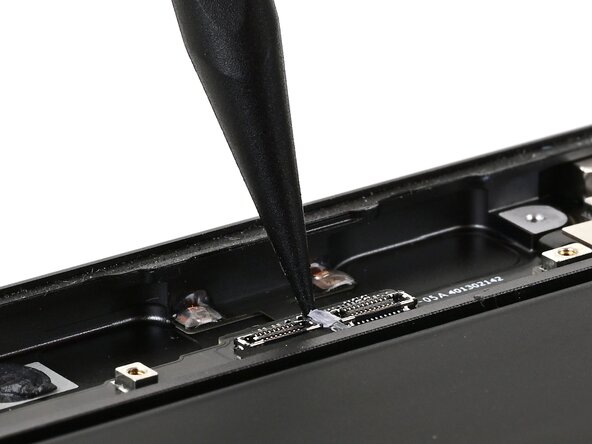
- Be careful not to damage the press connector sockets when cleaning around them.
- Use the point of a spudger to lift any residual adhesive from between and around the front camera press connector sockets.
- Use tweezers to remove the residual adhesive.
- Be careful not to touch the camera lenses—they're extremely difficult to clean.
- If the replacement part includes protective covers over the camera lenses, leave them in place until this step.
- Set the front camera module into its recess in the frame.
- Use a JCIS or JIS 00 screwdriver to install the two 2.0 mm‑long screws securing the front camera module.
- Use the flat end of a spudger or your finger to connect the front camera module's two central press connectors.
- Repeat the previous step to connect the front camera module's leftmost press connector.
- Align the front camera module bracket with its screw holes and set it into place.
- Use a JCIS or JIS 00 screwdriver to install the four screws securing the front camera bracket:
- Two 2.0 mm‑long screws on either edge.
- The left edge screw hole is hidden by the black rubber cover. Peel up only the loose portion on its left edge to install it.
- Two 1.3 mm‑long screws in the center of the bracket.
- Align the black rubber cover over the front camera module's bracket.
- Press the cover onto the front camera module's bracket. Be careful not to touch the camera lenses.
- Use an heated iOpener, hair dryer, or heat gun to soften the adhesive securing cover and help it bond.