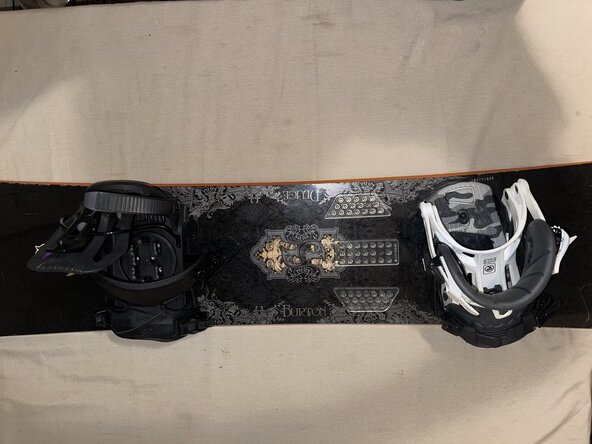
Burton 3D Snowboard Binding Replacement
ID: 200215
Description: Setting a snowboard up in an improper manner...
Steps:
- Use a screwdriver to remove all screws from the old snowboard setup by turning them counterclockwise.
- Repeat this process for the second binding.
- You will have eight total screws.
- Wipe your new snowboard using a wet wipe to get rid of any dust/residue.
- Having dust or residue on the board could result in improper installation.
- Repeat this on the second binding once done with the first one.
- Set the binding at your desired stance width.
- If you're unaware of what your stance angle is, you could use a measuring tape and measure from the base of your foot to your knee. Doing so will give you a rough estimate of what your stance width is.
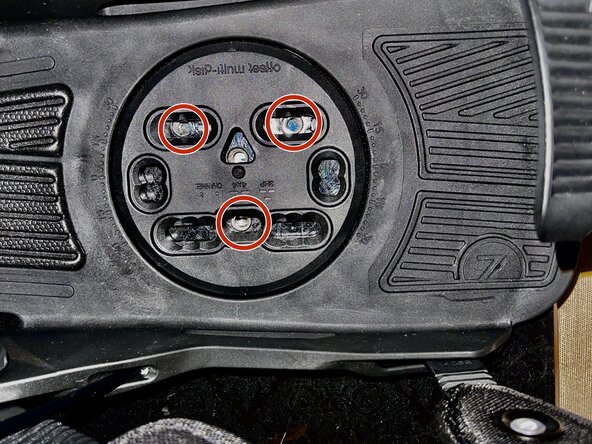
- Align the multi-disk plate so only the three screw holes are visible, then secure it in place.
- If four holes are visible, the plate is misaligned and can cause loose bindings.
- Repeat this step for the second binding.
- Adjust the multi-disk angles to your preferred riding stance.
- Rotating the binding toward the nose creates a positive angle, while rotating it toward the tail creates a negative angle.
- Set both bindings to ensure consistent comfort and control while riding.
- Loosely screw in all three screws into the binding once all multi-disk adjustments have been completed.
- Caution: Try not to use a power drill because the inside of the board is easy to damage as well as the tips. Your hands should do an excellent job!
- Repeat this on the second binding once done with the first one.
- Insert your boot into your binding and see if you either have too much toe or heel drag.
- If you do, you could move your binding either backwards if you have toe drag or forwards if you have heel drag.
- When attempting to do this and you are not able to, it means that you did not previously leave your screws loose enough.
- Repeat this on the second binding once done with the first one.
- With the boot still inside the binding, adjust both the toe strap and heel strap so that the top sleeve of the binding sits in the center of the biding.
- This must be done in order to ensure proper tightening when using the ratchet straps.
- The heel strap is the strap closer to the base of your foot.
- The toe strap is the one closest to your toes.
- Once done repeat on the second binding and boot.
- This setup uses Nidecker Flow Nexus bindings, which allow you to remove the snowboard boot by pulling down the back strap.
- For other bindings, loosen the front ratchet straps to remove the boot.
- Repeat the process for the second binding.
- With the boots removed, firmly screw in the three binding screws by hand.
- Check that each binding is secure by gently wiggling it—if it moves, retighten the screws.
- Avoid using a power drill to prevent damage to the board.
- Repeat for the second binding.