Lenovo 14e Chromebook Motherboard Replacement
ID: 200272
Description: If your Lenovo 14e Chromebook motherboard is...
Steps:
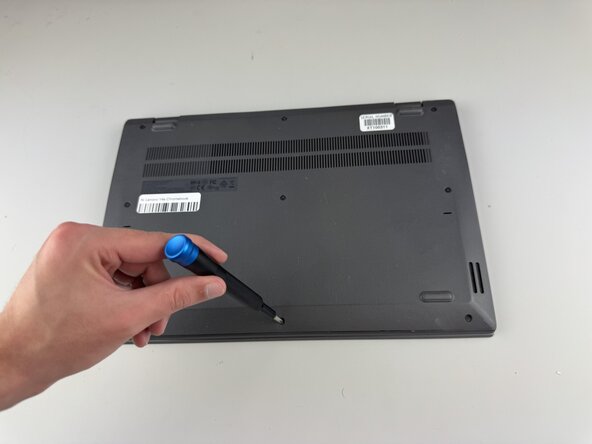
- Use a Phillips #0 screwdriver to remove the nine 8.6 mm screws from the back cover.
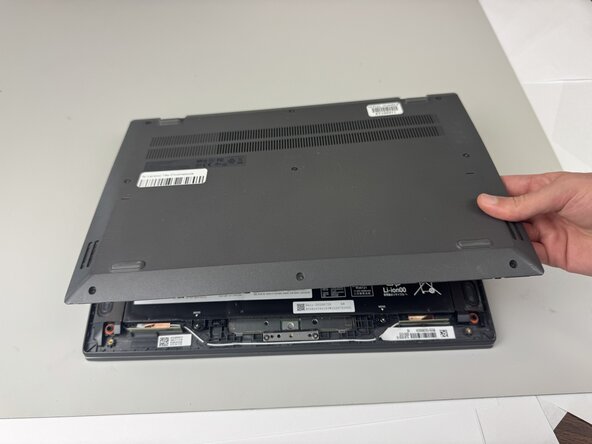
- Carefully remove the back cover from the Chromebook.
- You may hear clicking sounds as the cover becomes detached from the frame.
- Use a Phillips #0 screwdriver to remove the four 5.5 mm screws holding the battery in place.
- Do not apply too much downward pressure when unscrewing the screws, as the interior contains many vital and fragile components.
- Gently disconnect the power interface using a pair of tweezers.
- Lift the battery out of the Chromebook.
- Disconnect the display cable from the top of the motherboard.
- Detach the white speaker cable connector from the bottom of the motherboard.
- Grasp the KB strip and disconnect it.
- DIsconnect the three MB strips.
- Using a Phillips #0 screwdriver, remove the 5.5mm screw holding the WLAN card in place.
- Disconnect the two wires from the WLAN card.
- Remove the WLAN card.
- Remove the 8.3 mm screw holding the bracket in place using a Phillips #0 screwdriver.
- Remove the bracket.
- Remove the black 5.5 mm screw in the top right hinge using a Phillips #0 screwdriver.
- Pull the hinge up.
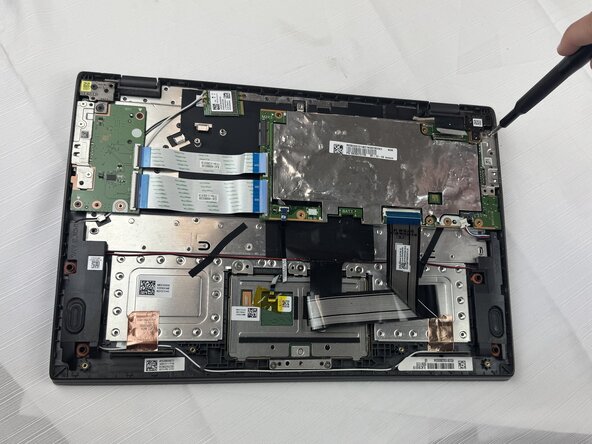
- Remove the 5.5mm screws surrounding the motherboard using a Phillips #0 screwdriver.
- Carefully remove the motherboard.