GameSir T4 Pro Teardown
ID: 204534
Description:
Steps:
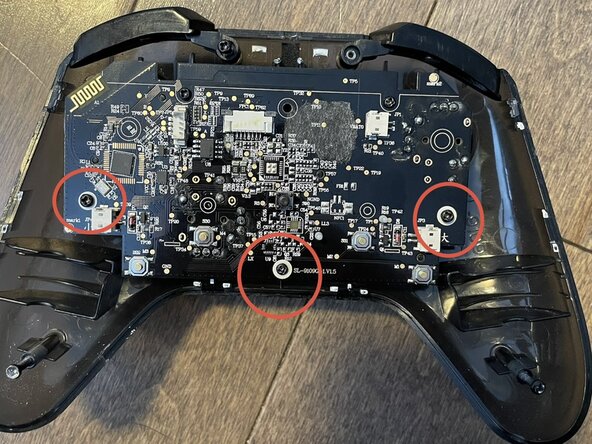
- Remove the four Philips screws circles by the red on the back on your controller. Make sure to separate the two lengths of screws. Then use the spudger to pop the clips that go around the edges of the controller.
- Remove the back shell making sure not to rip the cable connecting the USB-C port to the motherboard.
- Taking a flat tip screwdriver or your fingers, disconnect the USB connector circled in red.
- Remove the battery from the motherboard. They used an adhesive material so you might need to pull hard. Disconnect the battery connector and you can remove the battery.
- There are two connectors labeled JP3 and JP4 that connect the haptic motors to the motherboard. (Circled in red) Disconnect them and if required you can now replace them.
- Remove the ribbon cable connecting the triggers to the motherboard. Then, take out the screws and you can remove the trigger setup.
- There are three screws holding the motherboard in place: two long ones and a short one. After removing them you can remove the motherboard.
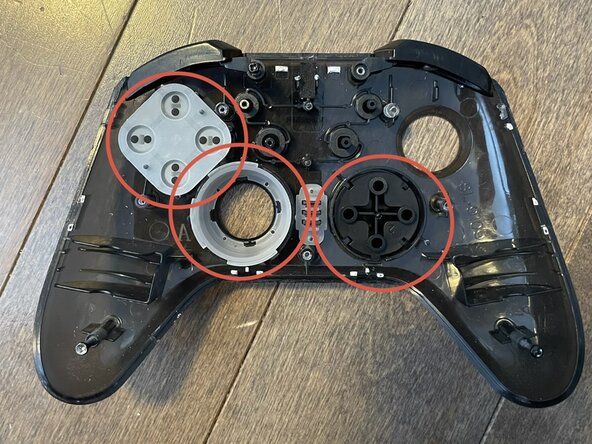
- Now to completely remove the buttons. (Bumpers, ABYX, and D-Pad) Take the front panel and remove the rest of the button just by pulling them out. They’re very easy to take out.
- Take your motherboard. Just pull on the joysticks and they should come right off.
- Pull the membrane buttons off of the motherboard.
- Congratulations! You have finished take apart your controller.