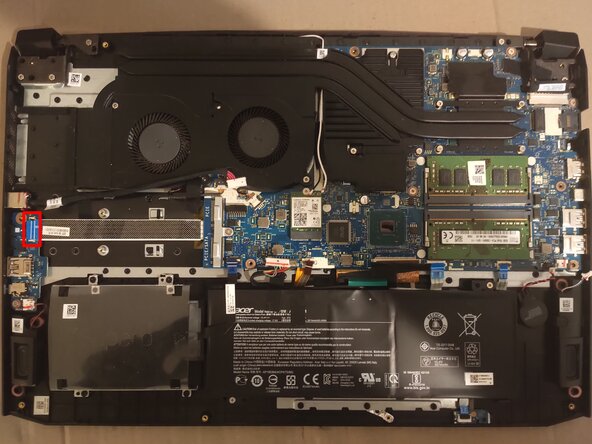
Acer Nitro 5 AN517-51-748R Fan Replacement
ID: 205550
Description: This guide will walk you through the steps of...
Steps:
- Remove 12 Phillips screws
- Open the bottom Cover with an Opening Pick
- Remove the Cover by lifting the bottom first
- Carefully remove battery cable by removing the sticker and pulling down
- Unscrew M.2 trays and put the aluminium heatsinks aside.
- Detach Latch Cables by opening the connectors with an Opening Tool
- From left to right:
- Sata cable
- Keyboard backlight
- Touchpad
- Hall Sensor (Lid open/close sensor)
- Remove sticker
- Pull down on the edges of the connector to loosen the cable
- You can see it open on the left and closed on the right side of the second image
- Remove BIOS battery by pulling down on the connector
- Remove speaker cable by pulling down on the connector
- Remove the screen connector by carefully pushing its sides upwards
- Remove both antenna cables from the network card. By pulling them towards you.
- And remove the tape.
- Remove tape (Yellow in the foto)
- Unplug both fan cables
- Remove tape (Yellow in the foto)
- Unplug DC powersupply cable.
- Unplug the ribbon-cable to the USB-Board
- Unscrew Motherboard and take it out.
- Make sure you don't rip a cable in the process, you should have removed all connections by now.
- Mind the black and white antenna cables that go in between the cooler.
- Unscrew 7 fan screws (top middle has two)
- Turn over the board
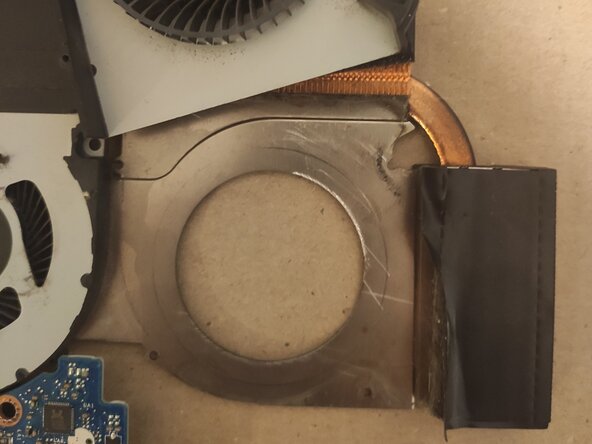
- Remove Tape (Top and right)
- Remove Fans one by one