Netatmo Smart Video Doorbell battery Replacement
ID: 205599
Description: My Netatmo Smart Doorbell started making...
Steps:
- It needs to be unmounted from the bottom side by unscrewing the one screw with a triangle bit that was included in the package.
- There is a hook on top, so loosen the screw first and pull the bottom out to open the casing and disconnect the connector wires, then unhook it from the top.
- Before doing anything else the SD card must be removed and also the fuse needs to be pulled out.
- There are 2 short phillips head screws in the opening besides the SD card slot and 8 longer ones. They are all easy to spot when the sticker is removed.
- Removing the sticker will void warranty, but there is no warranty after 5yrs anyway.
- There is a tight silicon gasket around that you want to be intact when remounting the lid.
- Be aware of the speaker wire in the middle and the antenna wire on top. They are glued in there, so do not rip them out.
- The double sided tape gives way, just hold the pressure for some time.
- Maybe store the tape and use it for the new battery mounting.
- There is some sort of glue sealant on all plugs..
- I have contacted vendors, but at this point I do not have any new batteries available..
- If you know where to source them in Norway / EU / Asia in numbers of 1-2, please leave a comment.
- Turns out that finding a battery with NTC (3 wires) in this size is a problem. There are some in china with erratic names, but I did not order any. Size does matter here. A larger battery like 1000mAh would not fit.
- If you have a similar form factor new battery without the NTC, you could probably move the battery controller over from the old battery to a new one, but I have not tried this.
- I gave up on the battery replacement as I do have a 5V power source on the other side of the wall, check the next step on how I did that. It might not be something you want to do..
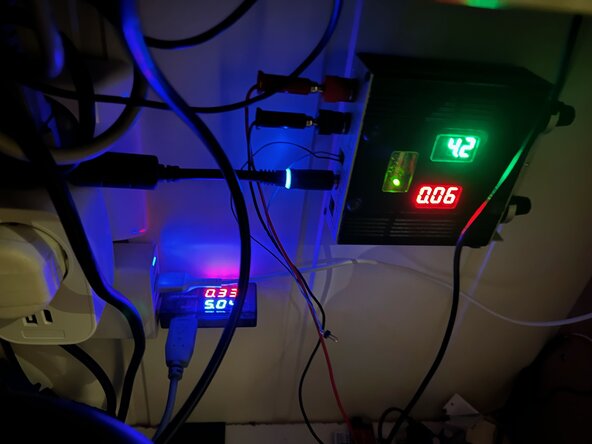
- As I do have a 5V USB PSU on the inside of the wall for other IoT devices I drilled a hole in the wall, removed the battery from the cable, modified the battery cable and soldered on a regulator that I adjusted to 4.2V which seems to be the level there is no charging going on from the battery circuit.
- As there is no charging anymore to heat up a battery, I soldered in a 10K resistor between GND/black and the yellow cable for the battery connector.
- I was thinking a big capacitor would be nice, but the space was constrained and the regulator board has some big ones onboard so it seems to be good enough.
- There is a micro USB port (for diagnostic, I suppose) on the doorbell also, that I used instead of the ringer cable cable while testing this out.
- Is seems that the power draw is around 3-400mA at most from the ringer cable/USB and about the same from the "battery" when the doorbell needs a boost when handling video calls.
- I wanted a plug to be able to disconnect it, so I soldered on a tiny socket and plug.
- I have this 3mm thick microphone wire with shielding that I use for projects where the wire does not need to be seen and drilling a 4mm hole from inside the house worked nicely.
- I added Superlube on all gaskets and also into the USB port and SD card, like Netatmo suggests, and closed everything up.