Beats Studio3 Headband Replacement
ID: 205950
Description: If your Beats Studio3 headphone headband is...
Steps:
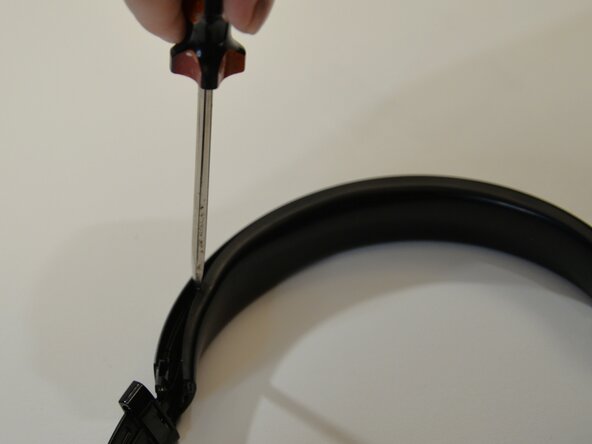
- Close the headphone for access to the screw heads.
- Take out both screws from the left side and right side.
- Flip open the headphones.
- Pull the headband out of the speaker hinge buckle.
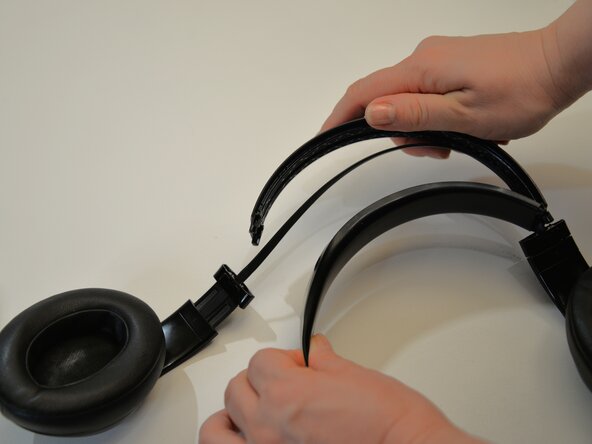
- Beware there is an internal audio cable connecting the speakers. Be careful not to break the cable.
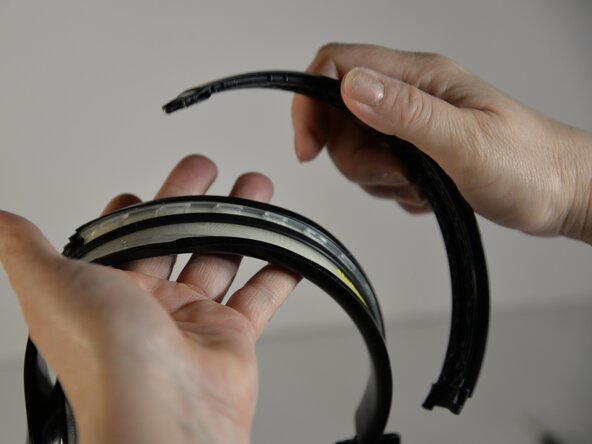
- Pry the upper and lower headband apart.
- Place the audio cable on the lower foam headband.
- Make sure the cable is not twisted, and the inside of the speakers are facing each other.
- Thread the audio cable into the slotted tab.
- While holding the audio cable in the slotted tab, begin to press the upper and lower headbands together. You will hear it snap.
- Continue to snap it together until about the middle of the headband.
- The bottom headband cover might slip out in places. Press it back in. There is no need to pry the upper and lower headband apart to put the cover back on.
- Screw the screws into the speaker hinge buckle on this side.
- Do not screw in the screws on the other side yet.
- Make sure the audio cable is not twisted and is seated in the middle of the headband.
- Thread the audio cable through the slotted tab.
- Snap the upper and lower headband together completely.
- Insert the headband into the speaker hinge buckle.
- The audio cable might seem like it is too long at this point. It's not. Continue to push into the speaker hinge buckle, and the extra length will resolve on its own.
- Screw the remaining screws into the speaker hinge buckle.