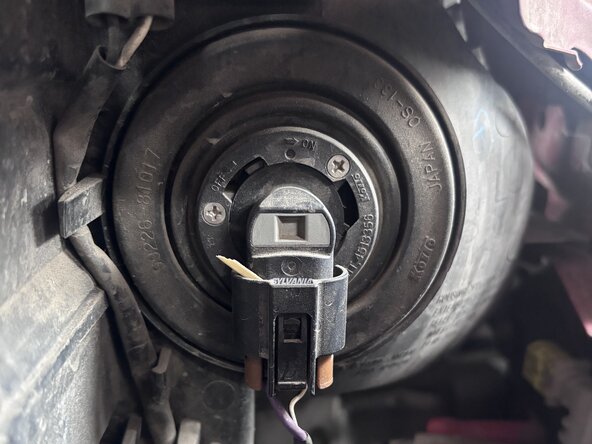
2009-2015 Toyota Prius Headlight Bulb Replacement
ID: 206023
Description: Did the low-beams in your 2009 to 2015 Toyota...
Steps:
- Before you begin, make sure the car and headlights are off.
- Pull the hood release lever located near the parking brake to pop the hood open.
- Push the safety latch up and lift the hood.
- Insert the hood prop rod into place to support the hood.
- The headlight bulbs are behind the headlight assembly and accessed through the engine bay.
- Identify which headlight needs to be replaced.
- The low-beam connector is in the second picture, and the high-beam connector is in the third photo.
- The headlights should not be on. It makes the bulb and wires attached hot.
- Turn the headlight bulb pigtail connector and pull it out of the assembly.
- Identify the headlight type to ensure that the replacement light matches up.
- The low-beam is an H11.
- Do not touch the glass directly with your bare hands. Touching the glass can cause the bulbs lifespan to be shortened.
- Press the tab on the connector and pull the bulb straight out.
- If the bulb is difficult to remove, ensure the tab is fully depressed to release it.
- Push the new H11 bulb into the socket.
- The tab does not need to be pushed in to insert the bulb.
- Insert the bulb into the headlight assembly socket with the pigtail pointing to the right.
- Twist the connector downward to lock it into the housing.