Windows 10/11 - USB Installation Media Creation (Microsoft MCT)
ID: 206821
Description: If you are unsure how to write a Windows 10/11...
Steps:
- These steps are only applicable on Windows. Mac and Linux have different steps, especially based on what distro is used. This is only needed to get a used drive ready for this process and is not needed for a “new” drive. This will erase everything on the drive so backup the drive if you need the data!
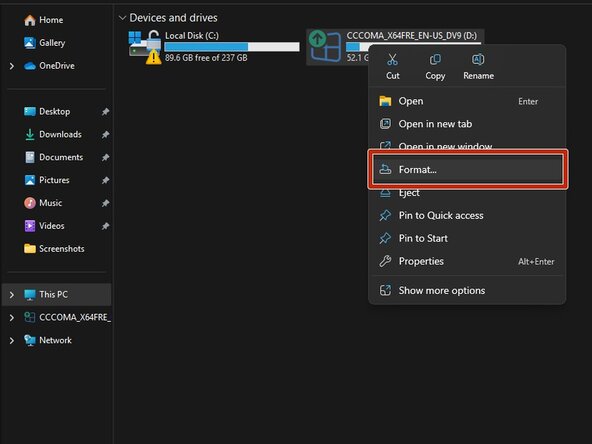
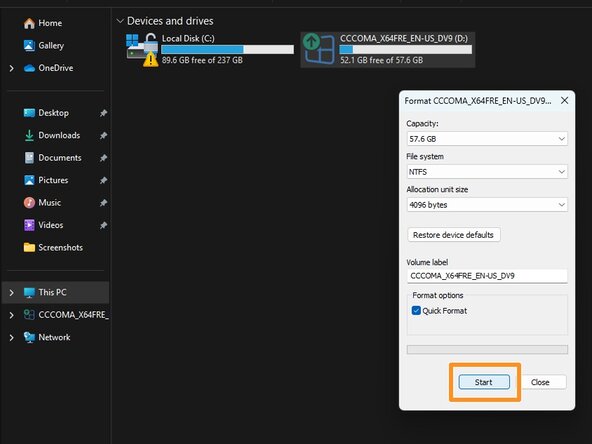
- With the USB drive plugged into the computer, go into Windows Explorer, right click Format. For all intents and purposes format type used here does not matter as the MCT will reformat it again before writing the drive image. However, it can be picky and not see the drive if there are hidden issues.
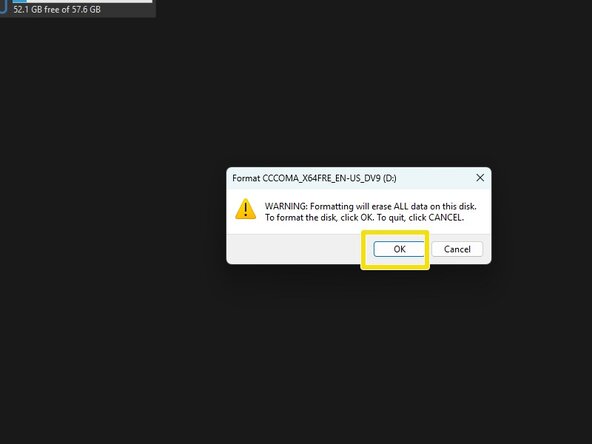
- Click on Format and click OK on the data loss warning. Once done the drive is ready to be imaged with the MCT.
- Download a Windows 10 or 11 ISO from Microsoft - do not use other sources unless you trust it.
- Windows 11: https://www.microsoft.com/en-us/software...
- Windows 10: https://www.microsoft.com/en-us/software...
- I am using the Win11 installer for this -- however, the Win10 installer is the same process.
- THIS PROCEDURE WILL ERASE THE TARGET USB DRIVE! BACKUP THE DRIVE OR USE A NEW ONE IF YOU DO NOT HAVE A DRIVE THAT CAN BE ERASED.
- If you are reusing an old drive, format it first!
- After downloading the tool you need with the Step 1 links, open it from your browser or Downloads folder.
- Open the MCT application and then follow the prompts.
- Select the version you want. If you intend to use an external tool for things like Legacy MBR support, use ISO file. For a modern PC, either option will suffice.
- Click Next and then follow the prompts bassed on the option you selected.
- If you write the image in the MCT, plug your USB drive in first.
- Unplug any drives you do not want to erase, then select the one you want to write to. After this is done, click Next.
- You will see this window, let it download. If you have a slow internet connection give this time or borrow a fast connection. Once this is done, you will see the next screen show the writing screen.
- This guide only covers the MCT - your external tool will have steps not in this guide.
- If you intend to save images due to Microsoft closing MSA bypasses, use this in conjunction with the USB drive method.
- After going through the initial steps to open the MCT, select ISO Image. Click Next.
- This is where the MCT is located by default. Modern Windows defaults to the Downloads folder.
- Select a file location, then let the ISO download.
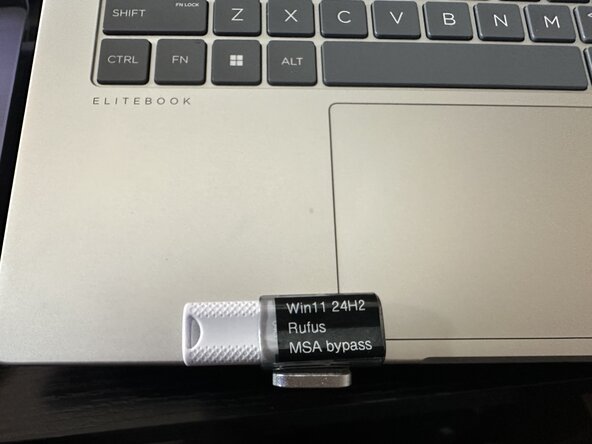
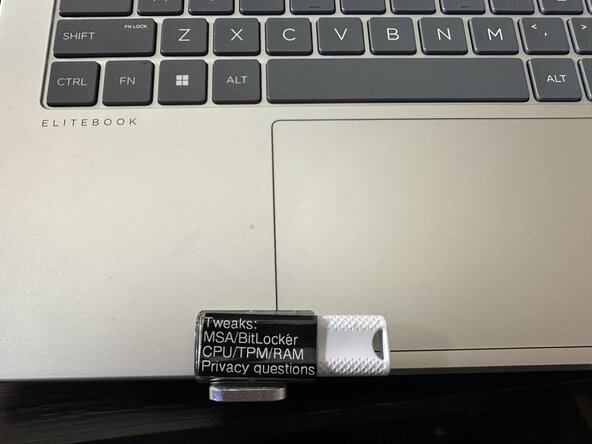
- Authors' Note: This step is your call on if you do it or not - if you choose to maintain the drive as it stands in case of a reinstall or you need to keep a few drives, labeling is strongly recommended, along with any tweaks made.
- How you do this is up to you, but depending on the drive size -- you might find yourself with little room - in these cases, choose carefully what you put on the drive. If you have a larger drive like this one, you can have a more "full" label.
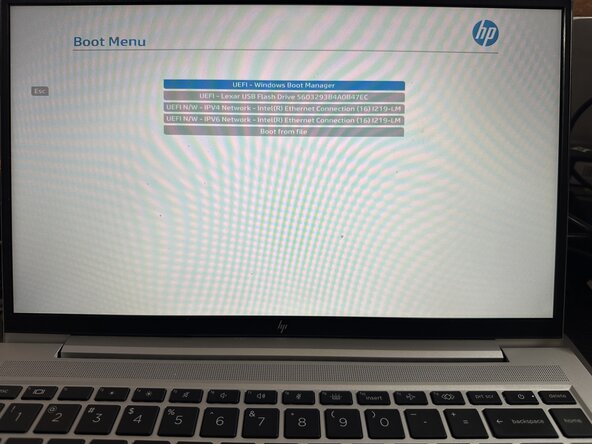
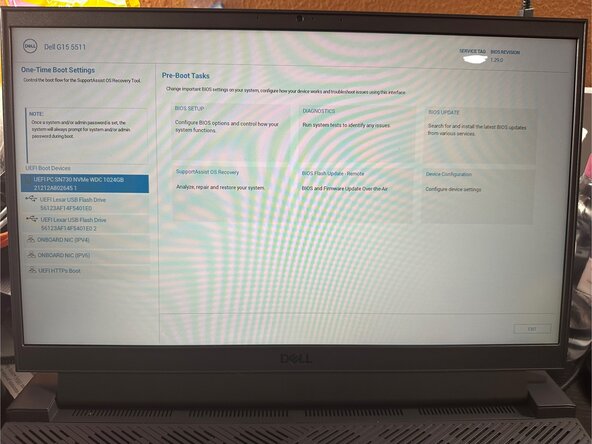
- Every PC will use a different "common key" to access the startup menu. The machines shown use ESC (HP Commercial/Consumer) and F12 (Dell, same key on commercial and consumer). For machines from other vendors like MSI and Asus, confirm the key you use with a Google search as these vary wildly.
- Authors' Note (Lenovo, ThinkPad/ThinkBook): ThinkPads use two keys: ThinkVantage button for startup interrupt (30 and older series), or the Enter key for startup interrupt (40 and up). Most use F12 for the boot device menu but the ThinkBook could deviate from this standard key, so confirm as needed.
- Authors' Note (Non ThinkPads, Lenovo): These usually use a recessed Novo key somewhere on the chassis (sides or bottom) to pull up the boot menu, but some like the Legion series do not use the Novo key. Confirm the sequence with a Google search if there is no Novo key and the procedure is unclear.
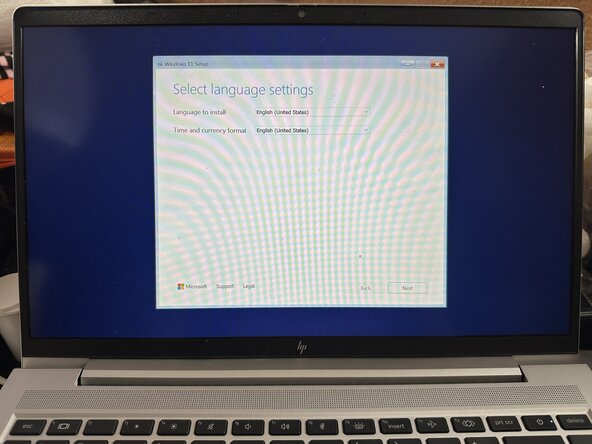
- After selecting the drive from the BIOS startup menu, follow the prompts to install Windows 10/11 on your PC.