Mayflash F500 PCB Replacement
ID: 206873
Description: The PCBs in the Mayflash F500 handle the...
Steps:
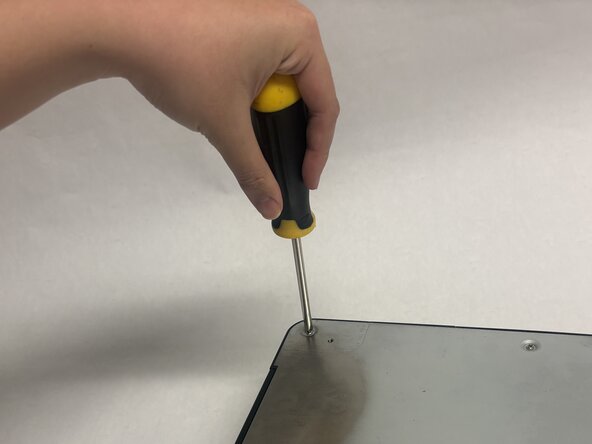
- Remove the six Phillips screws on the bottom of the controller.
- Use a wedge tool between the metal plate and main body of the controller.
- Fully lift the backplate to reveal the inside of the controller.
- Remove the cables connecting the buttons and joystick to the main PCB.
- The cables connecting to the other three PCBs do not need to be removed.
- Remove the four screws from the main PCB.
- Remove the eight remaining screws on the other PCBs connected to the main PCB.
- Slowly lift the four PCBs out of the case.
- For three of the PCBs, they have parts jutting outside of the case. Remove each PCB carefully to not damage the other components.